
 Author:
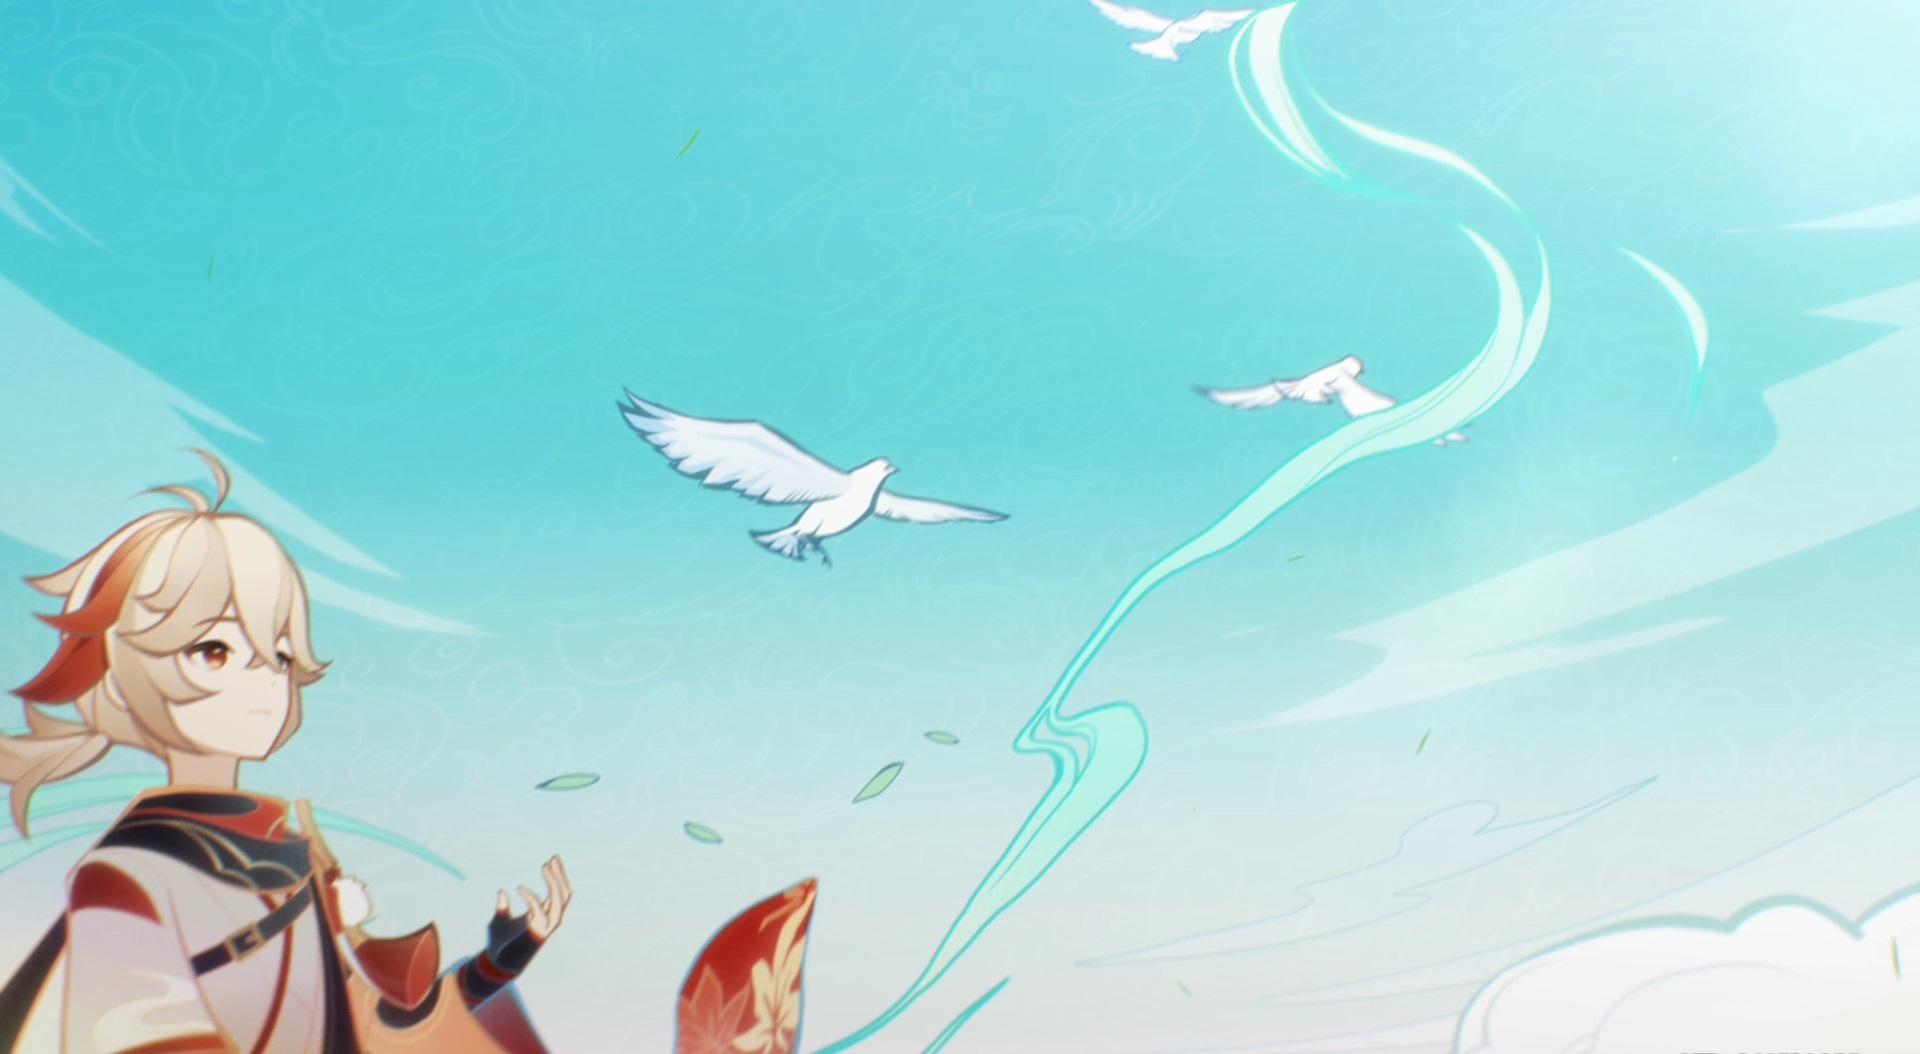
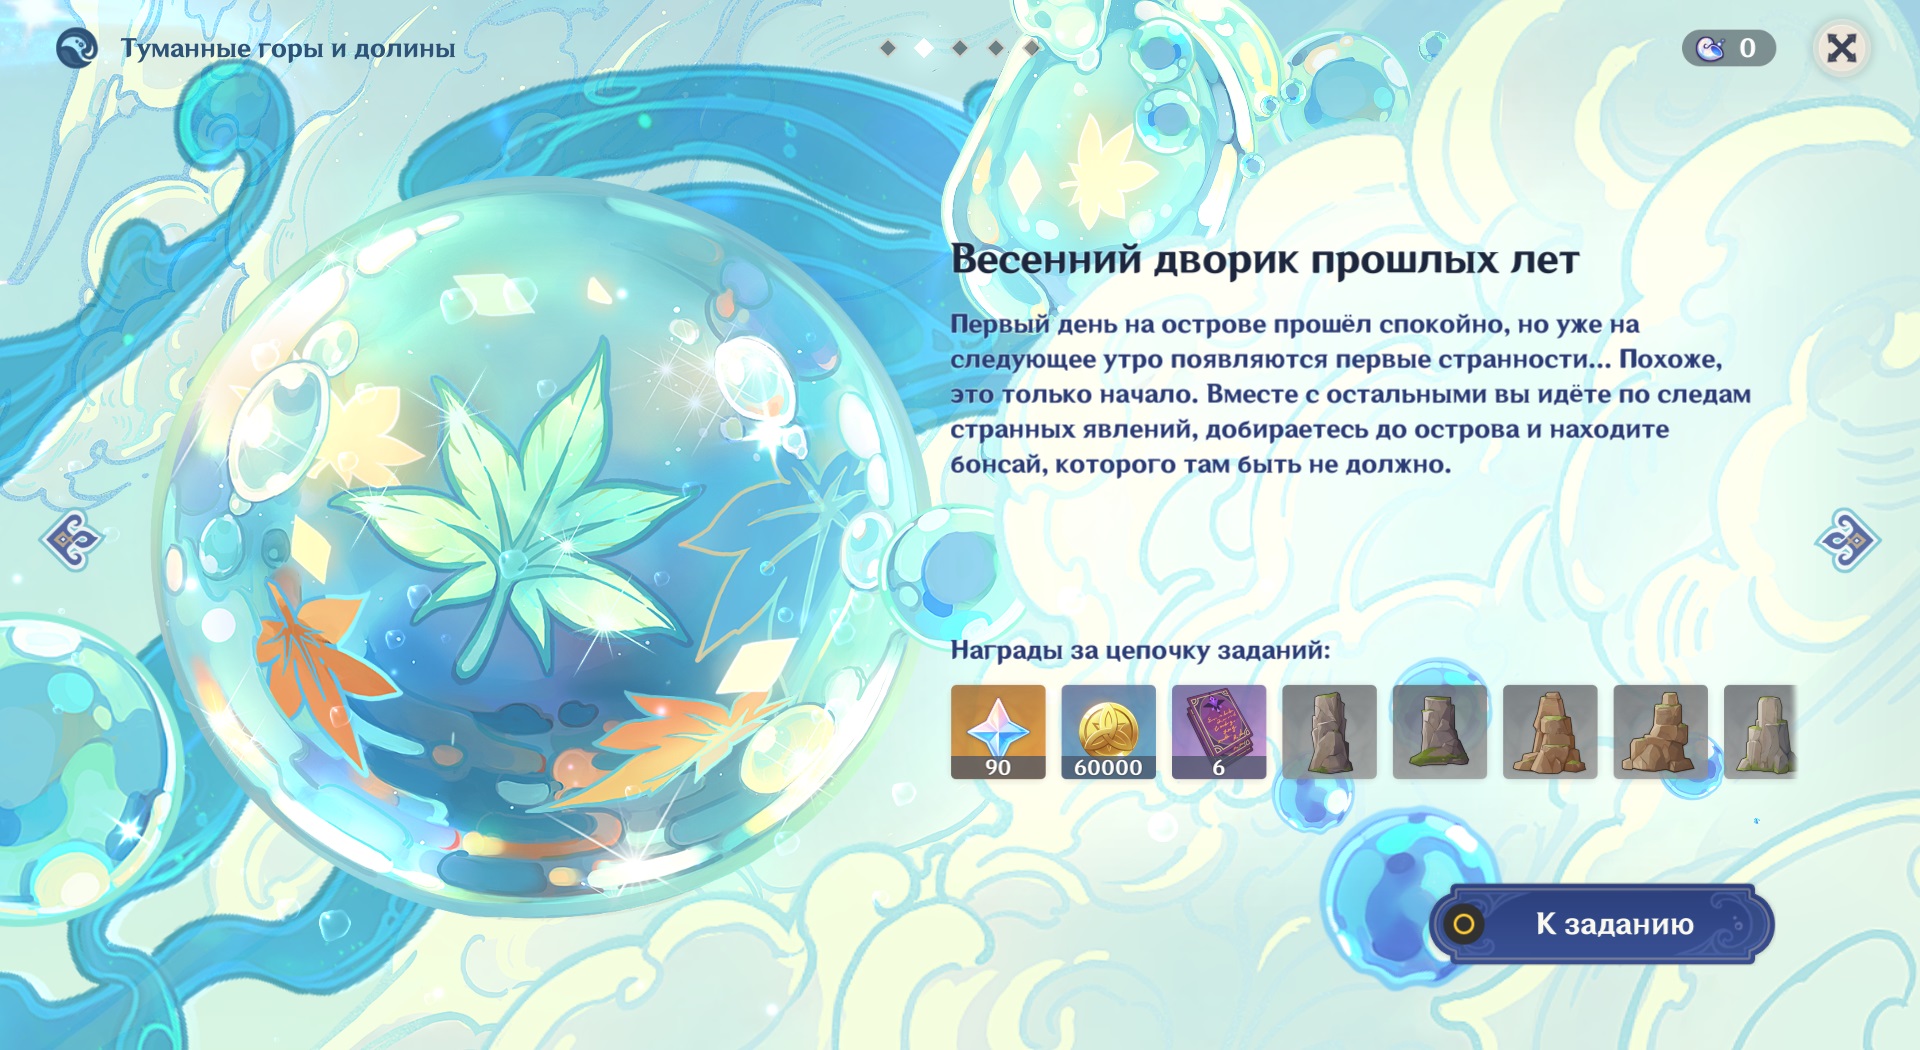
Spring patio of yesteryear в Genshin impact - This is the second story quest of the event Summer! Dreams? Music!dedicated to the past Kazuhi. During a long journey through memories, the heroes will see the early stages of the formation of the last member of the Kaedahara clan. Check out the guide to make it easier to solve spatial puzzles, collect most of the optional chests and not get lost in the labyrinths of the mind of a wandering samurai.
How to start the quest Spring Yard of yesteryear
Complete Another vacation in the Golden Apple archipelago, after which the quest will be added to the journal automatically. It can also be found through the event menu.
Walkthrough Spring Yard of yesteryear in Genshin Impact
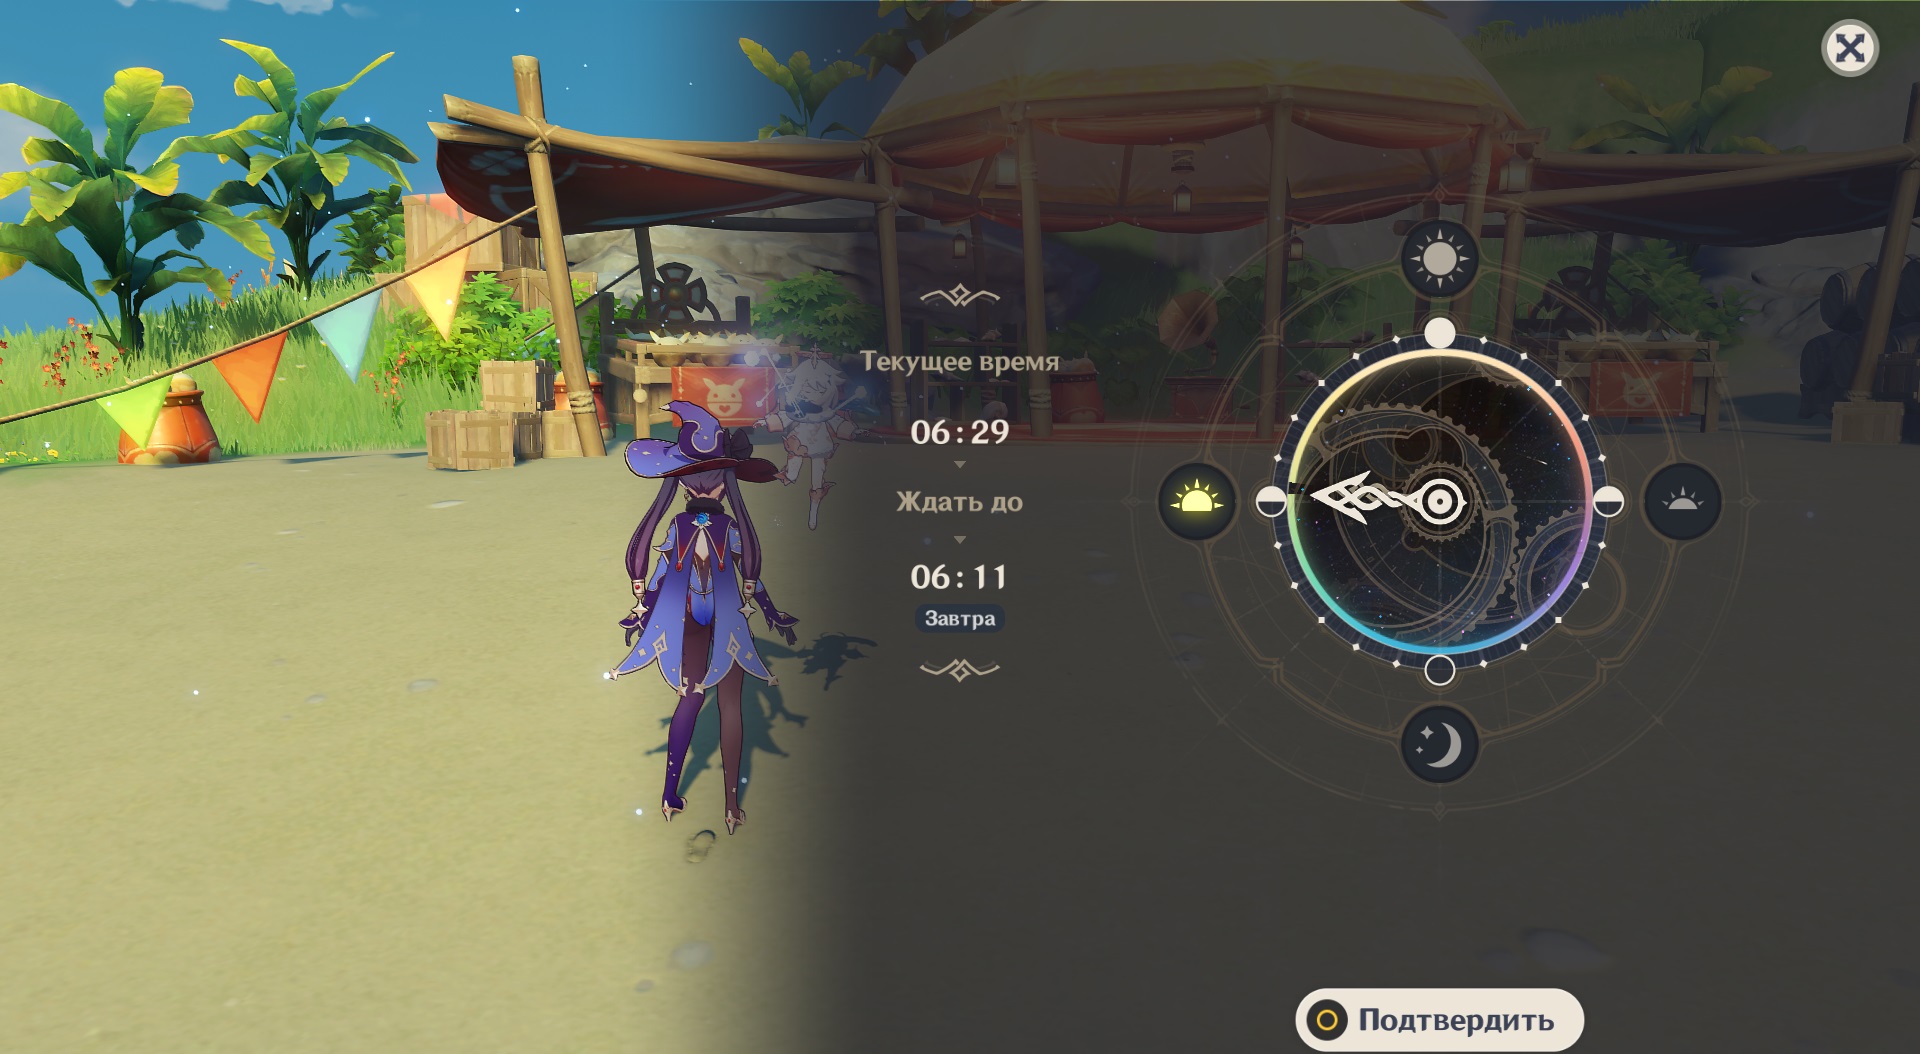
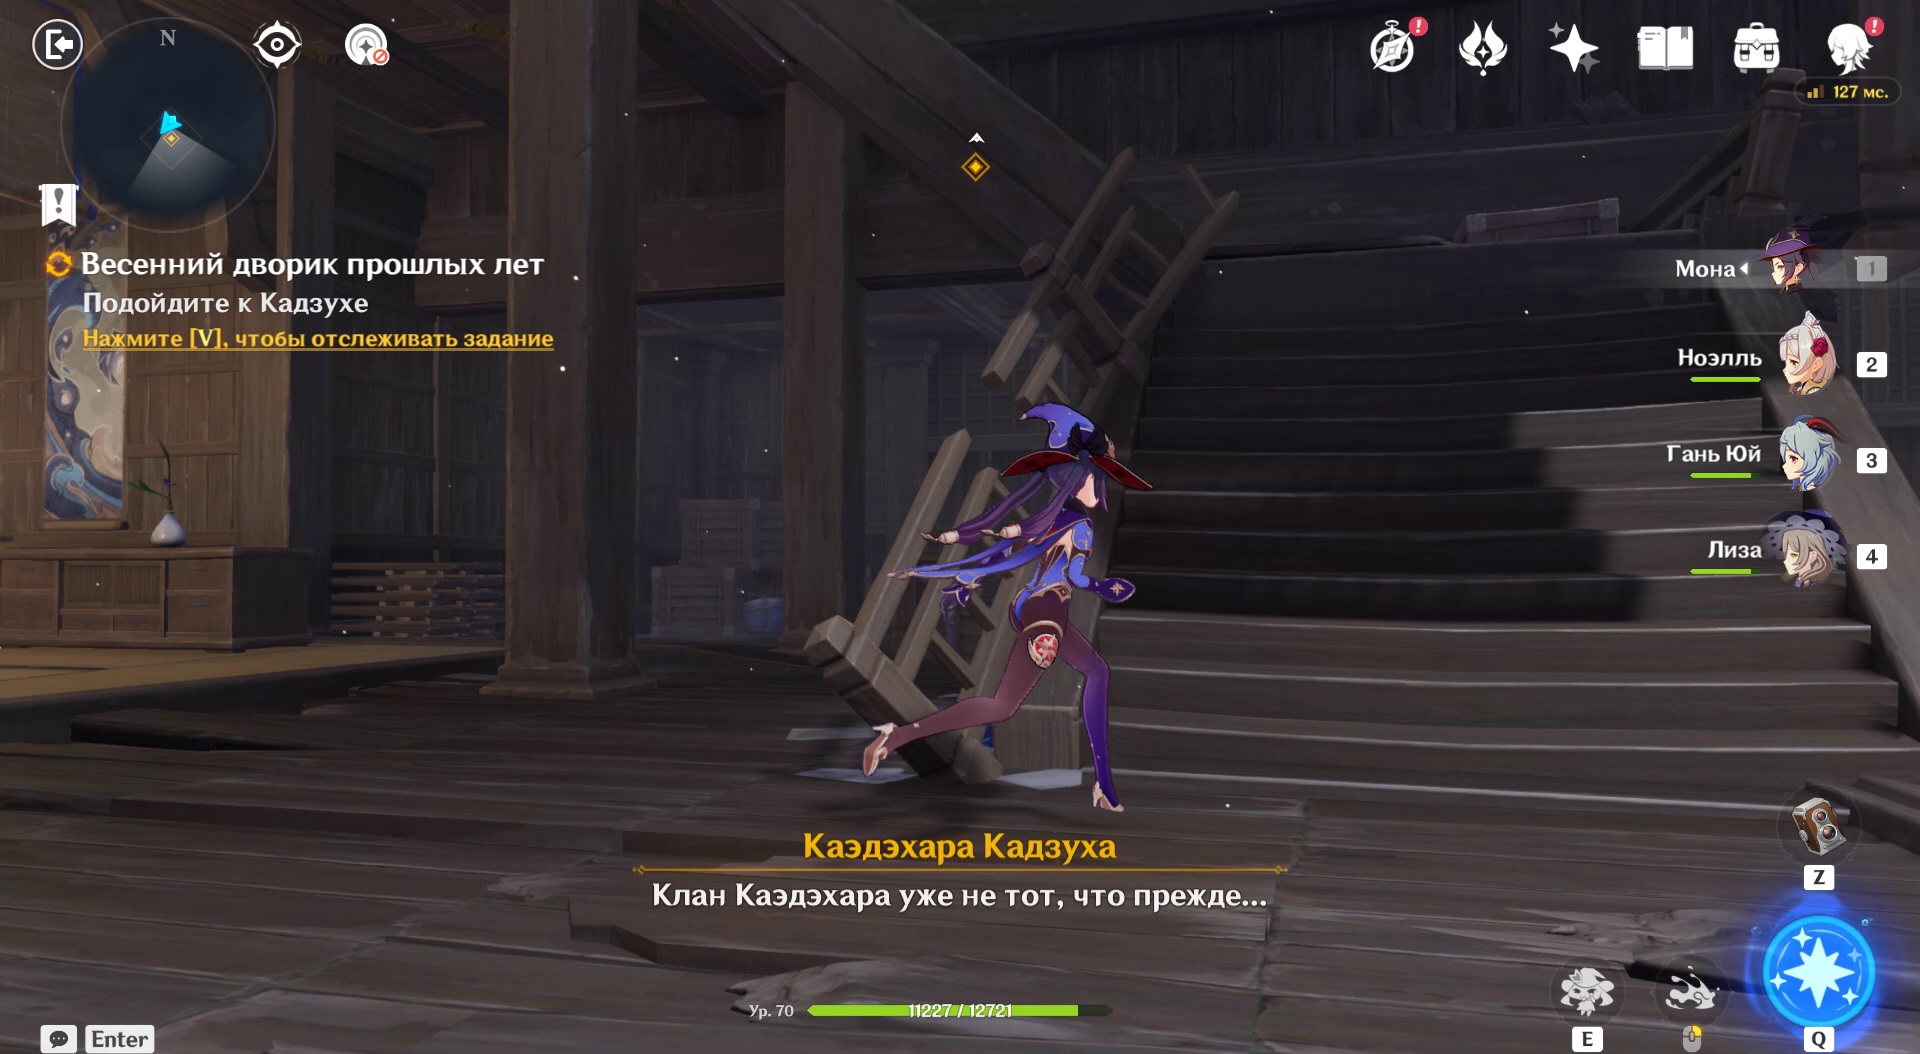
Rest until tomorrowusing the in-game clock. The task will start automatically: Paimon will wake up the Traveler (-tsu), bringing him up to date. While the player was sleeping, several strange events occurred on the island. Witnesses of one of these are the heroes of the group. Friends accept the offer of a talking squirrel and a boat named Meatball to go explore strange places.

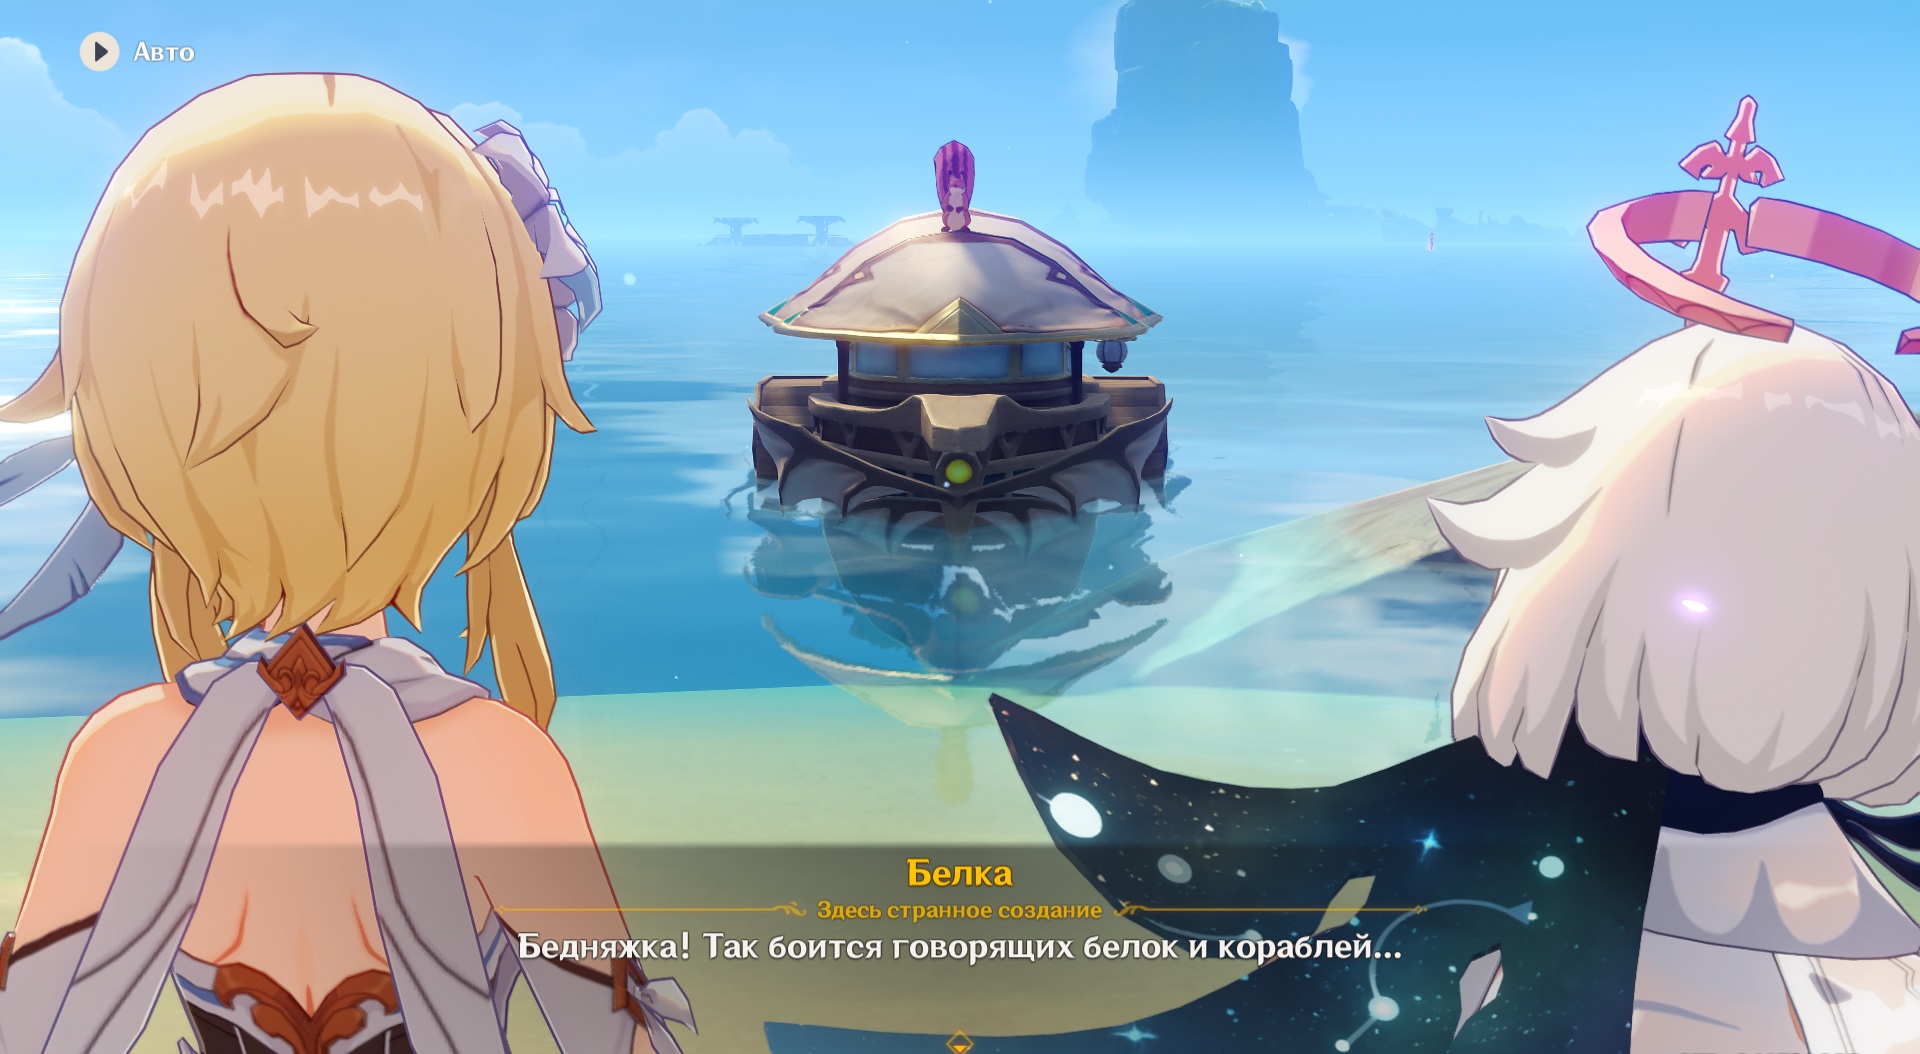

Climb aboard Meatballs
The Meatball is controlled in the same way as a regular Wavewalker. The boat admires the bravery of the crew and is ready to take them to strange shores.
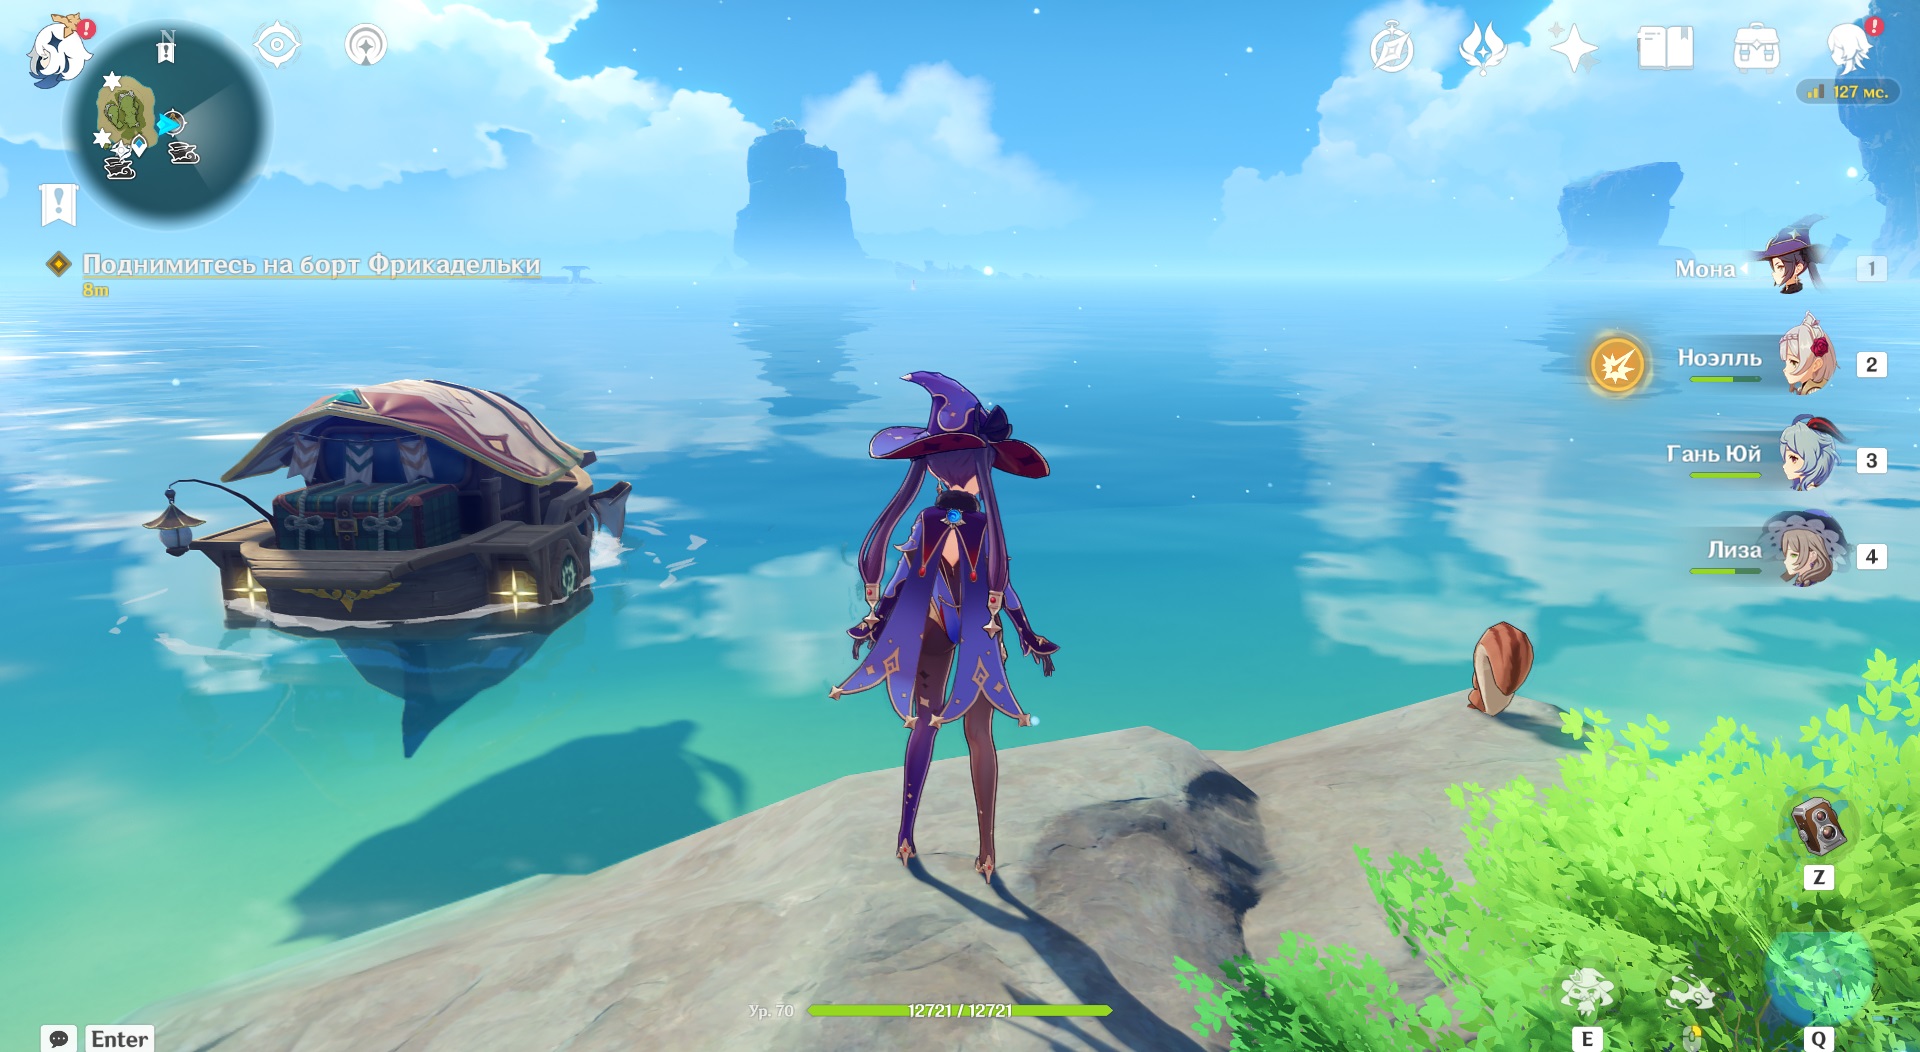
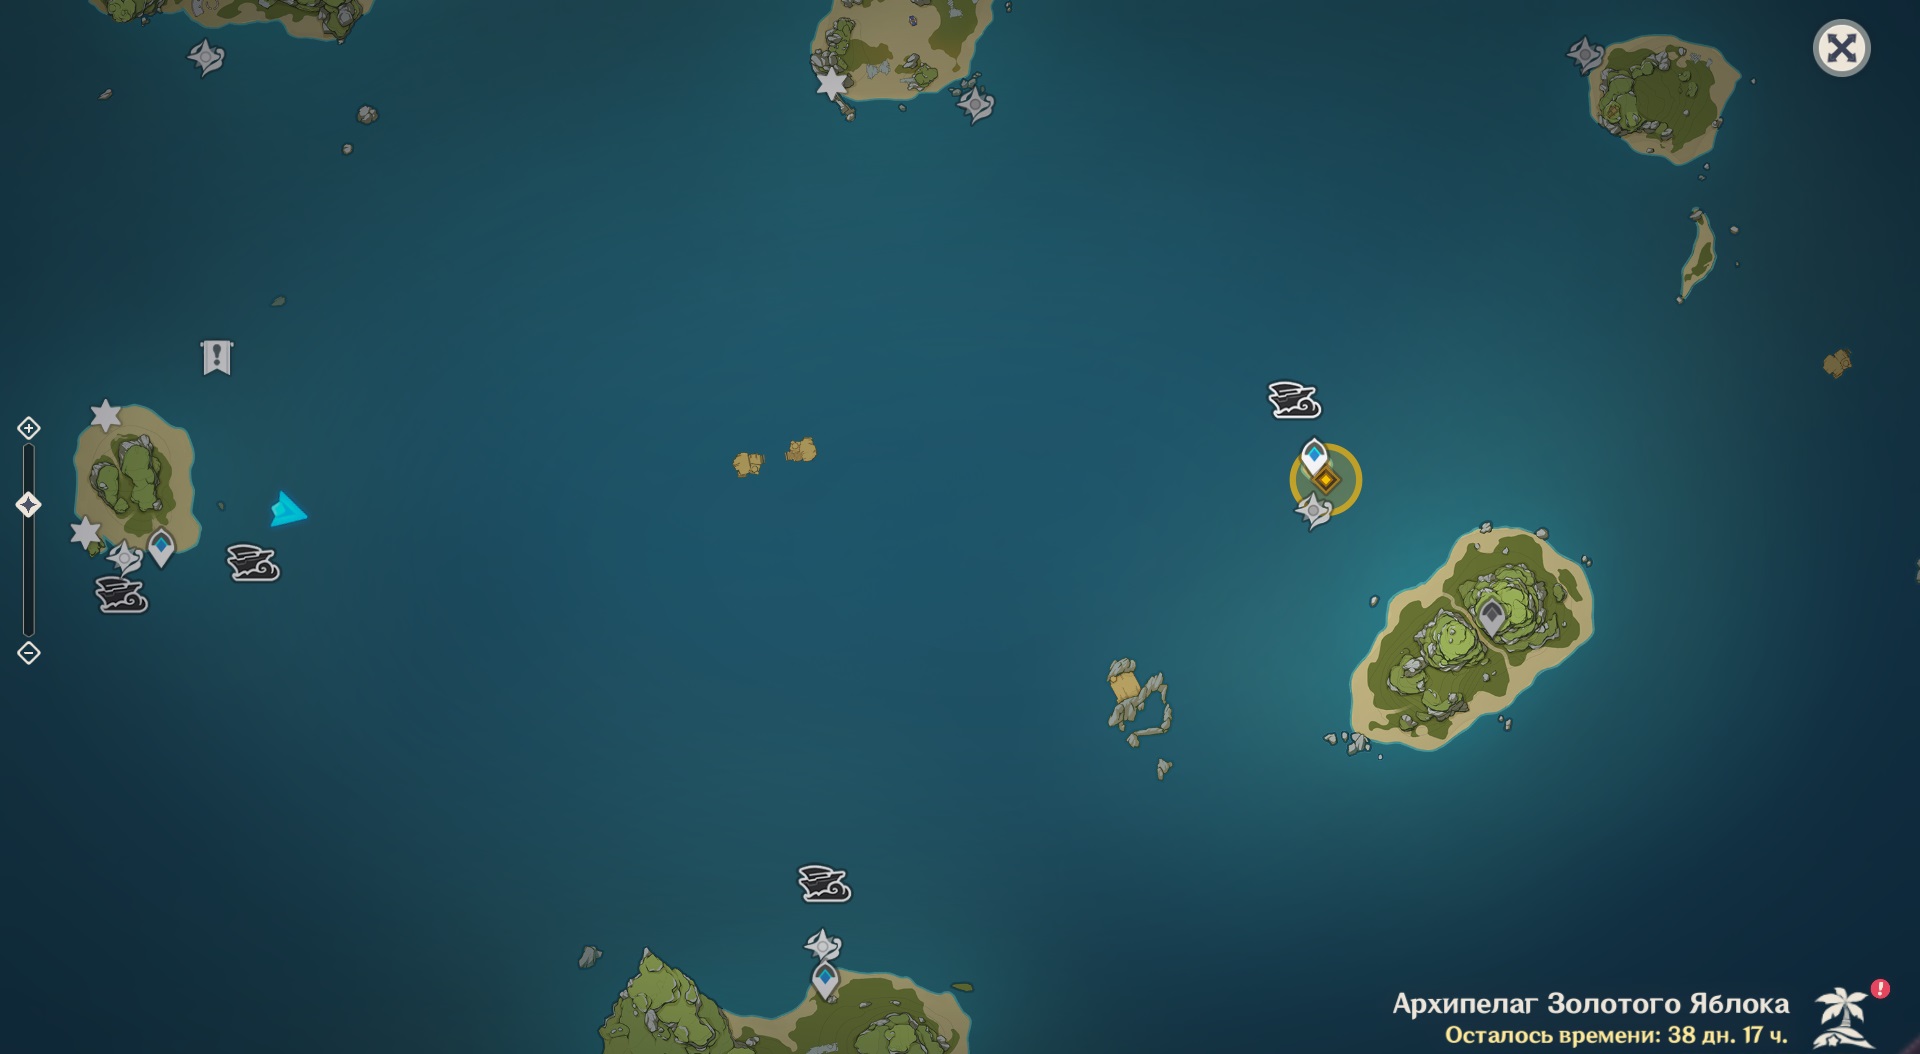
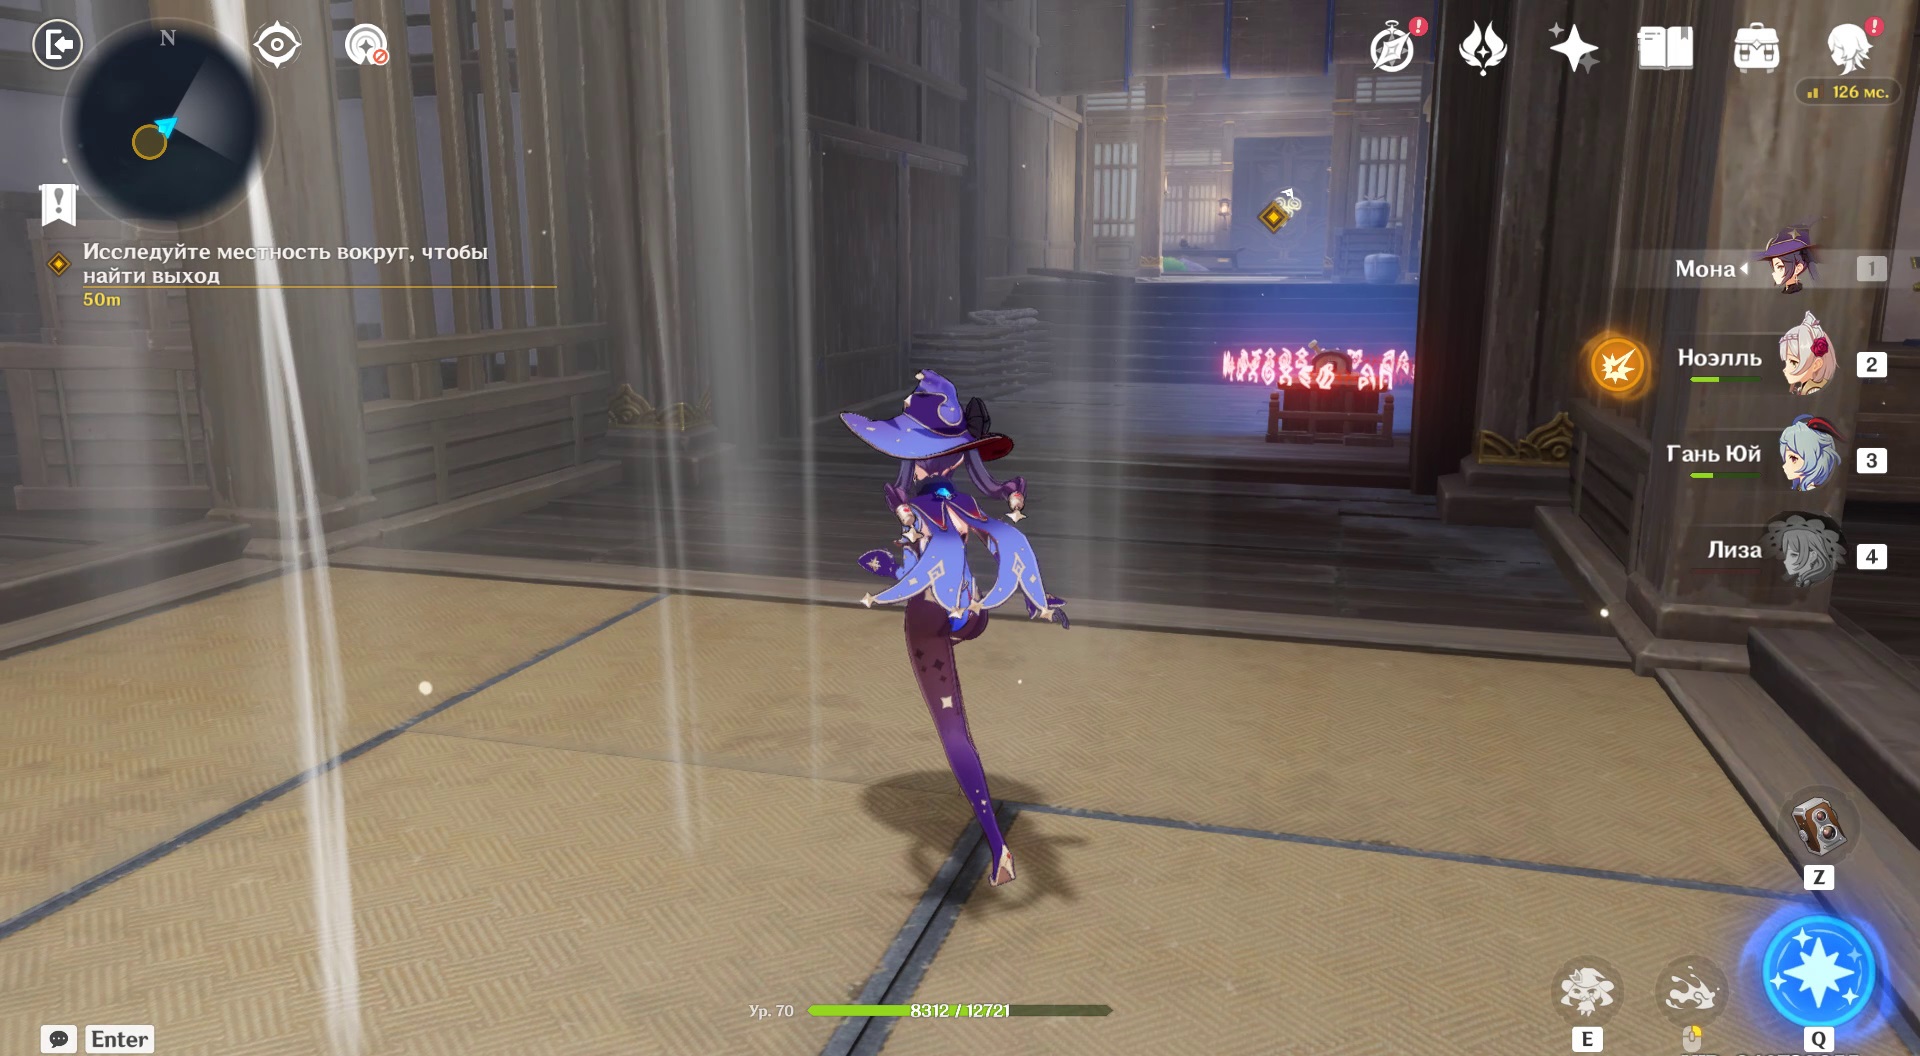
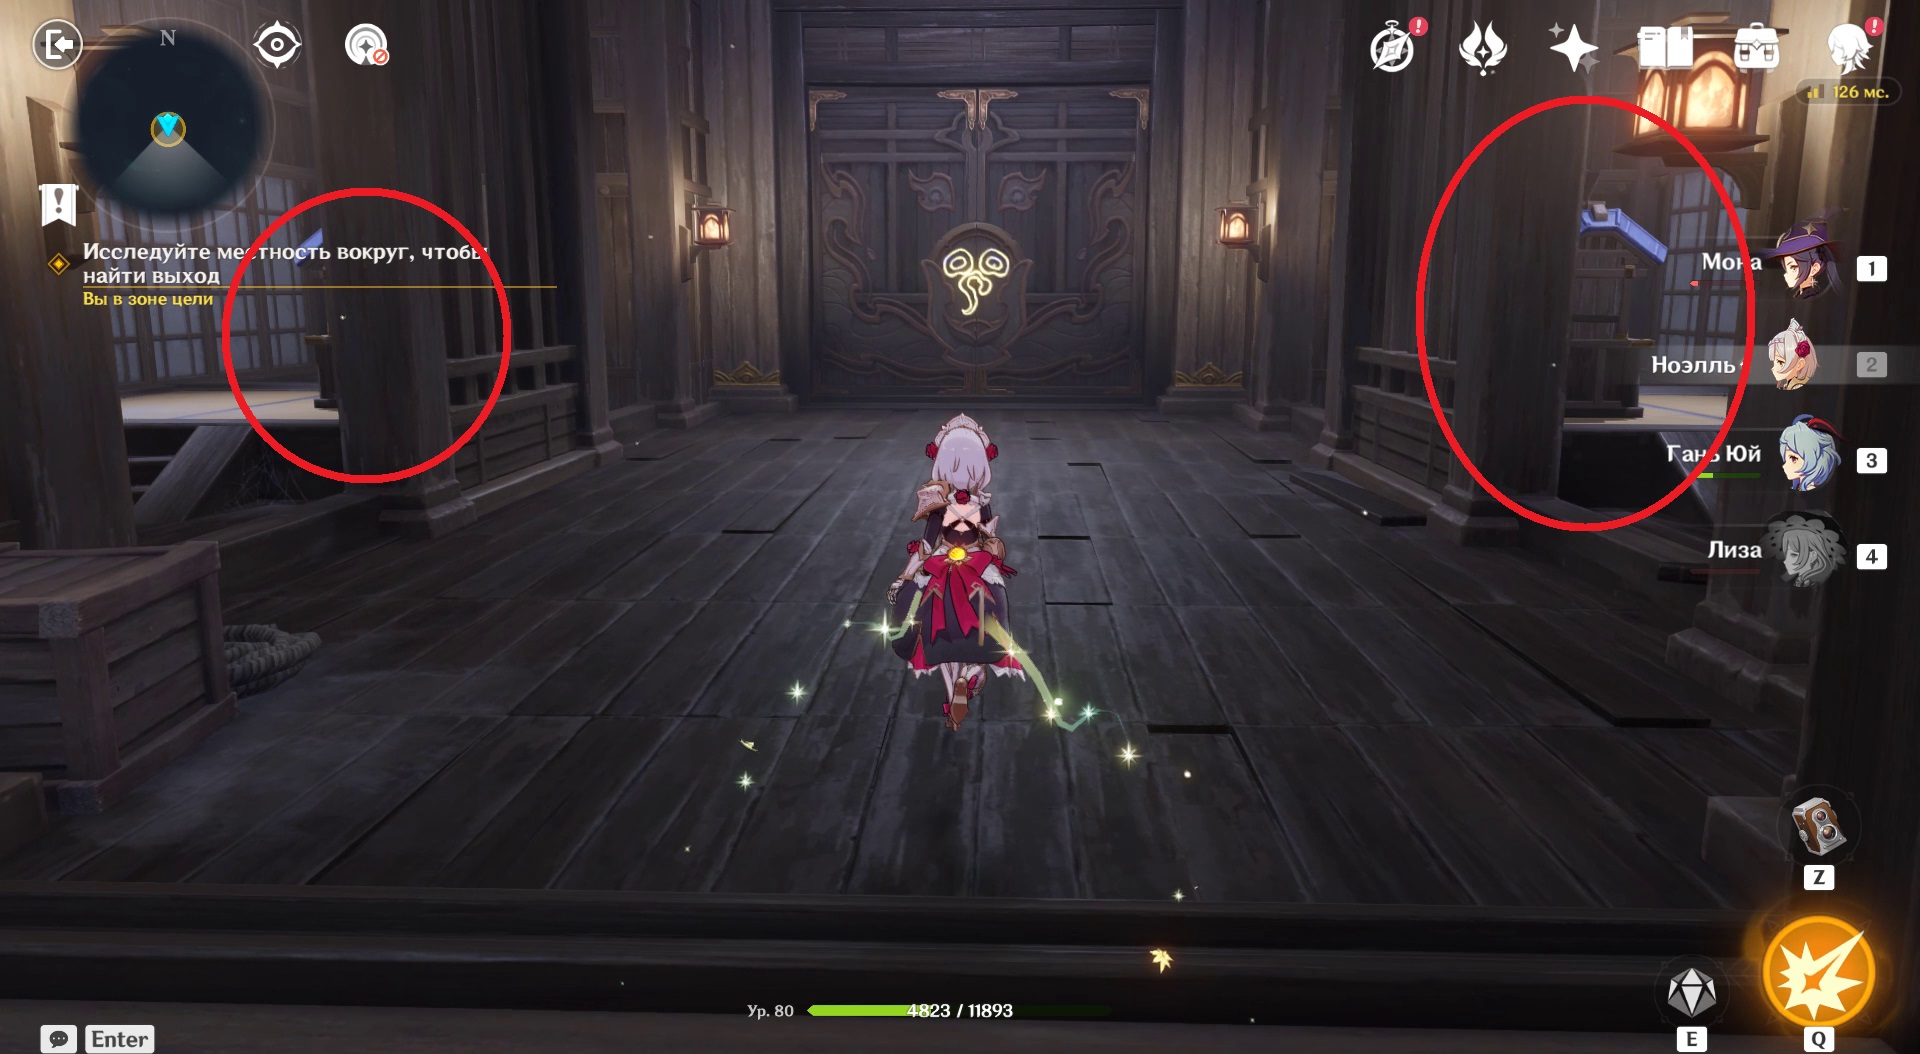
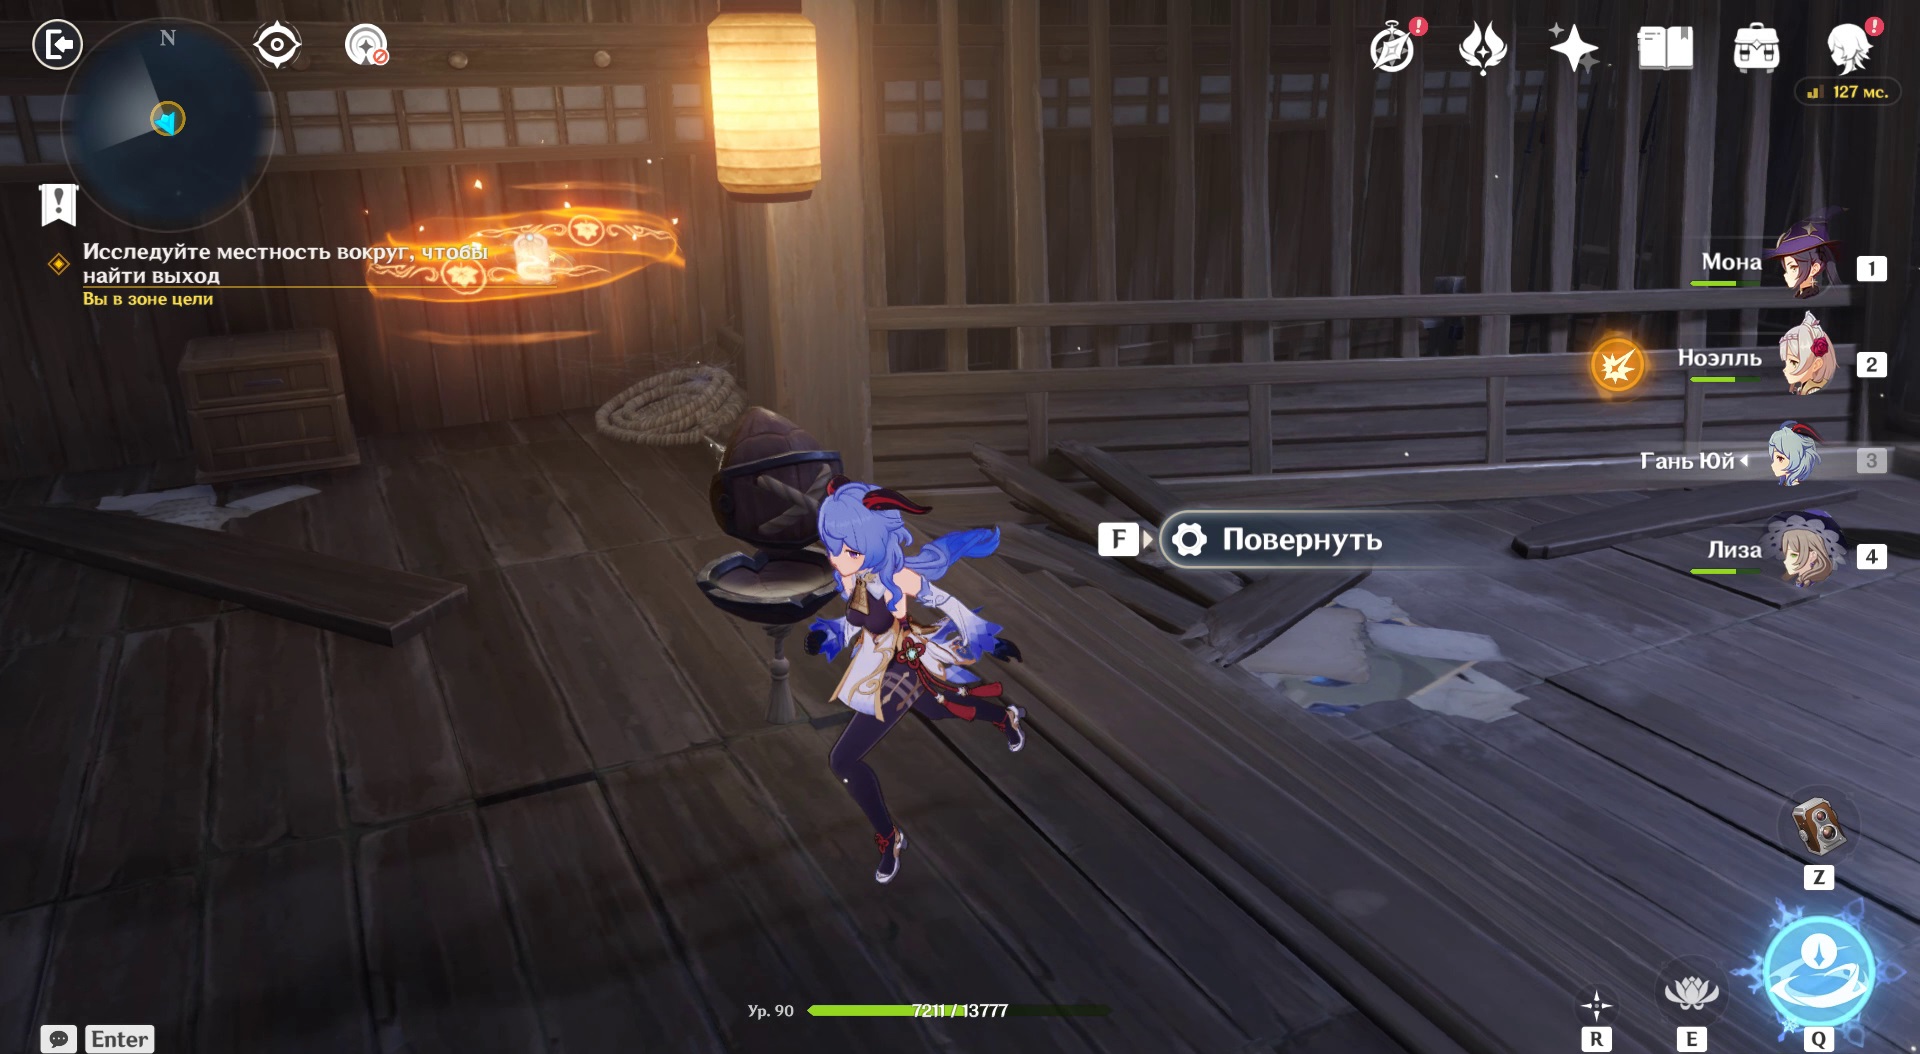
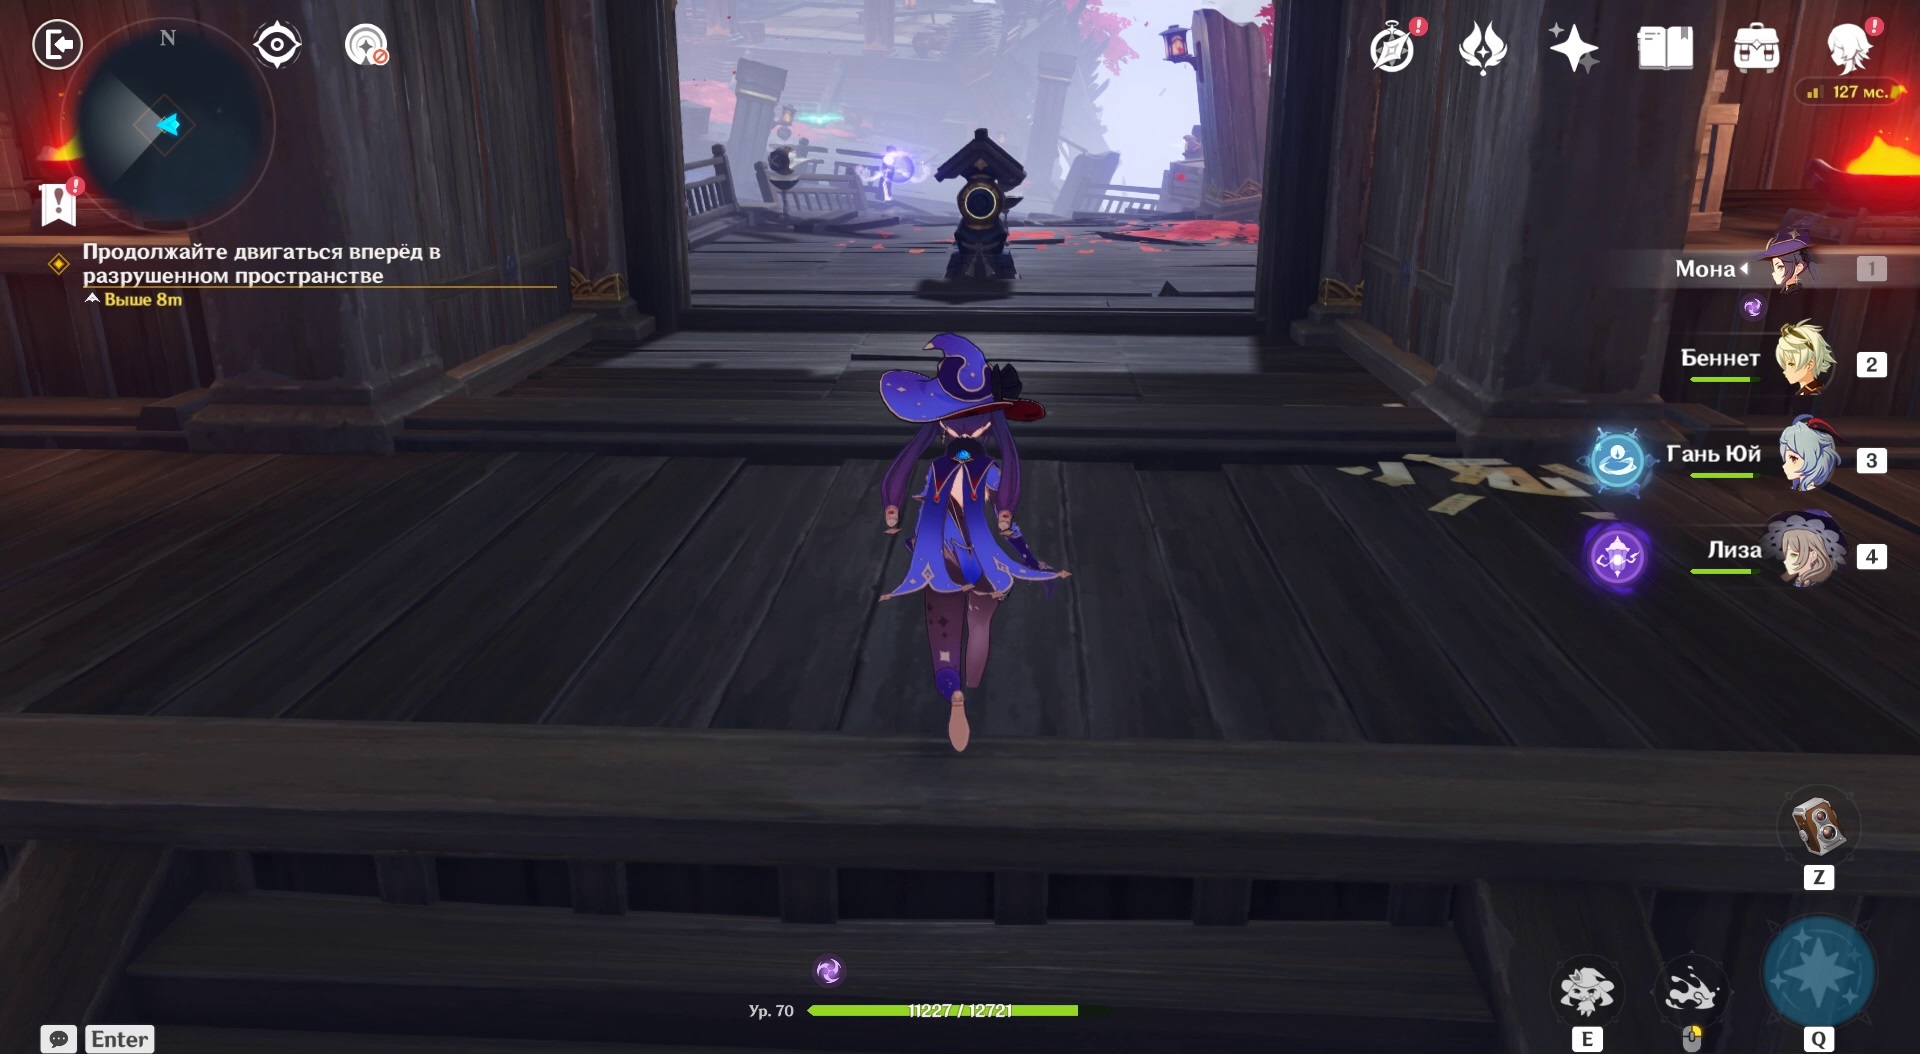
Head to the island where strange phenomena are observed
Move east, towards a small island on which a lone maple tree grows.

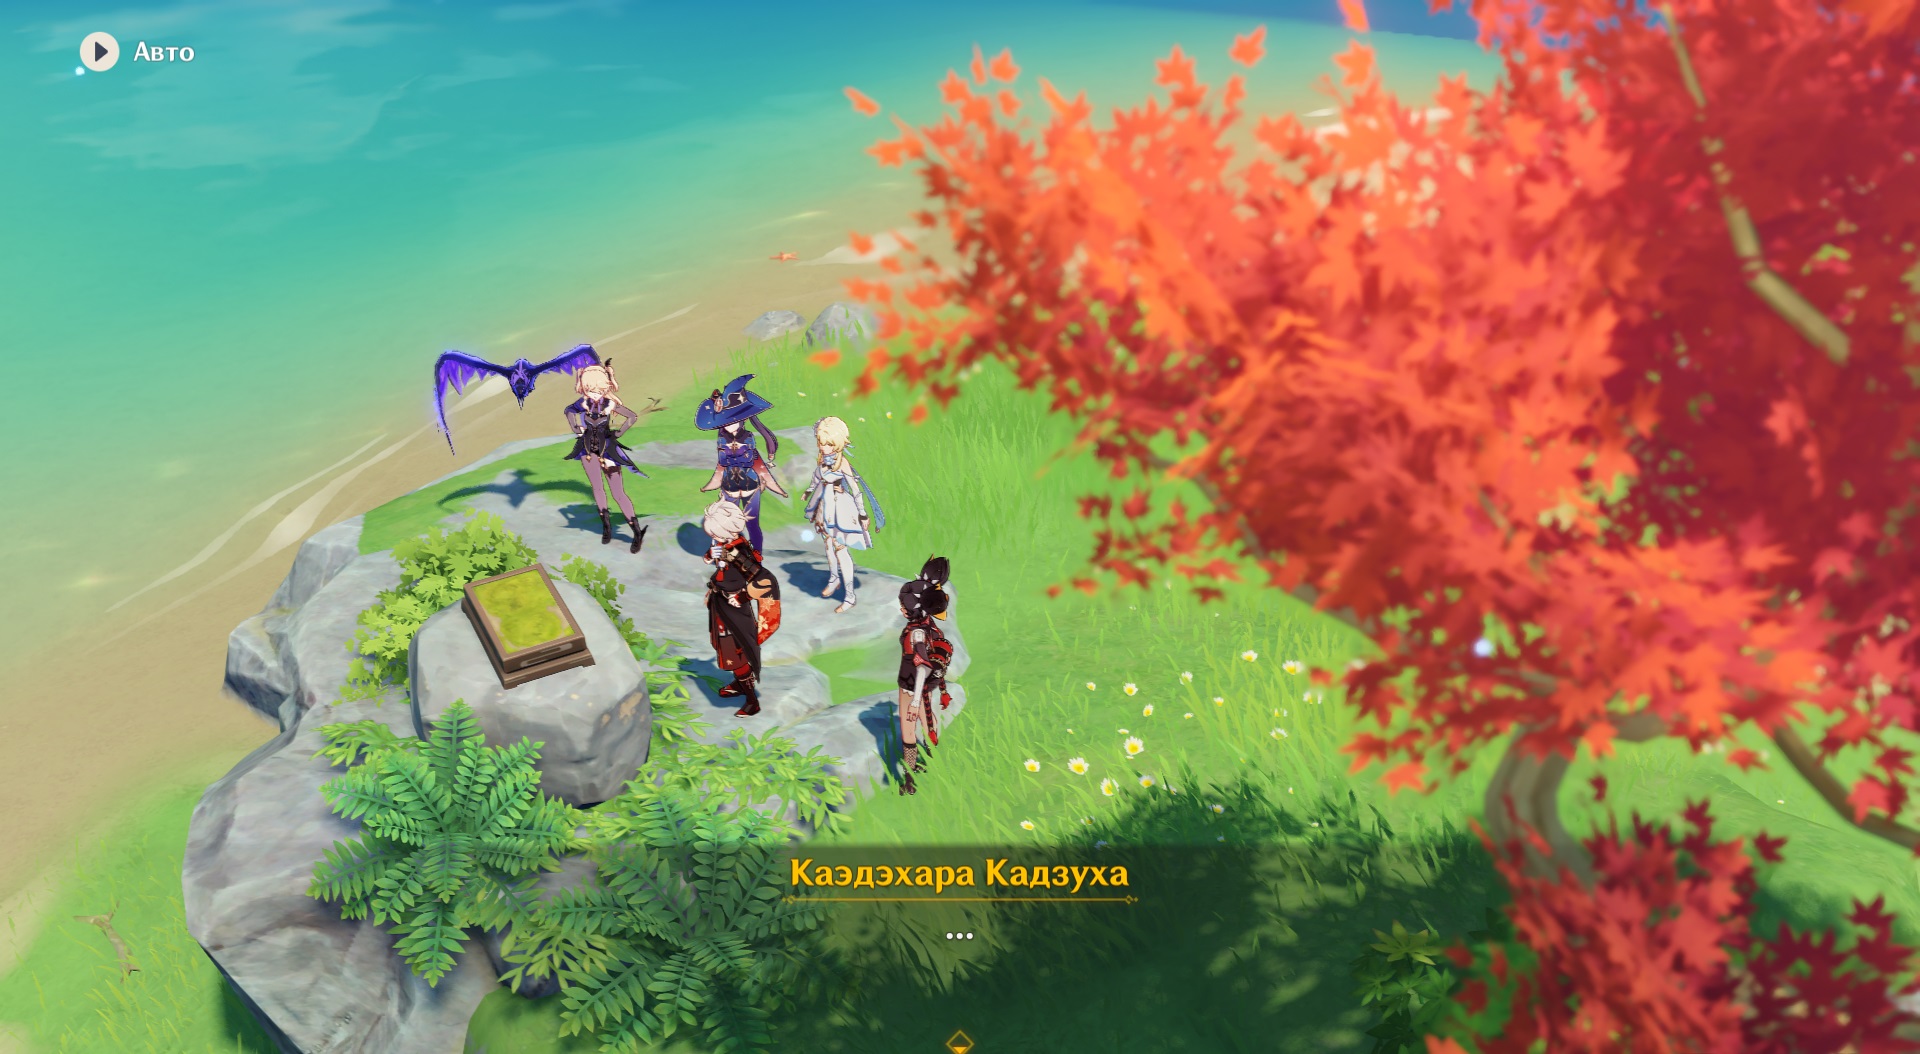
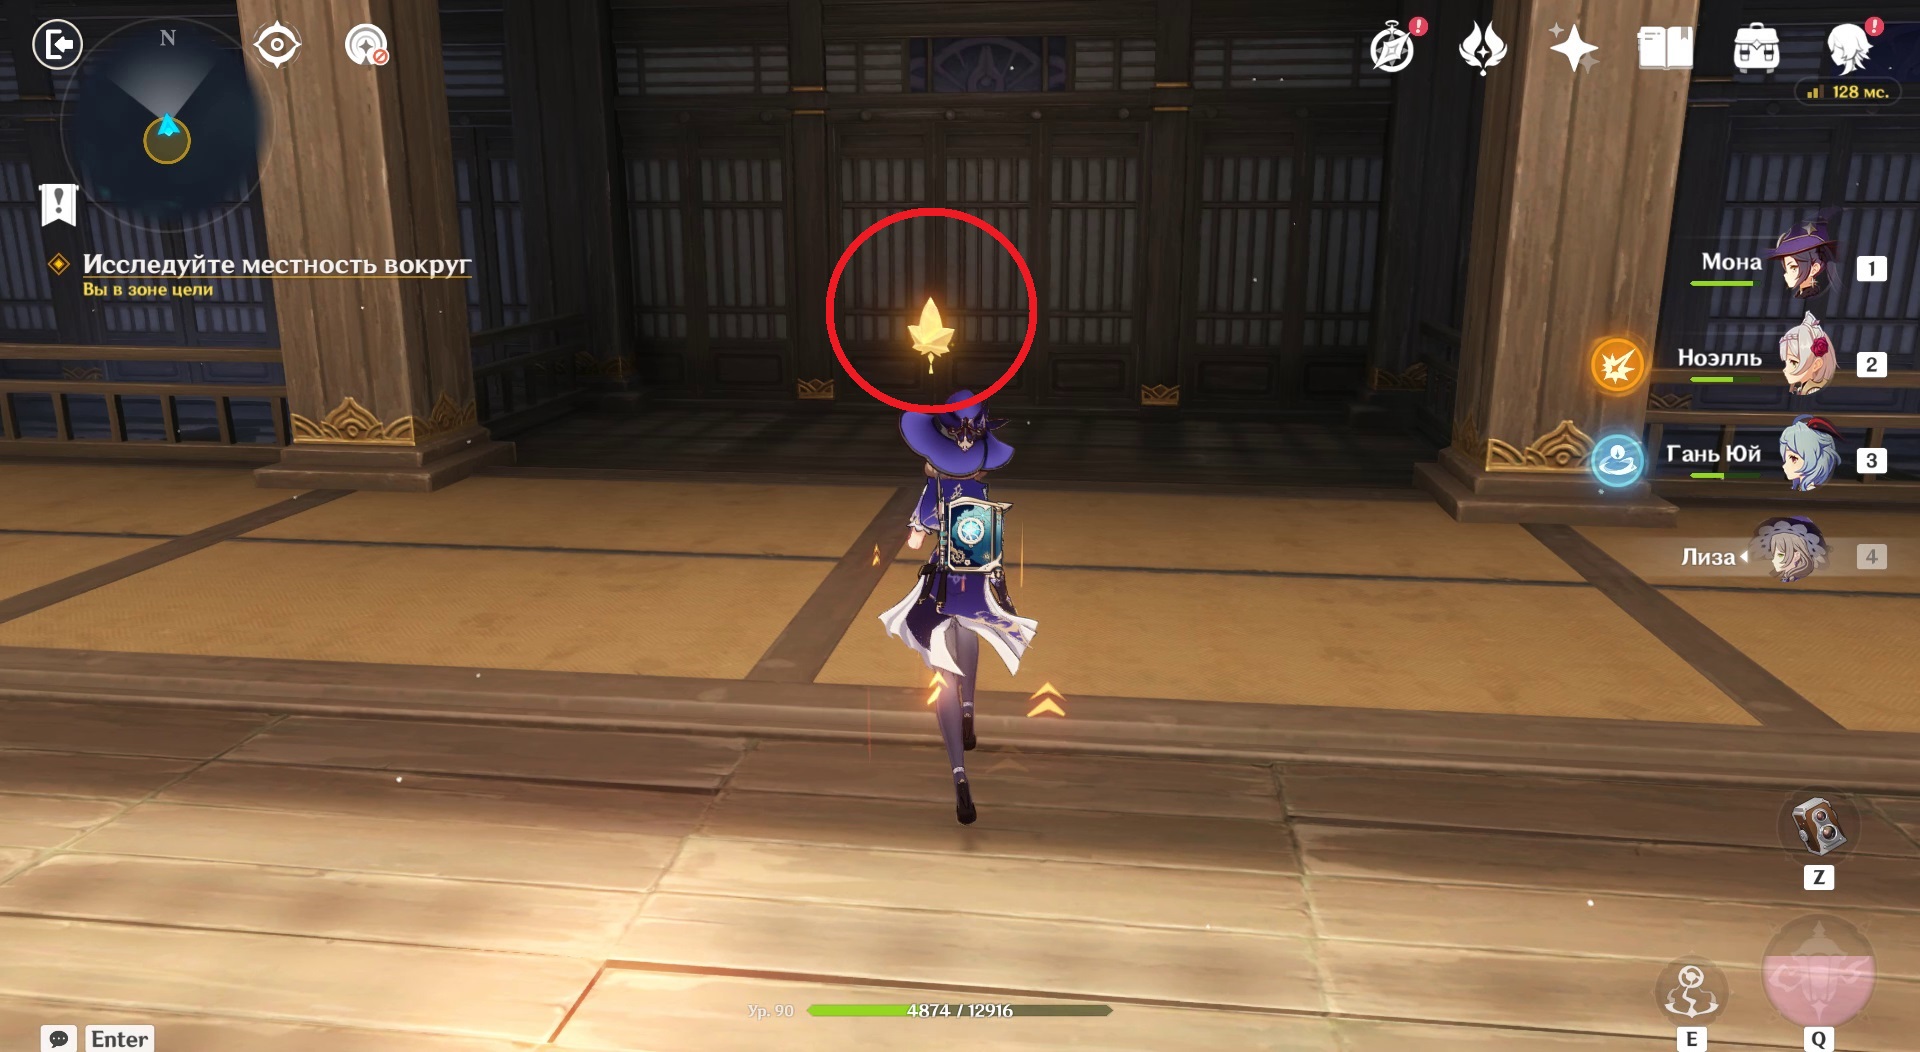
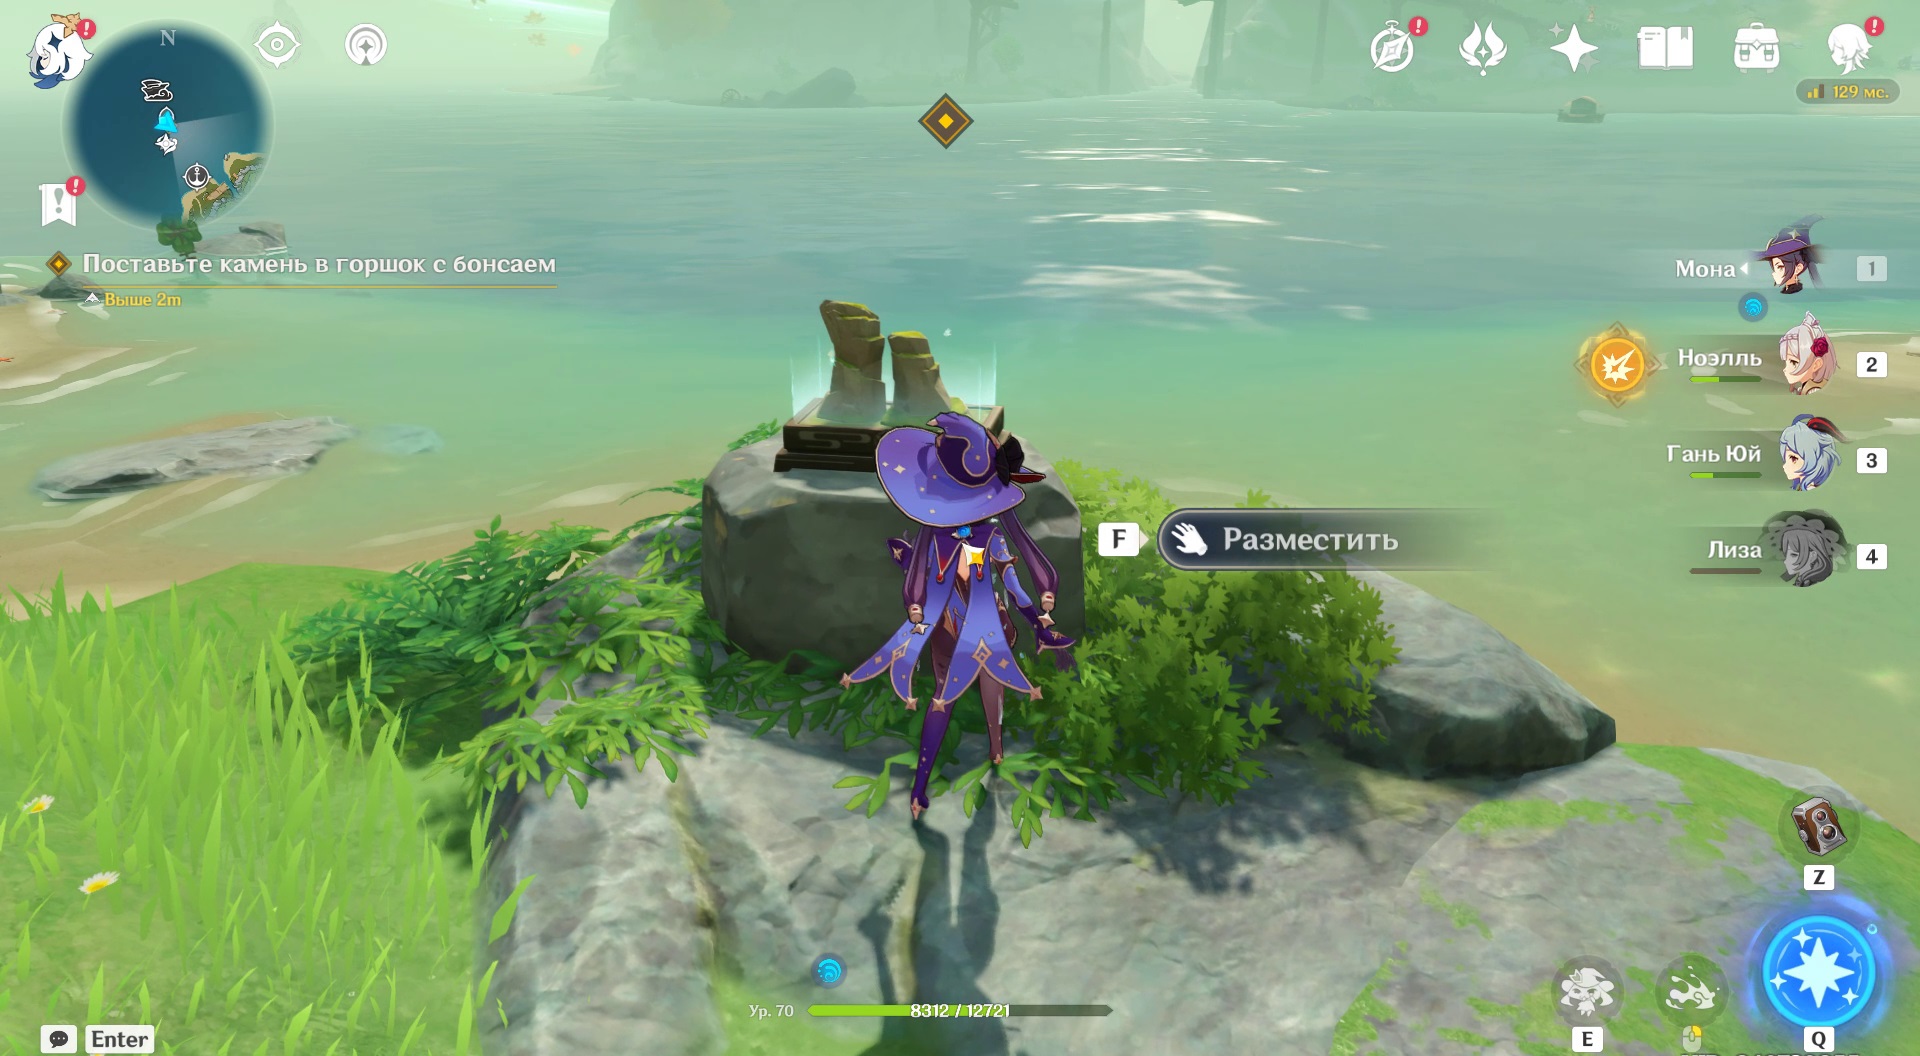
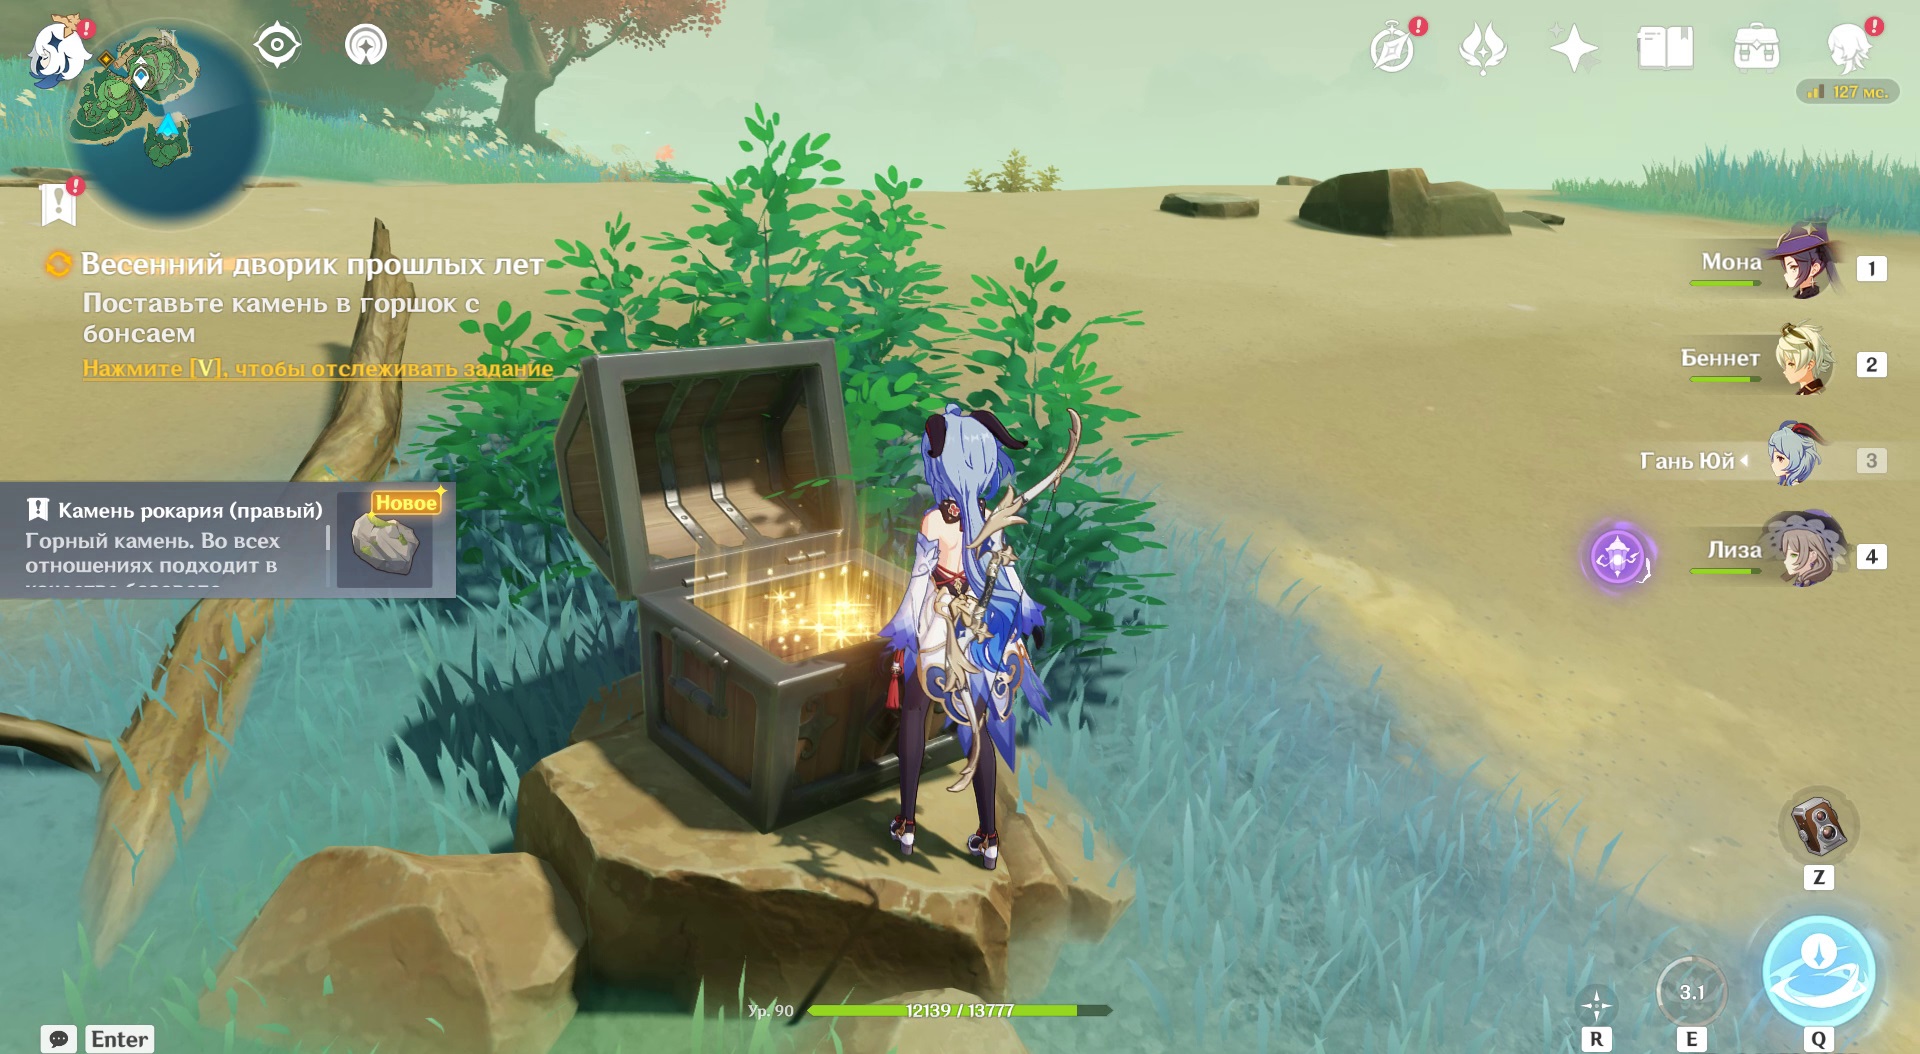
Touch the bonsai
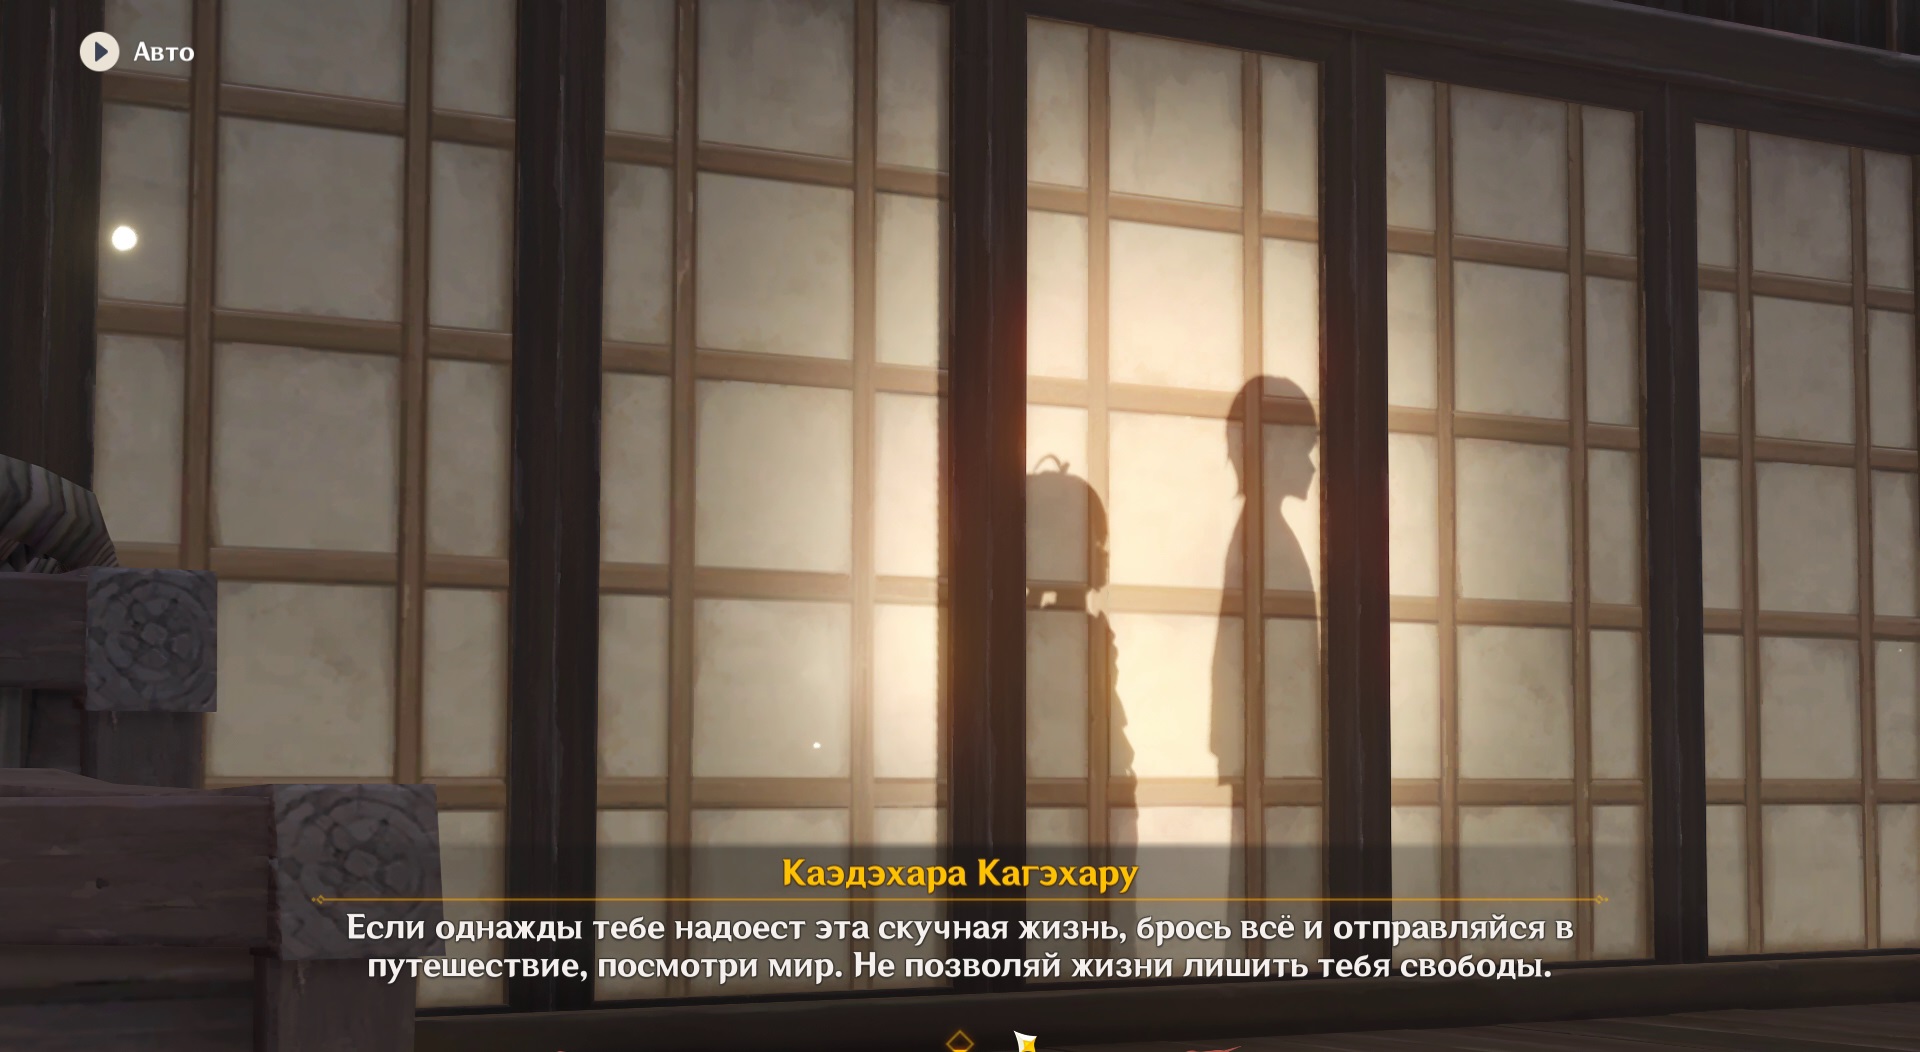
Get closer to the tree and a cutscene will play, in which Kazuha will notice a relic from his past appearing out of nowhere - a tray used to grow bonsai. The comrades decide to restore the miniature and are transported to another dimension.
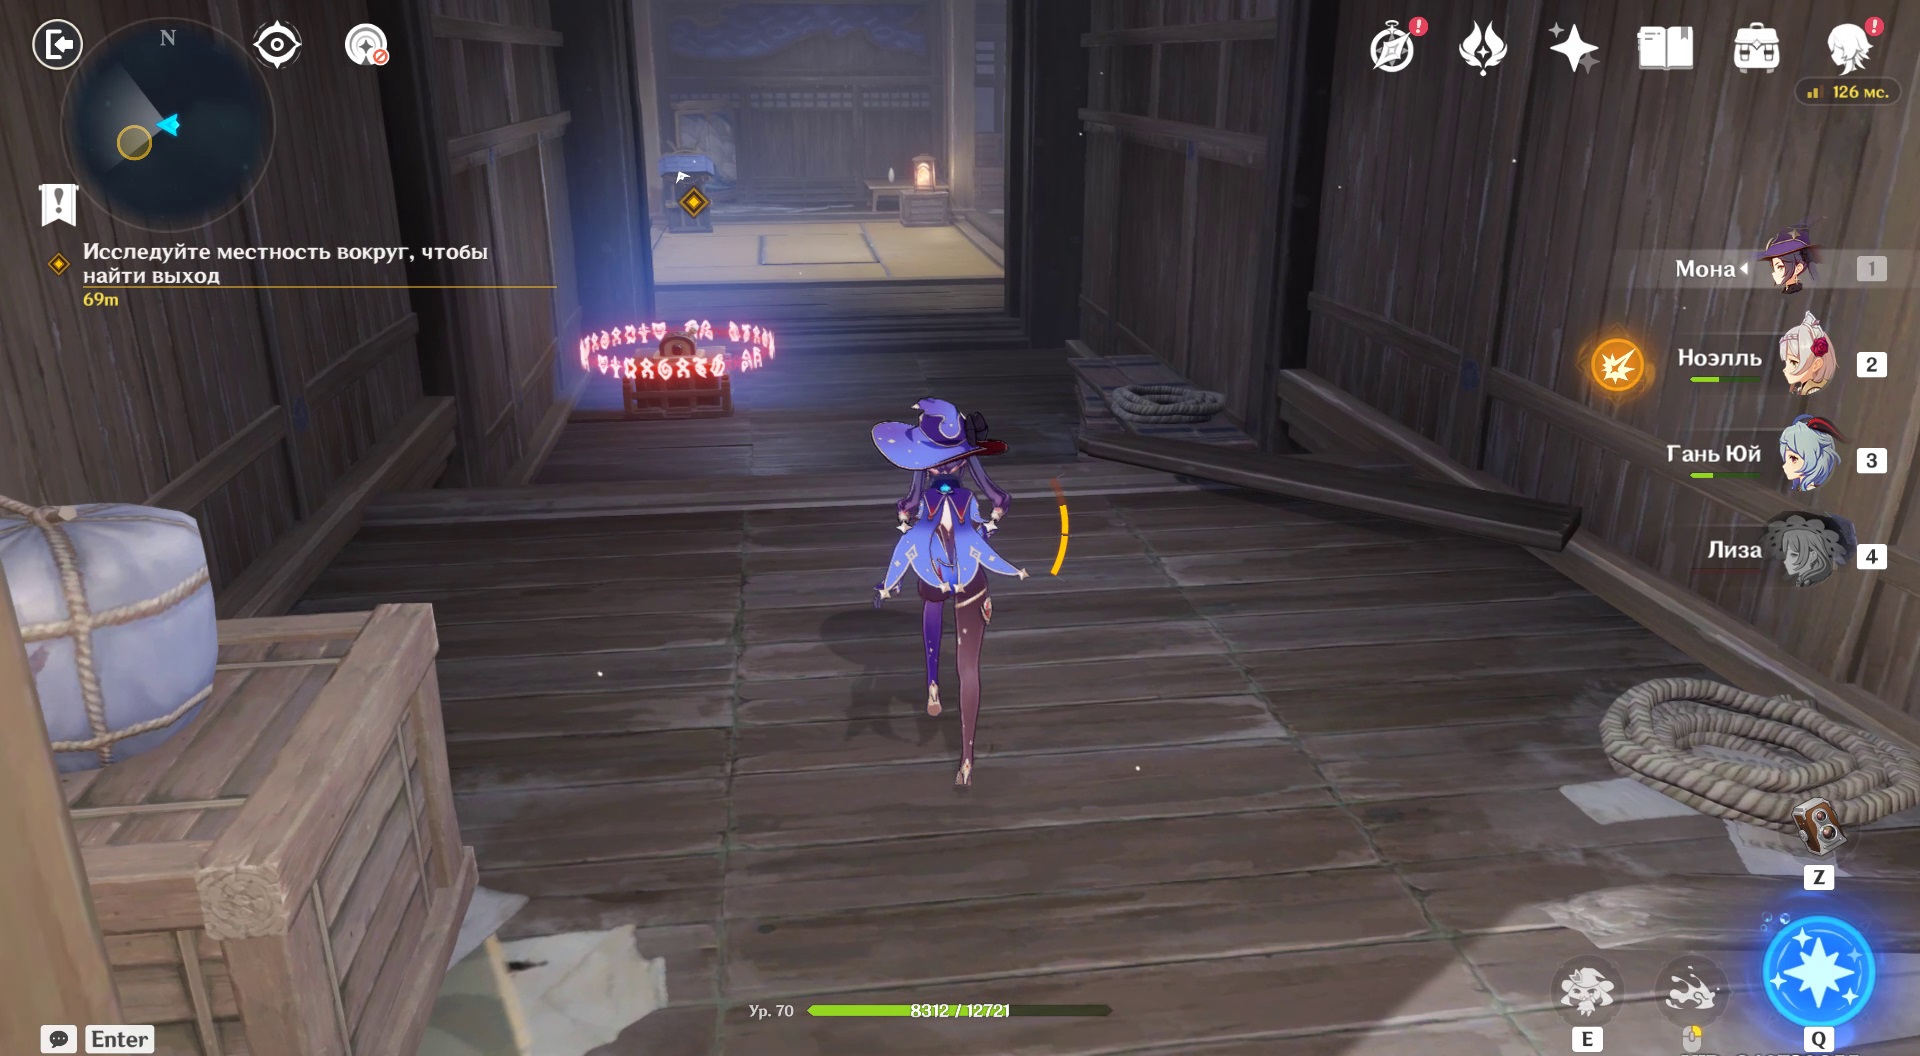
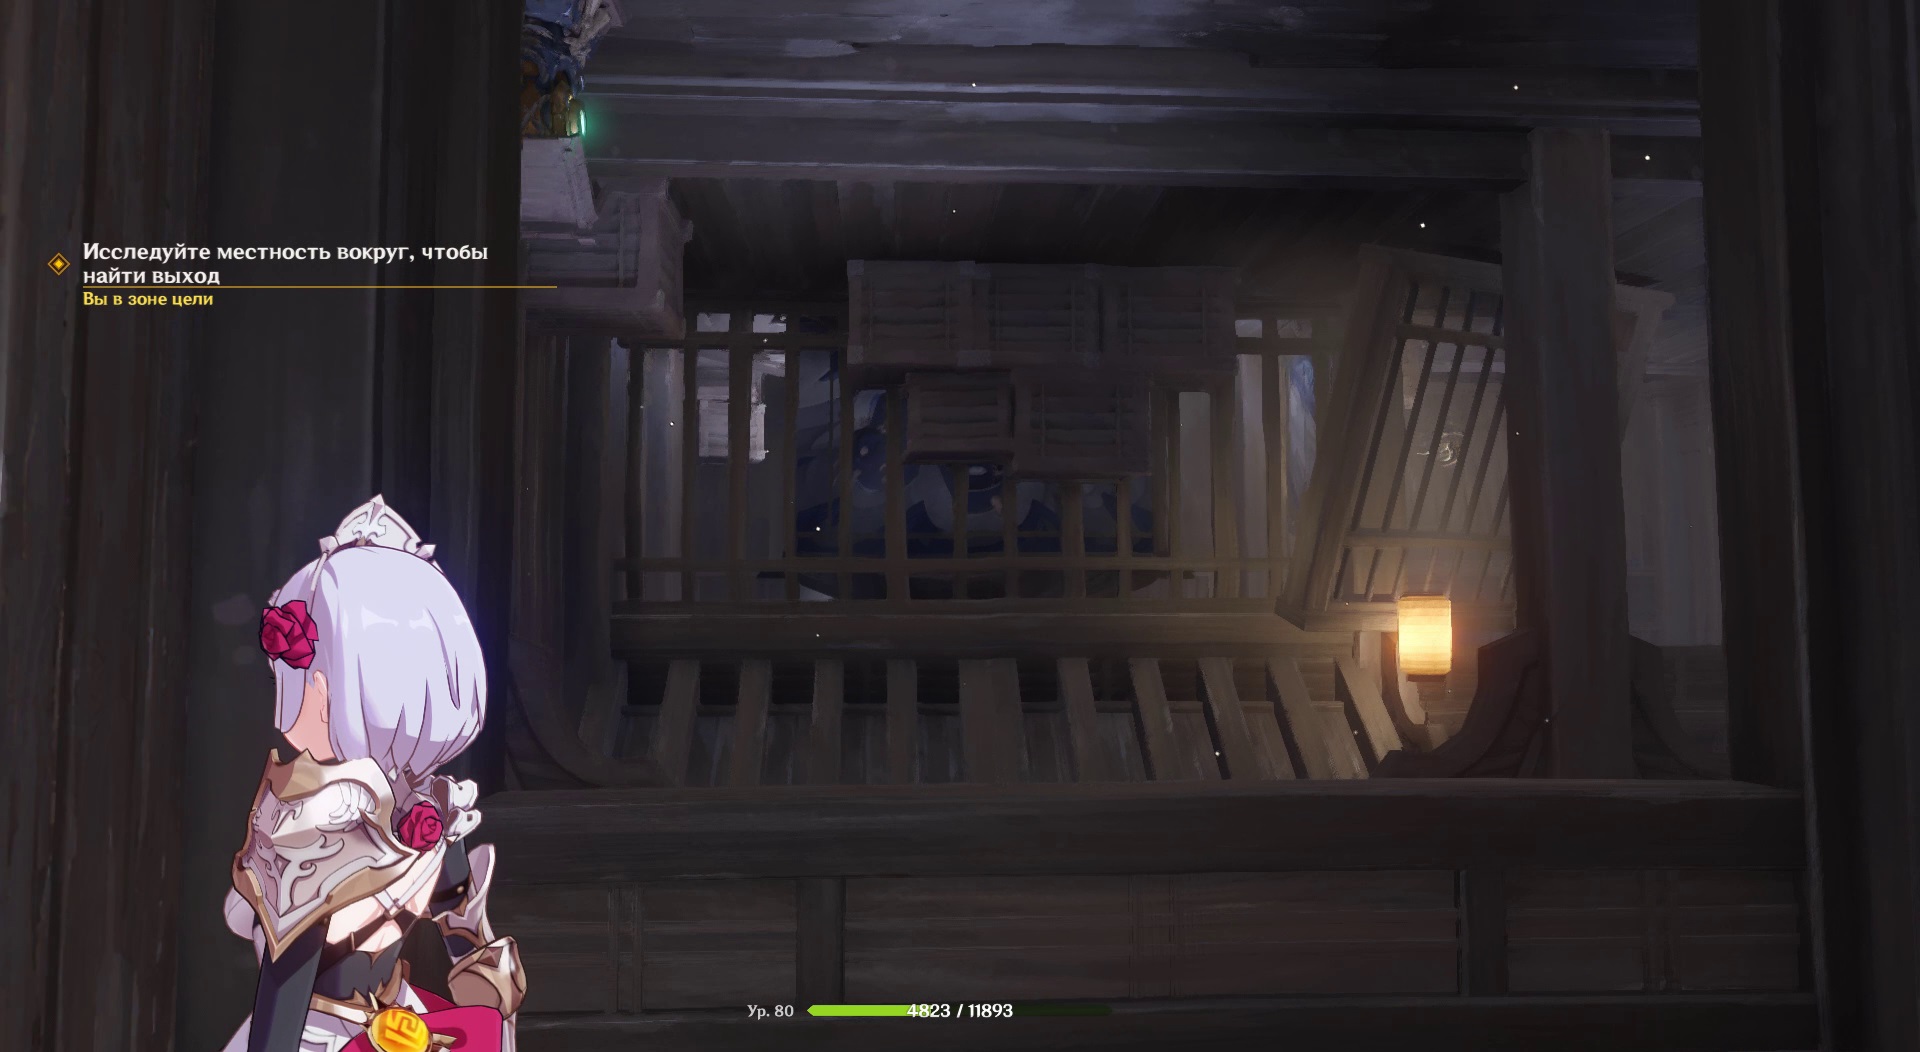
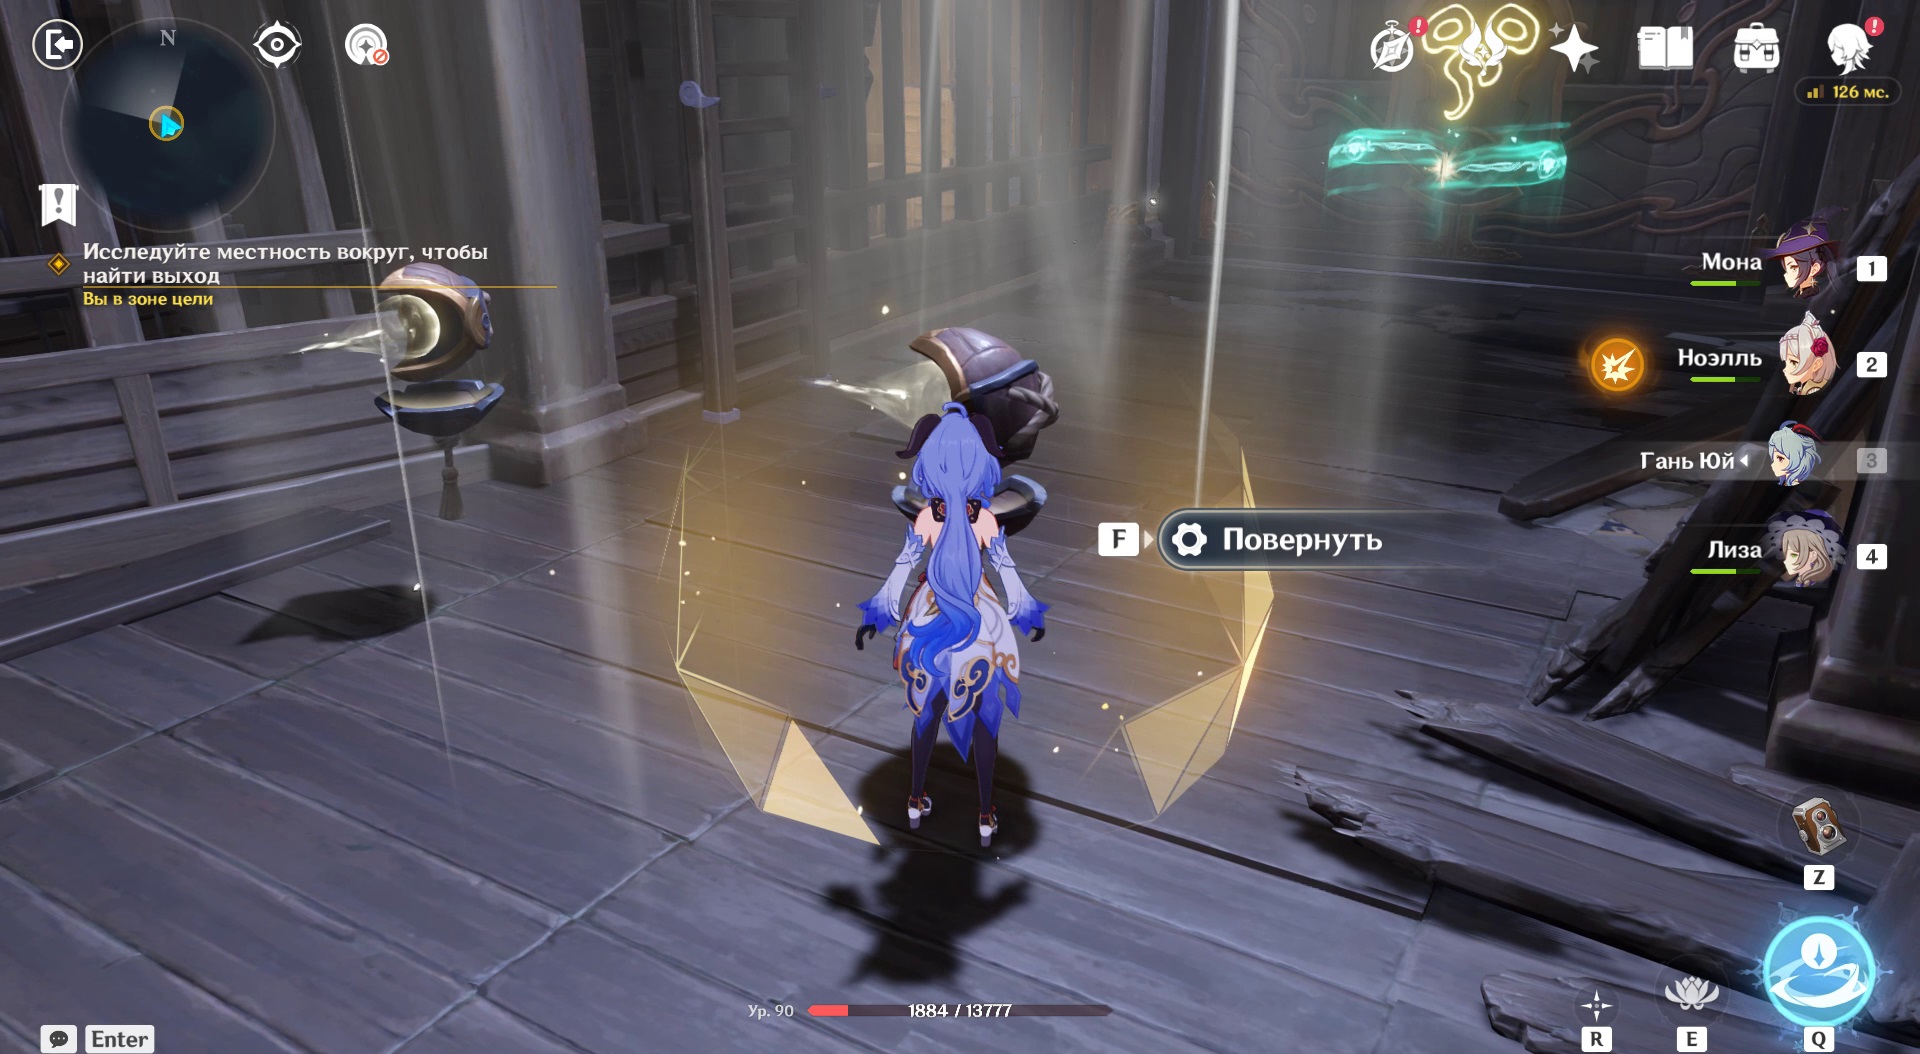
How to remove the yellow barrier from the chest
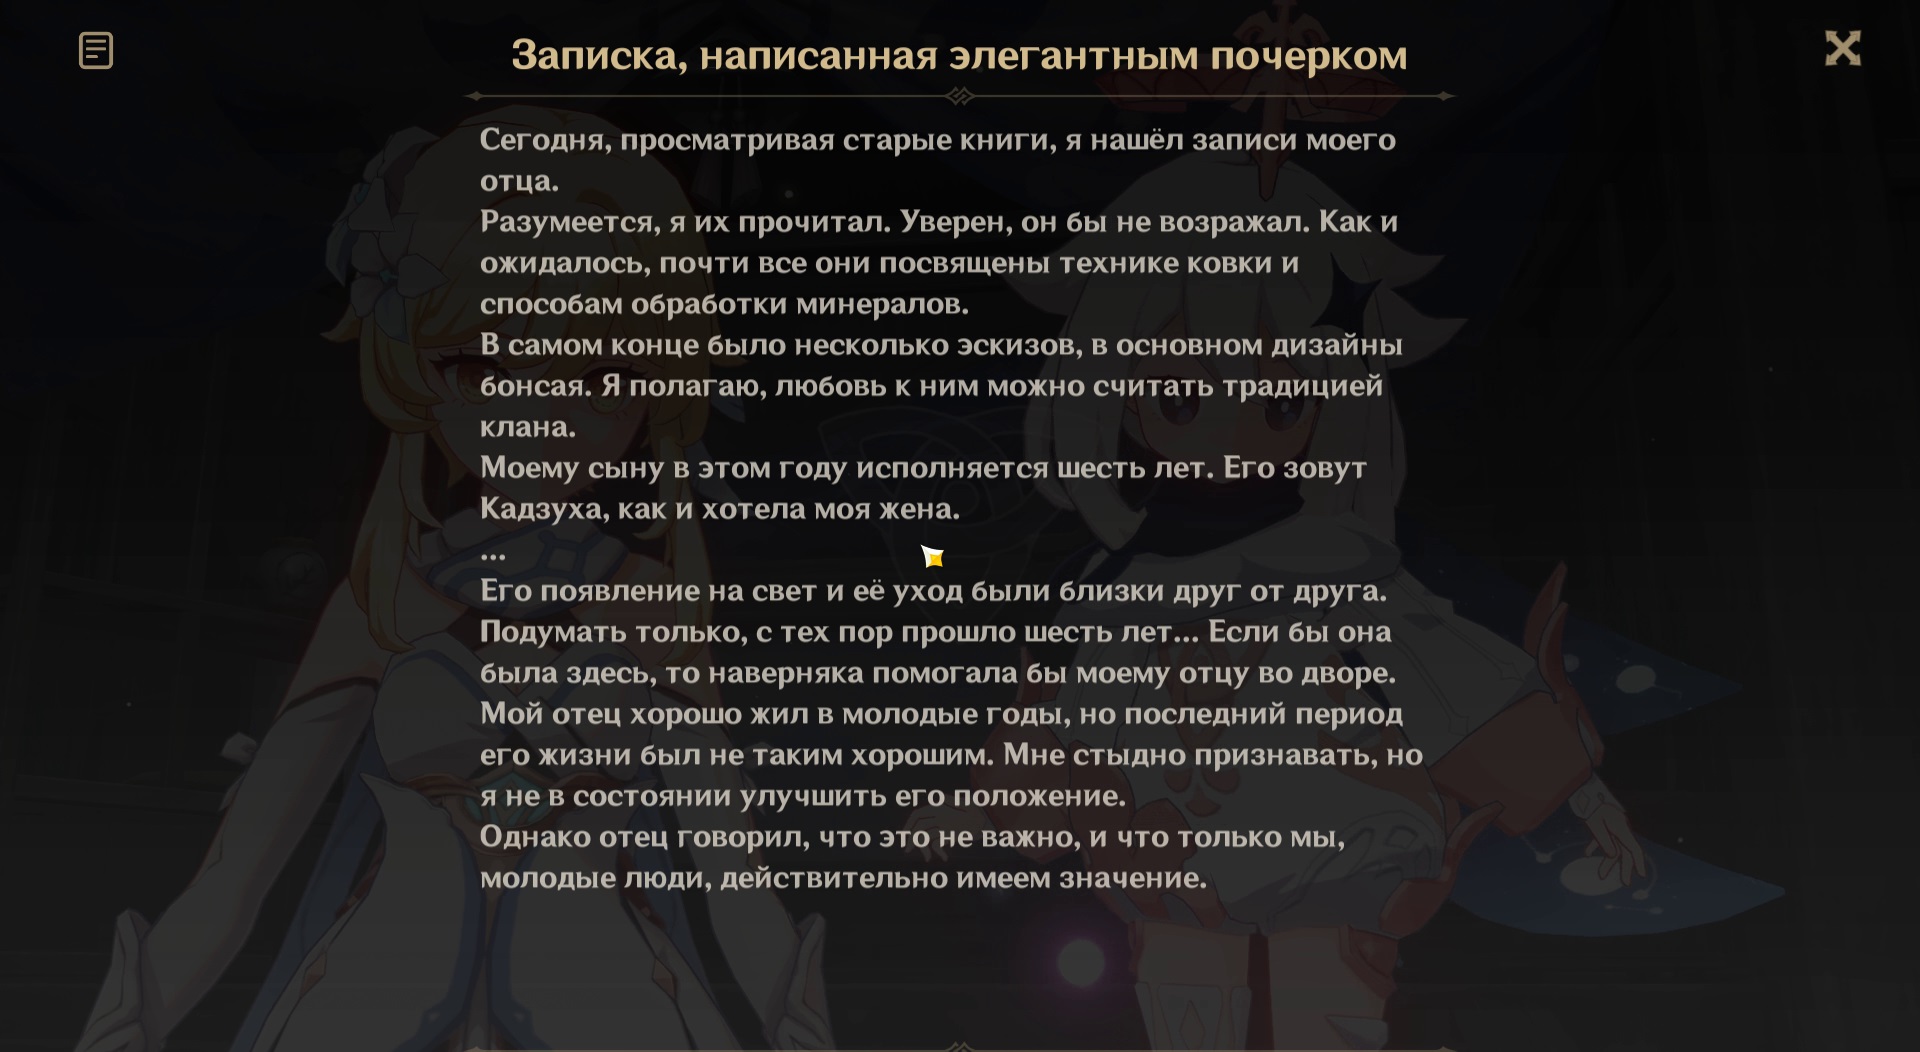
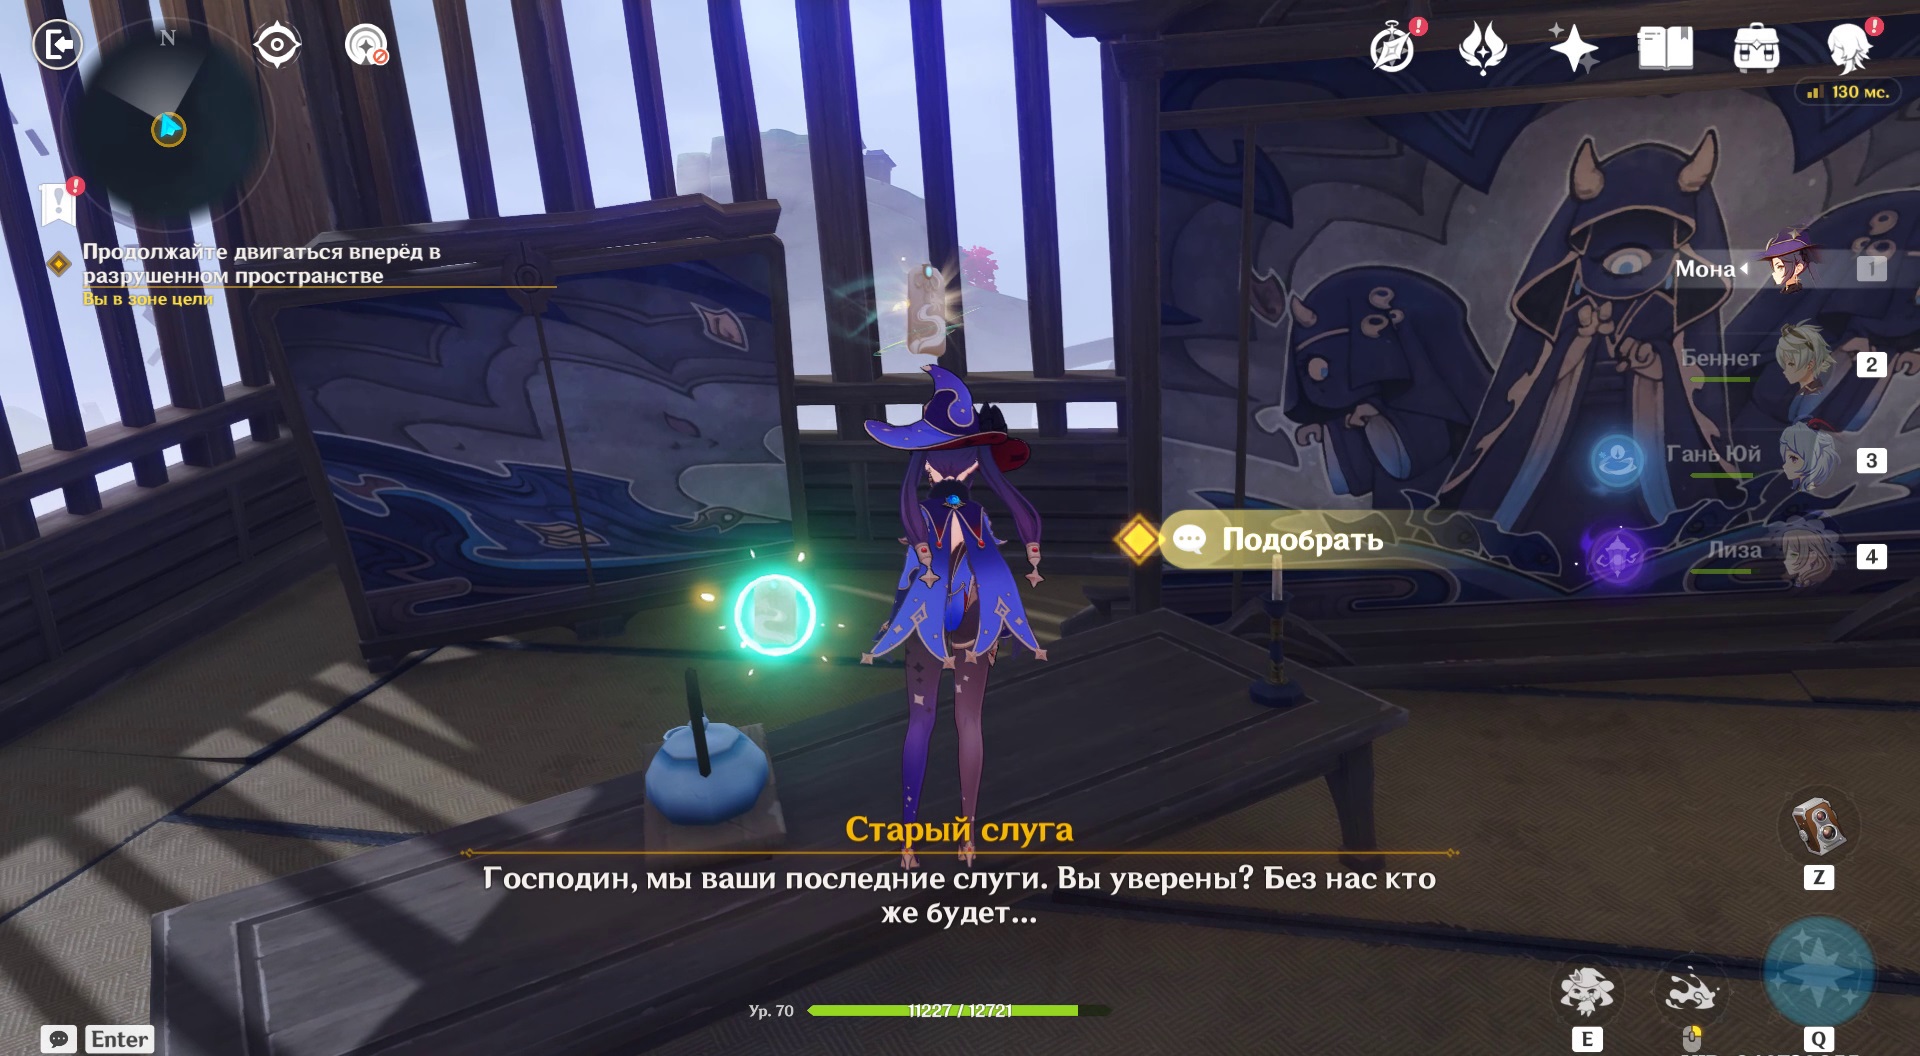
Walk forward to the room with the table. There's a note in elegant handwriting. Paimon will assume that it was written by Kazuha's father.
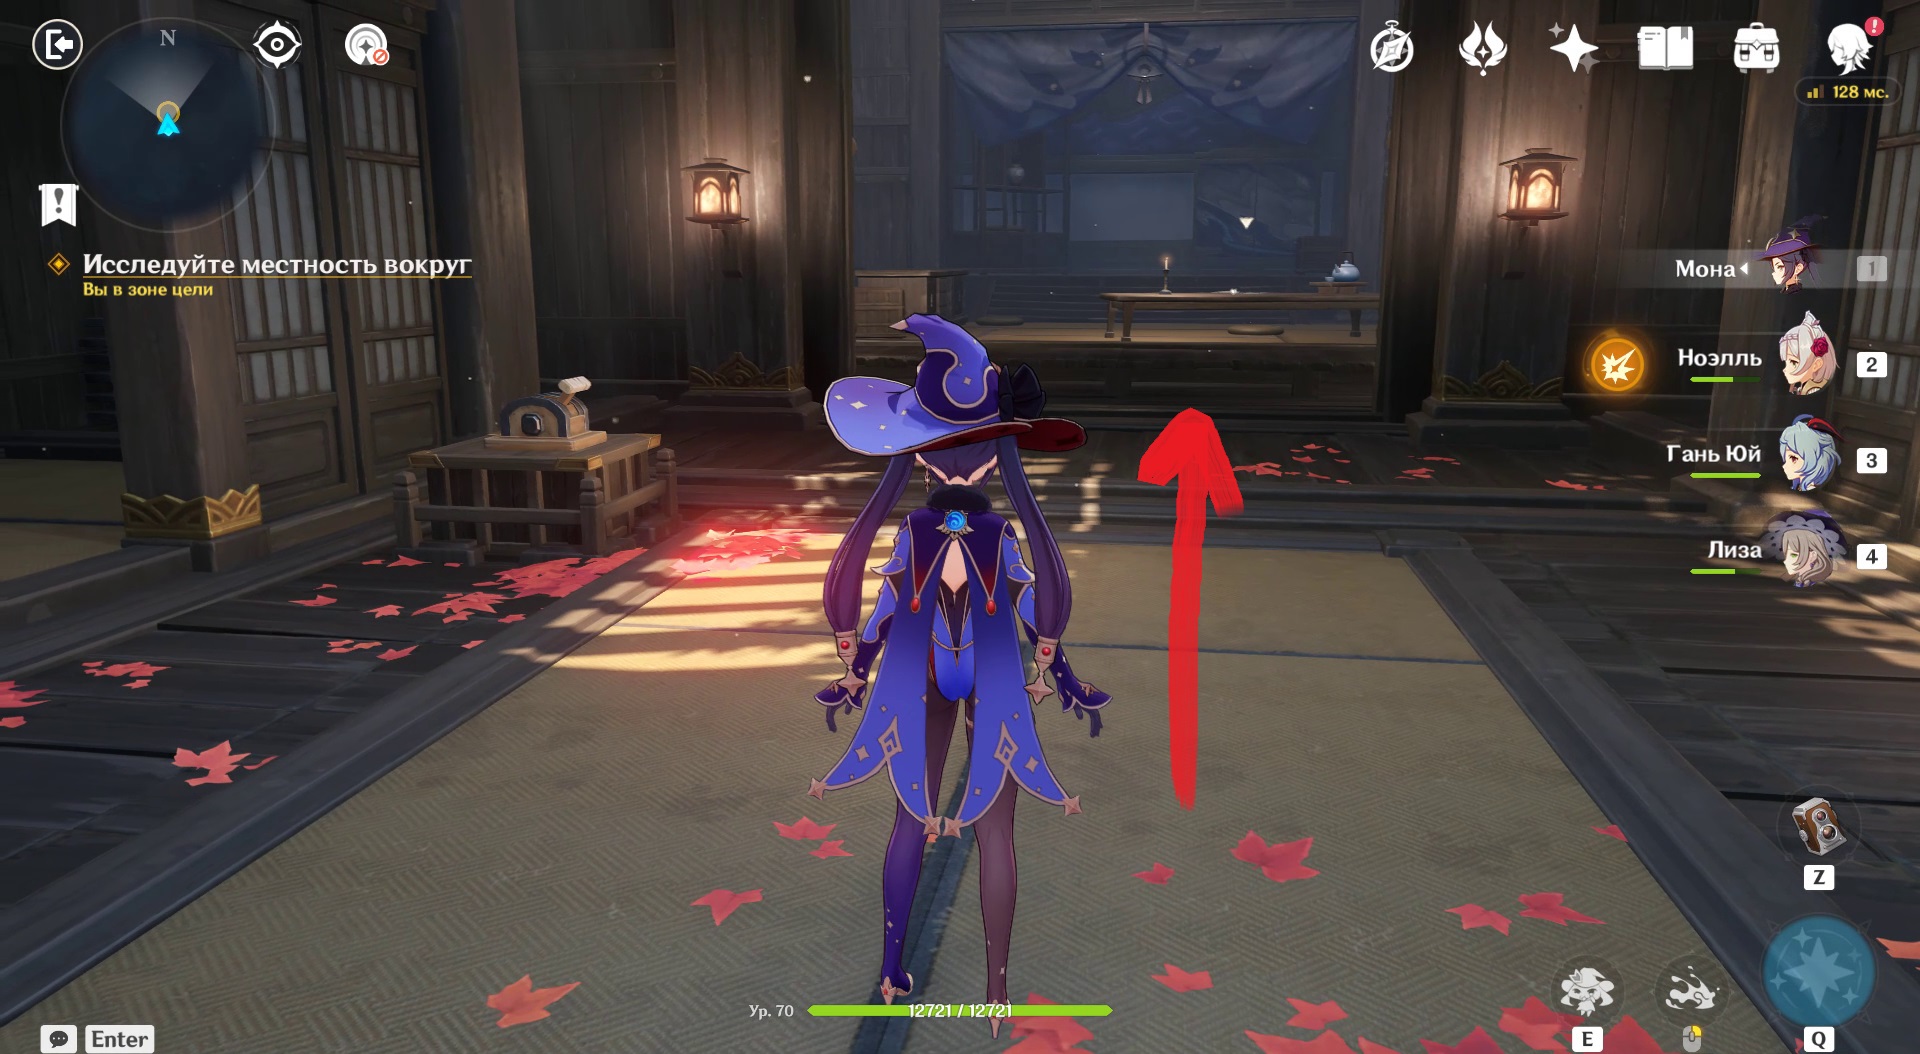
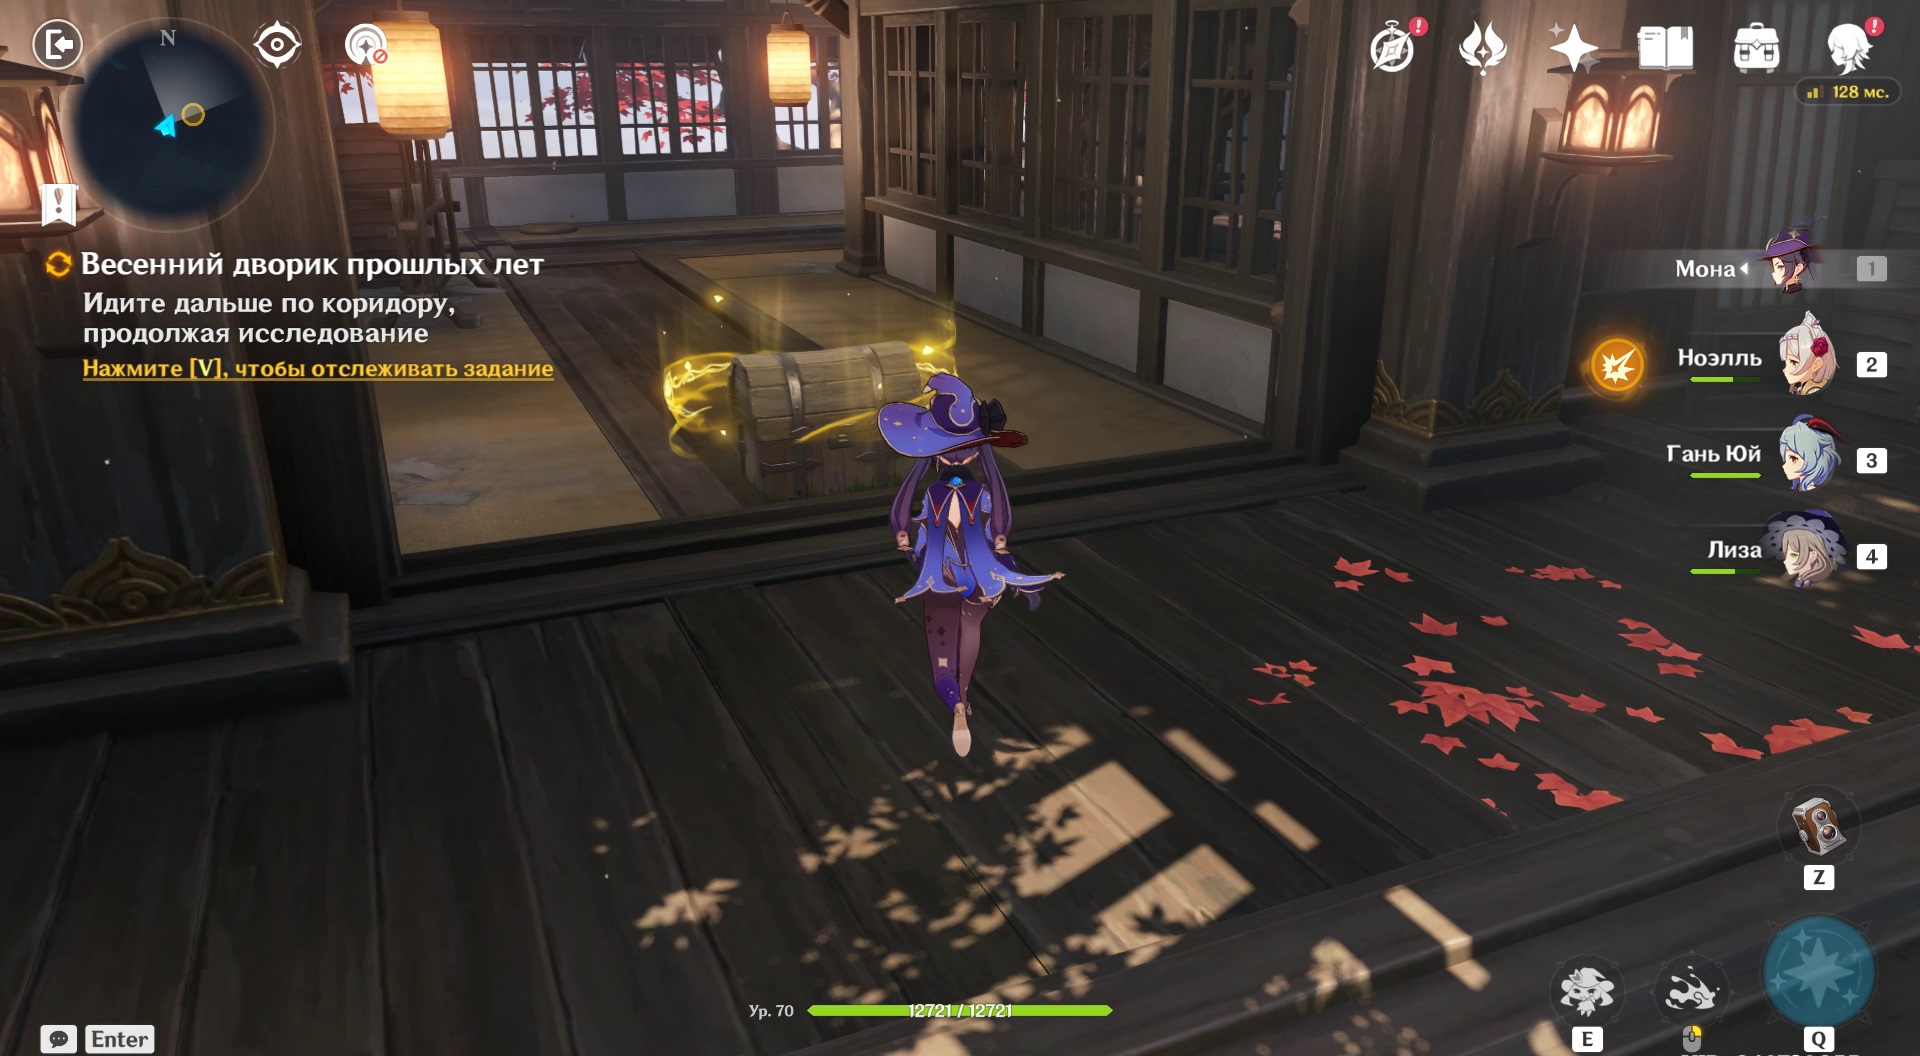
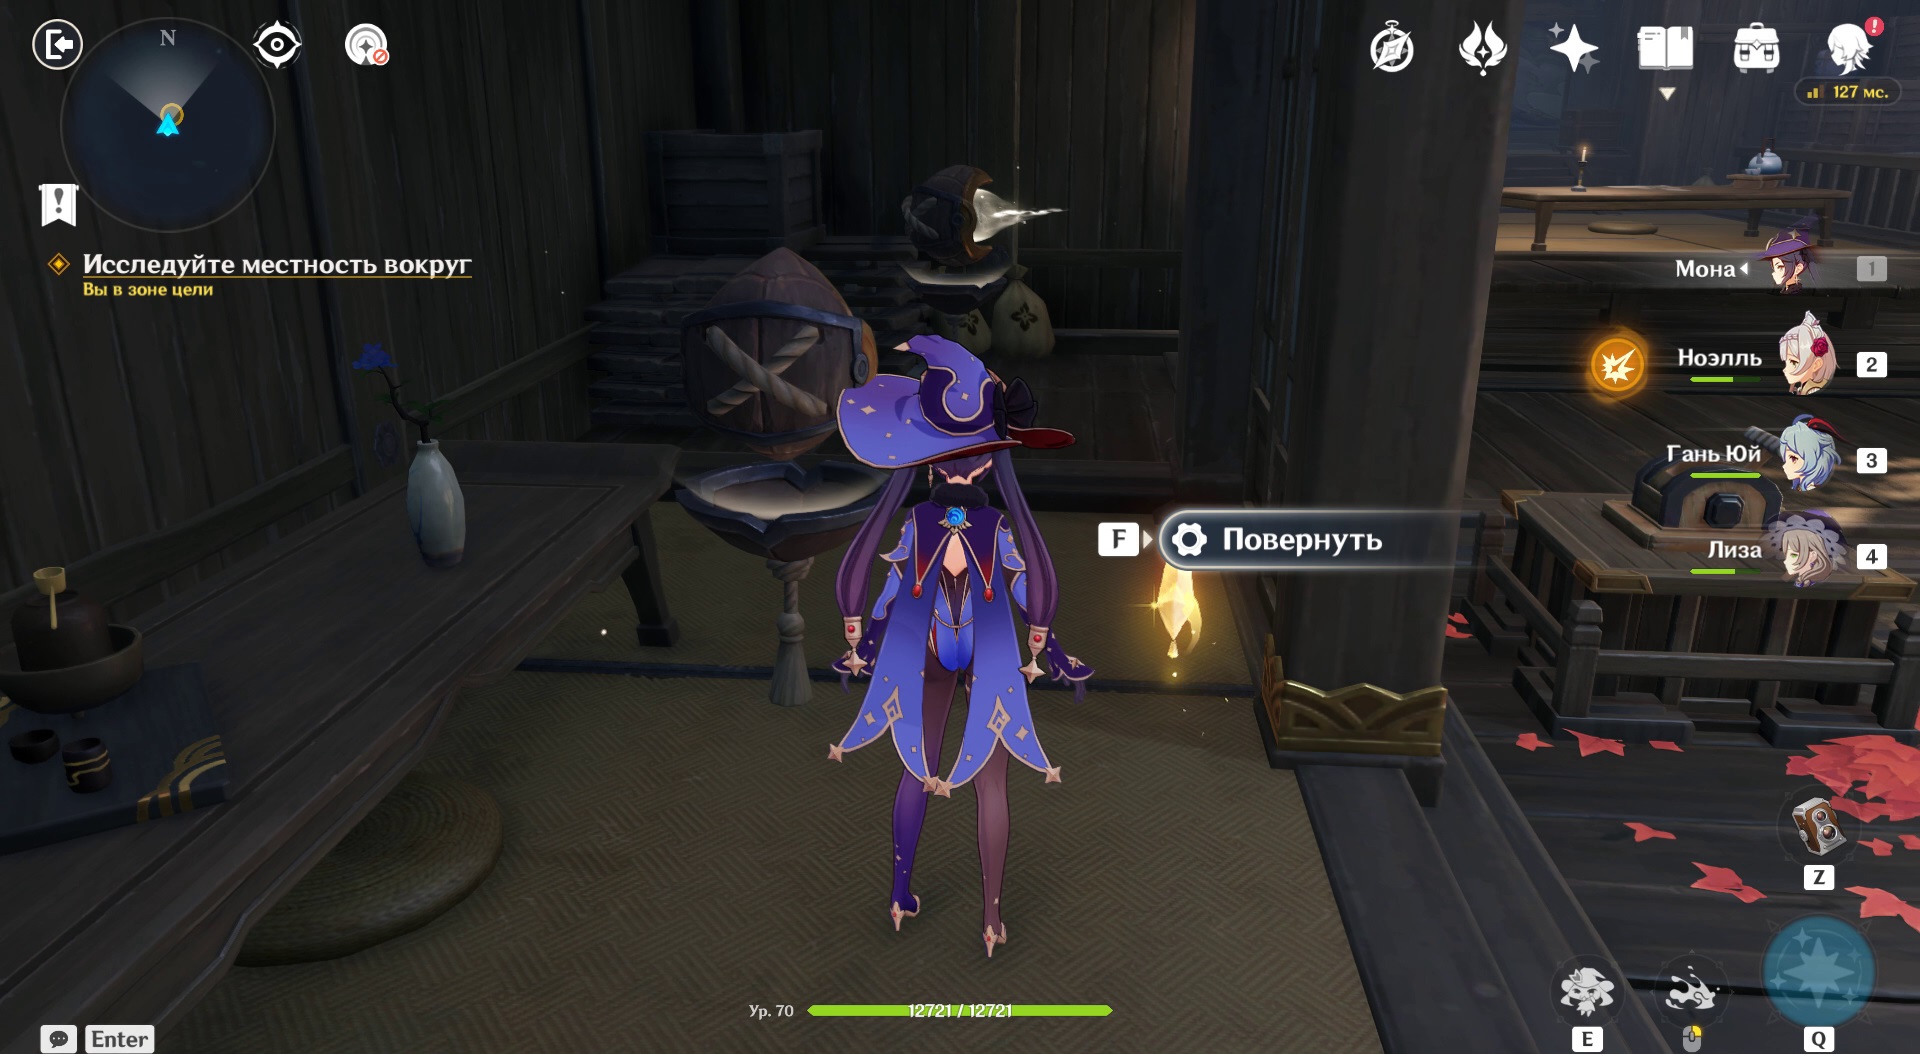
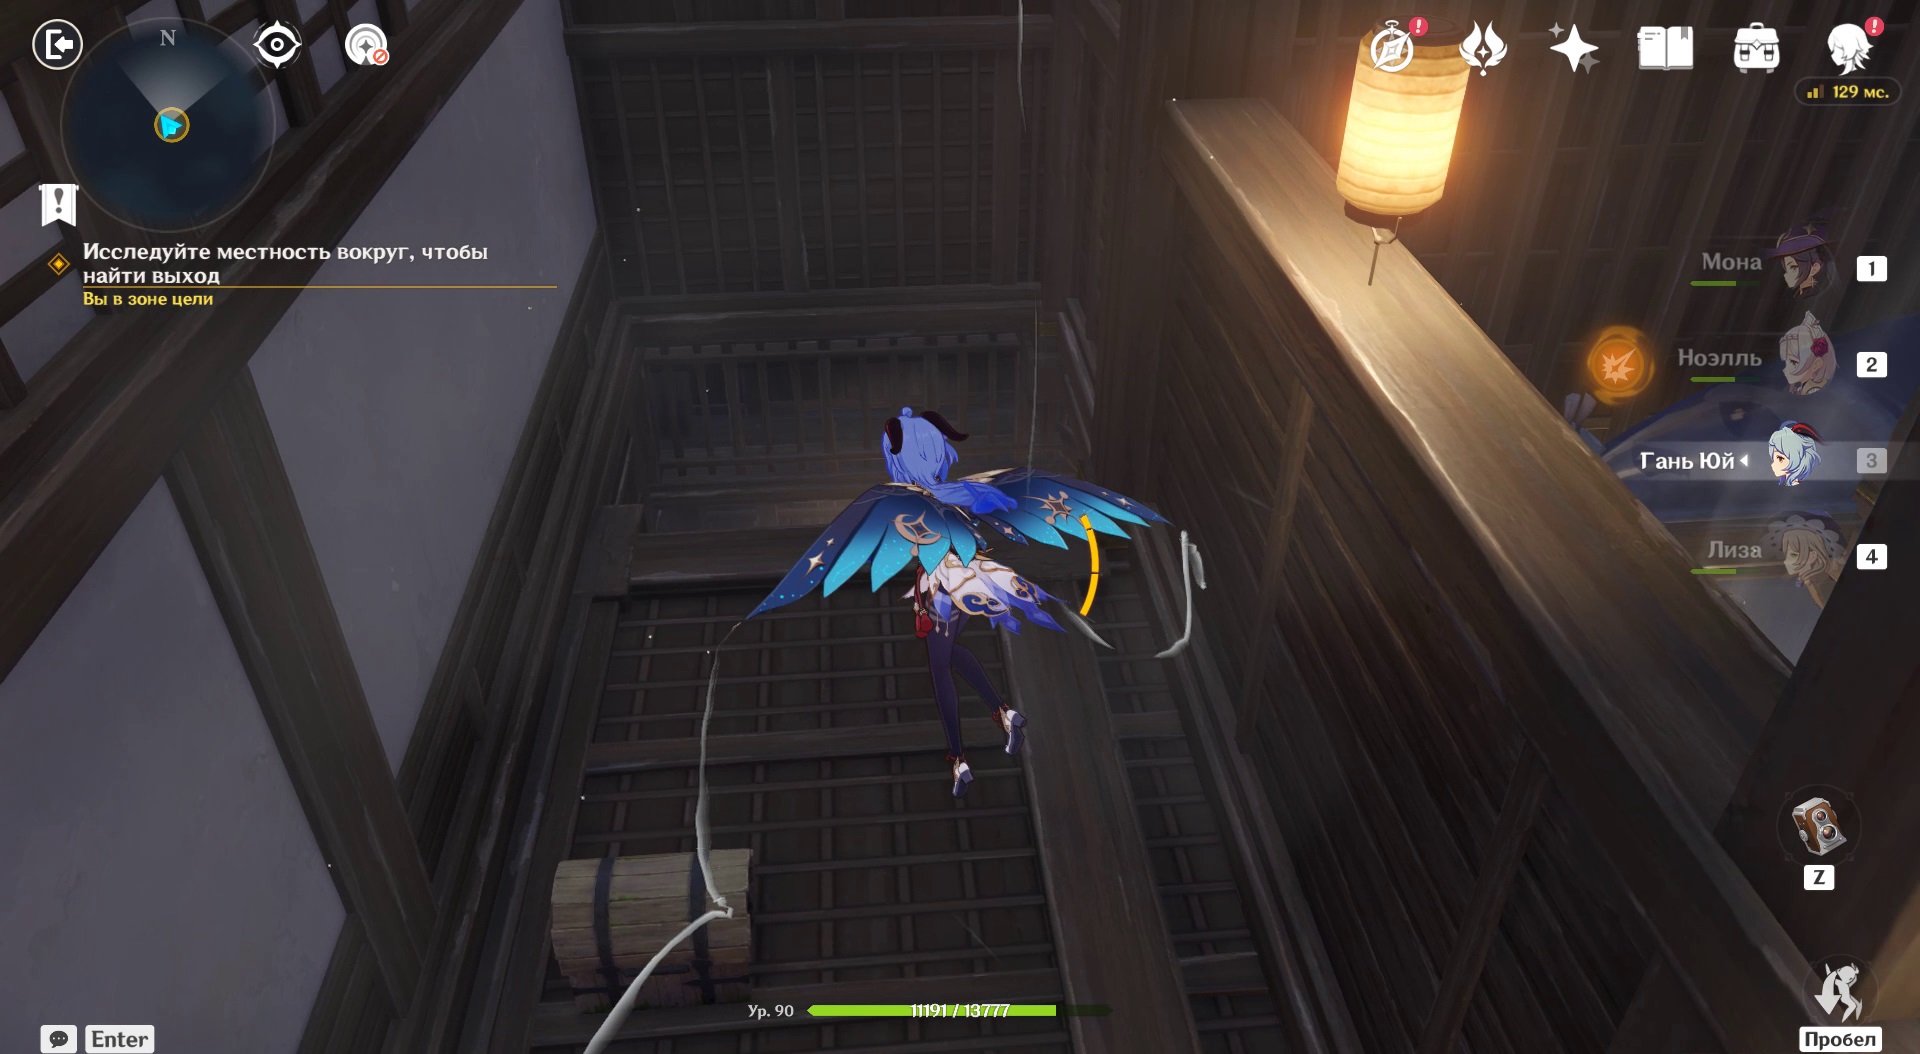
Run to lever. Its function is to switch rooms. Instead of the one with the letter, a corridor will appear with a chest locked with yellow energy.
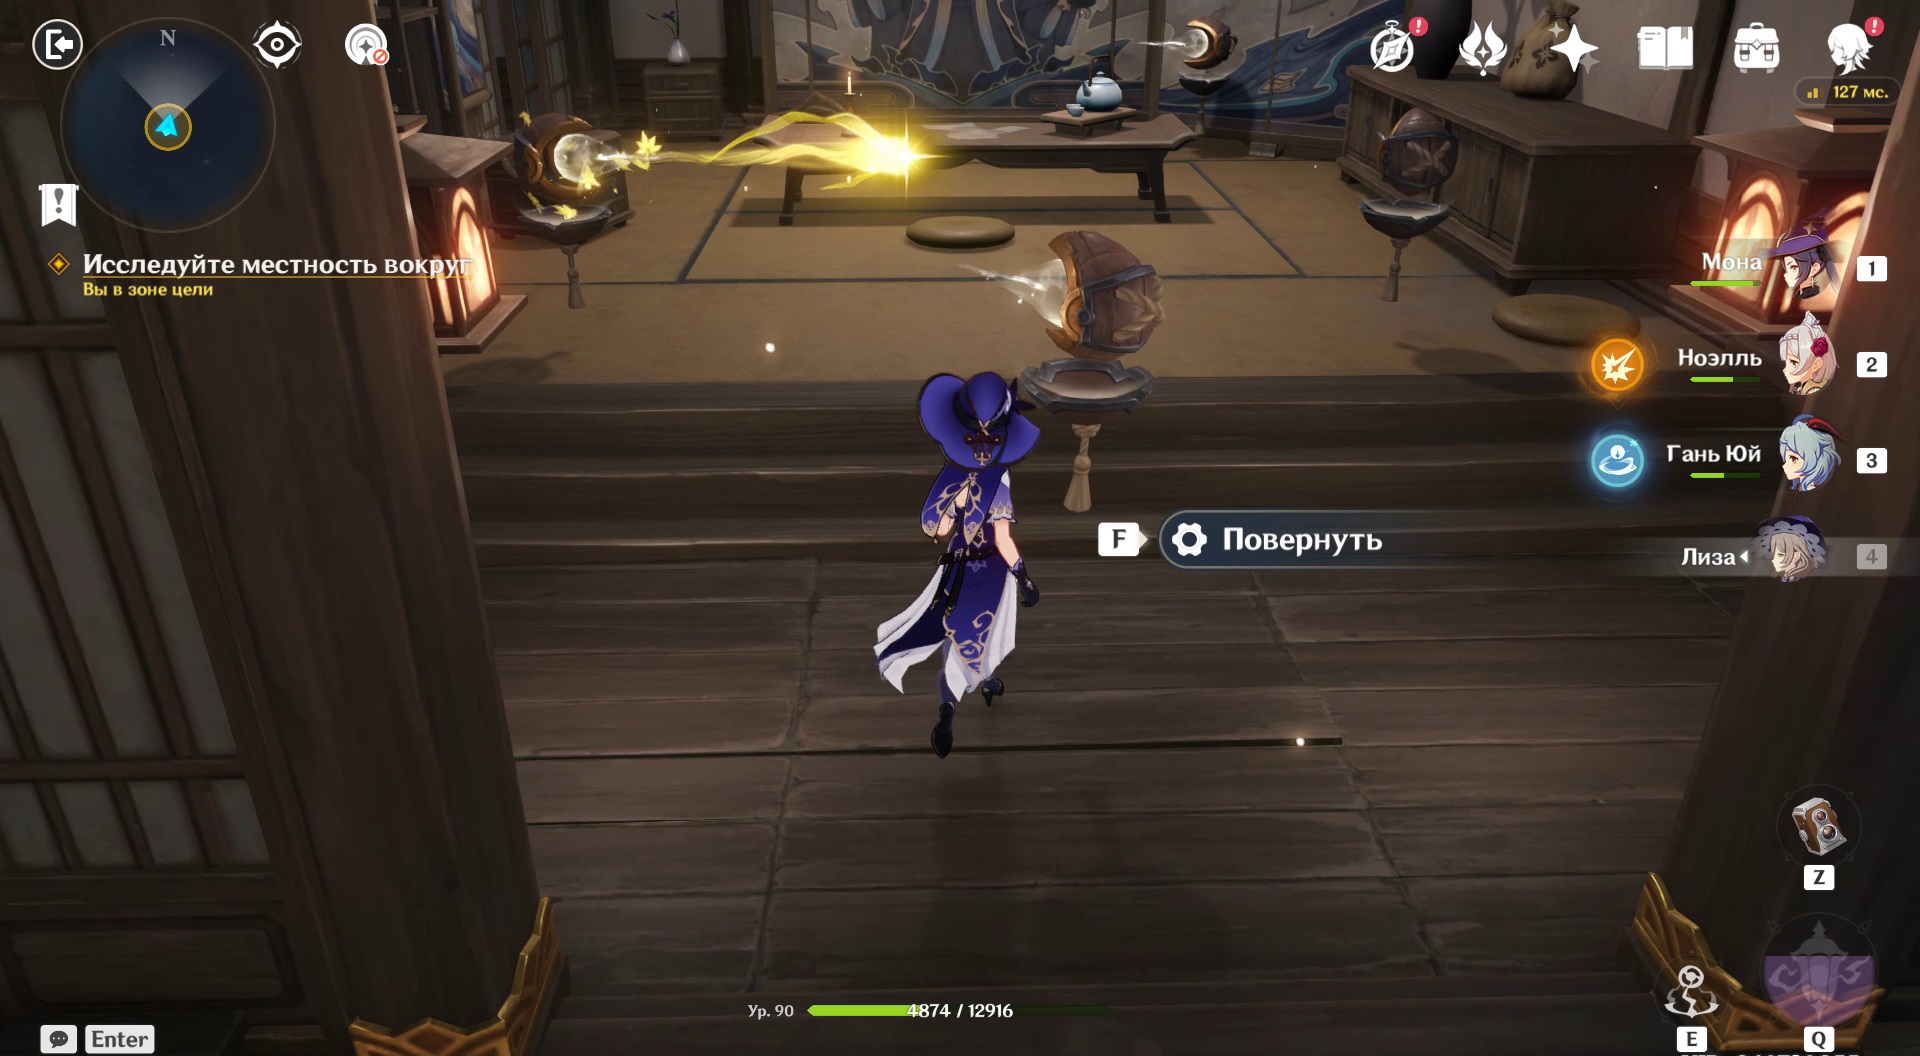
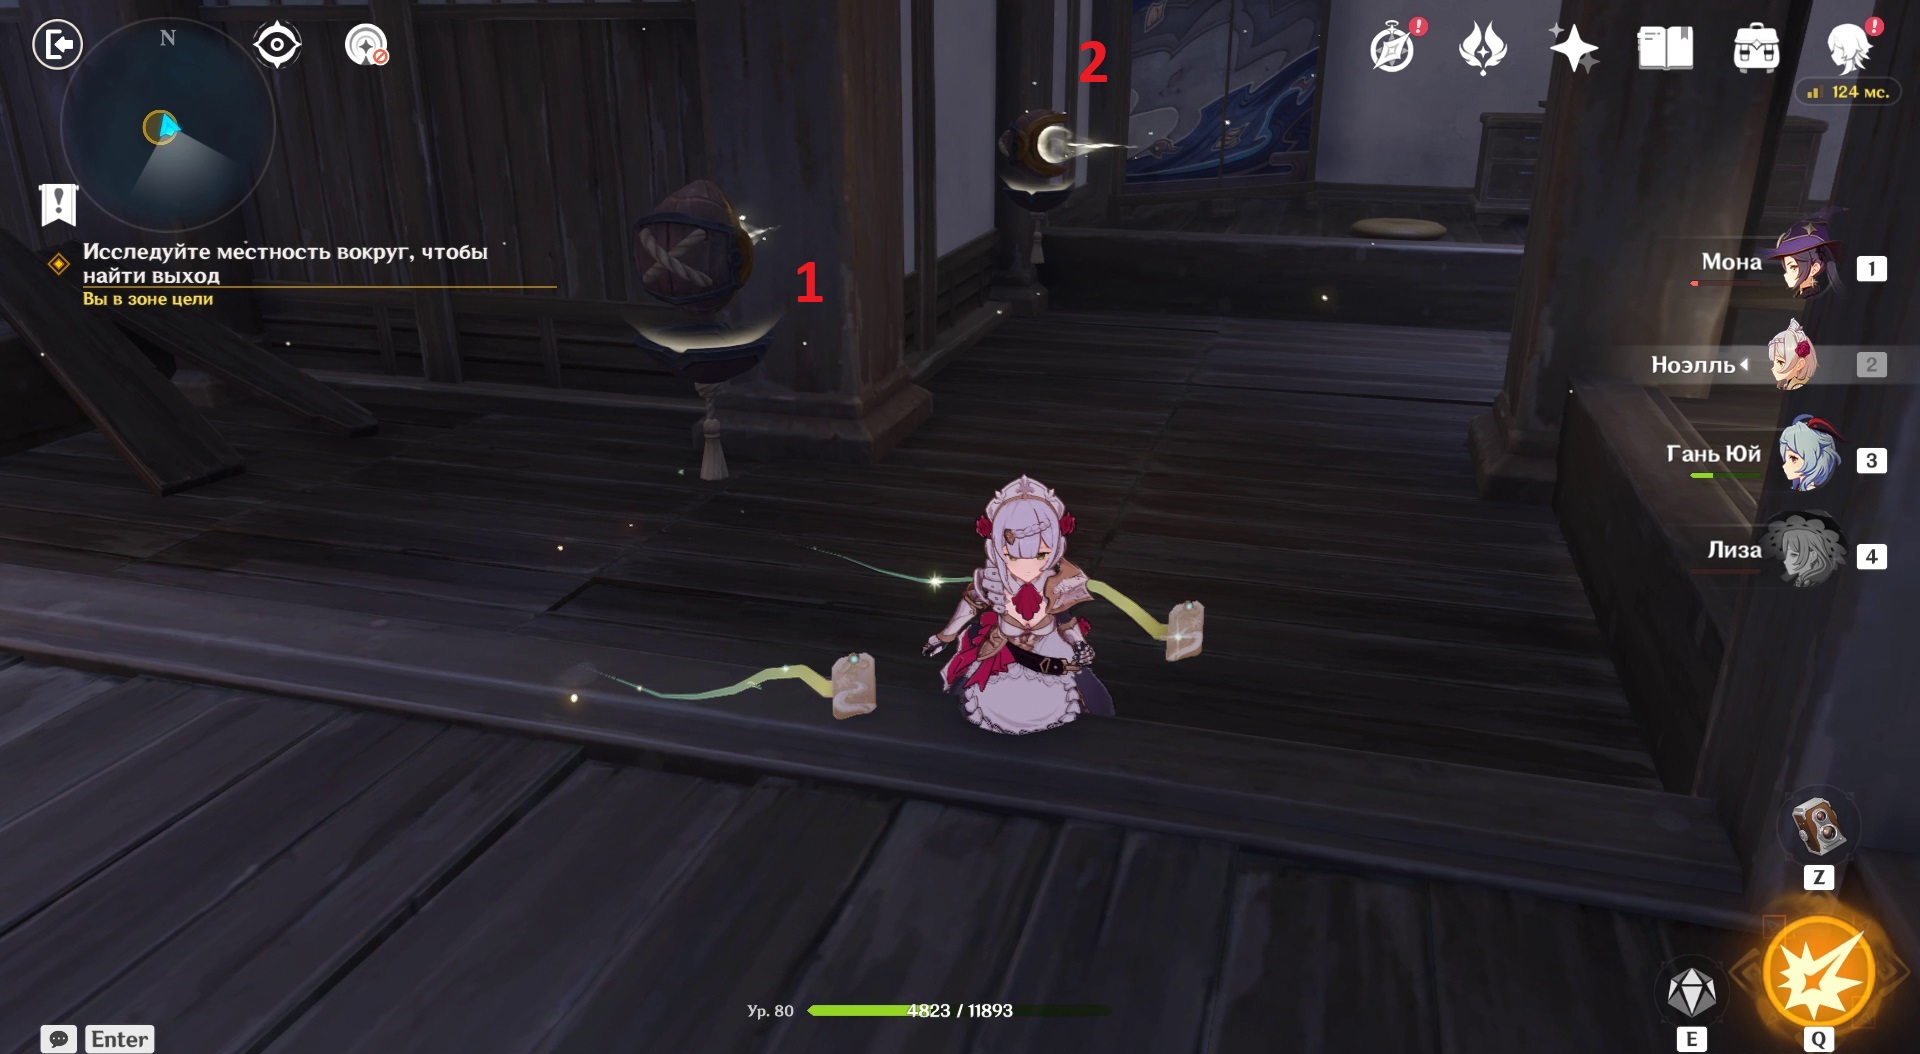
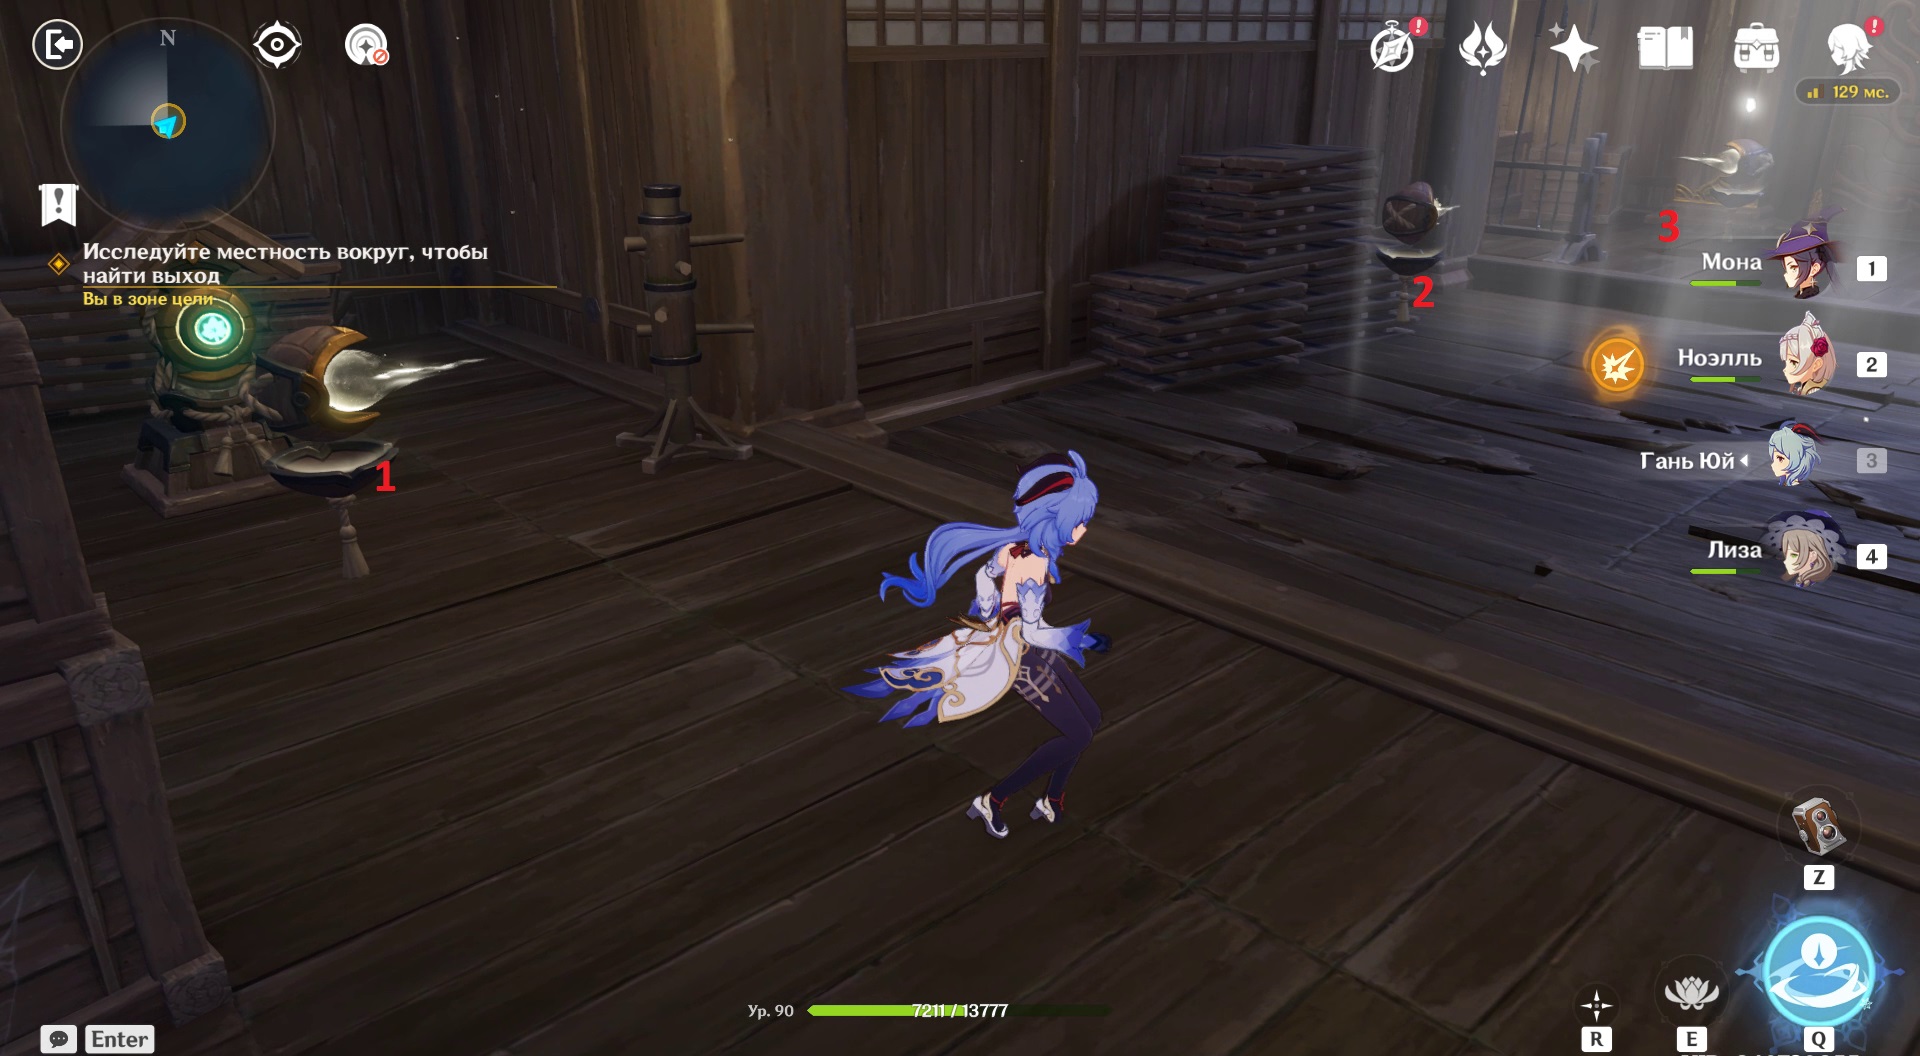
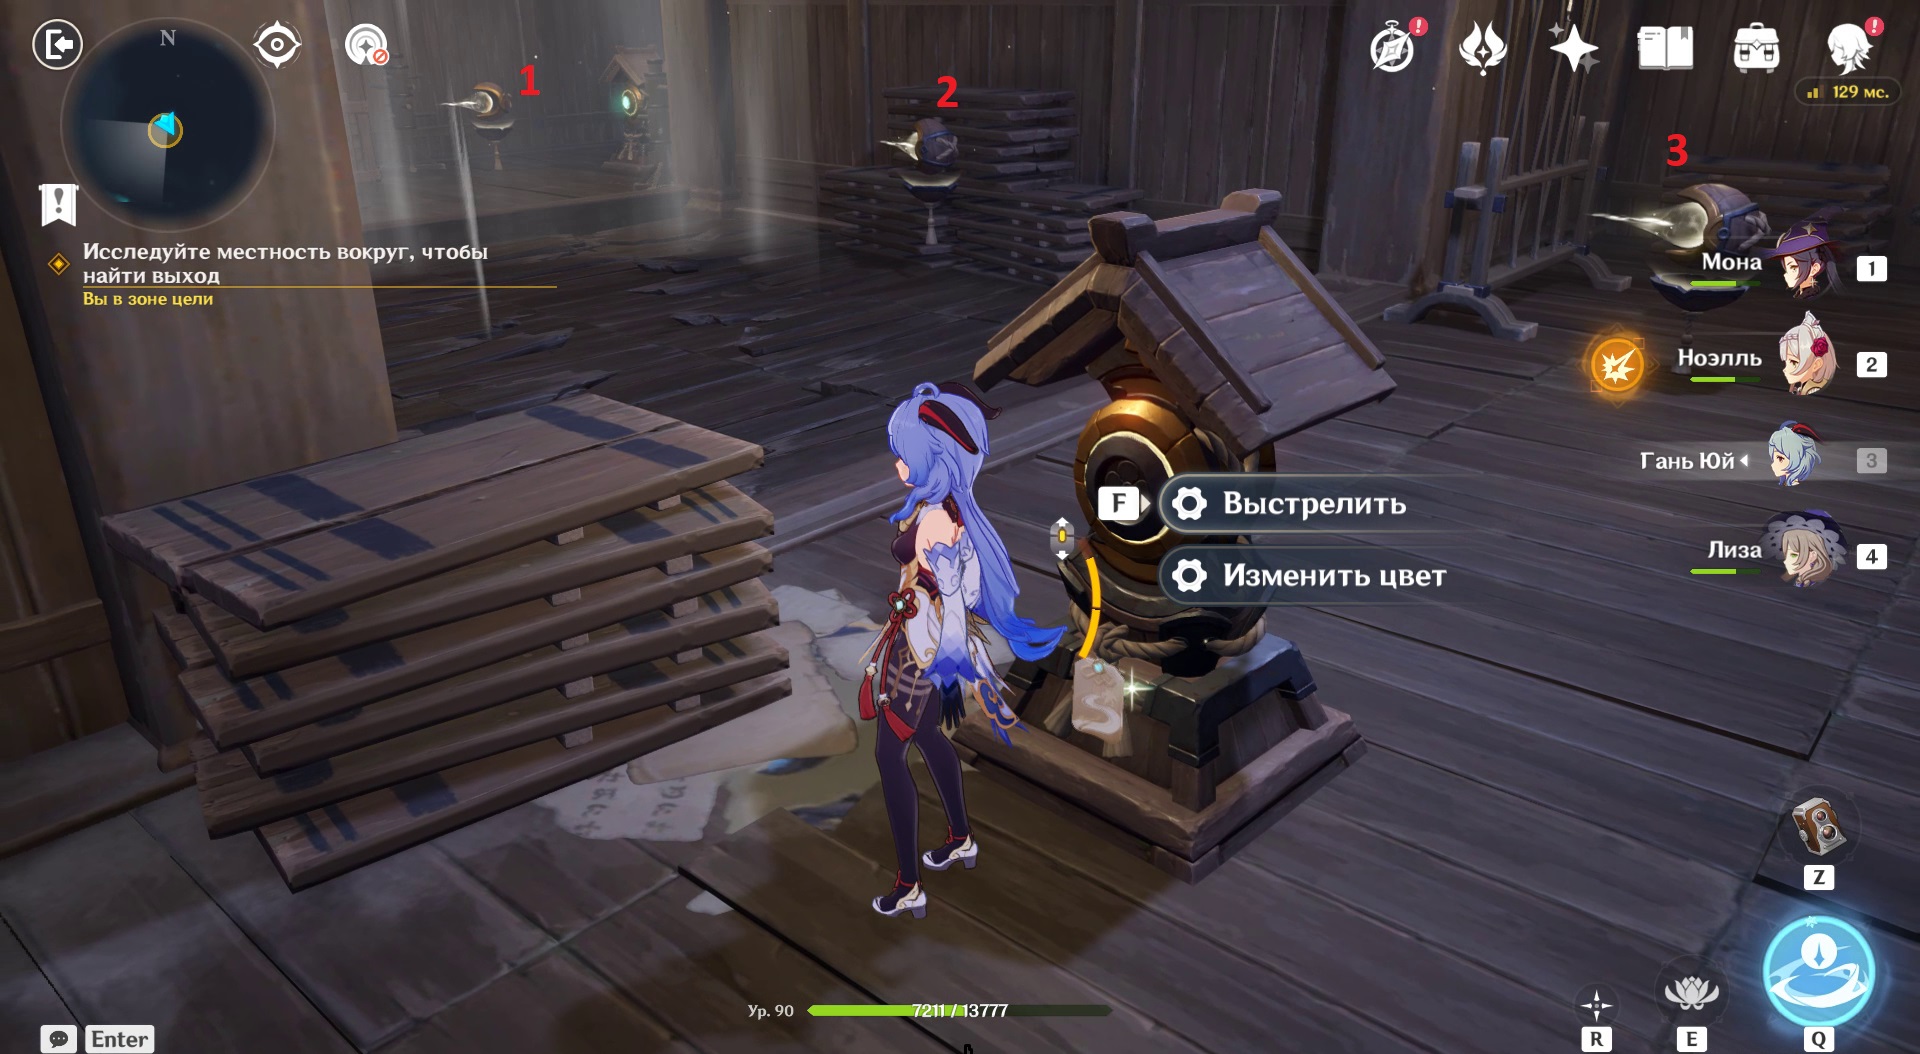
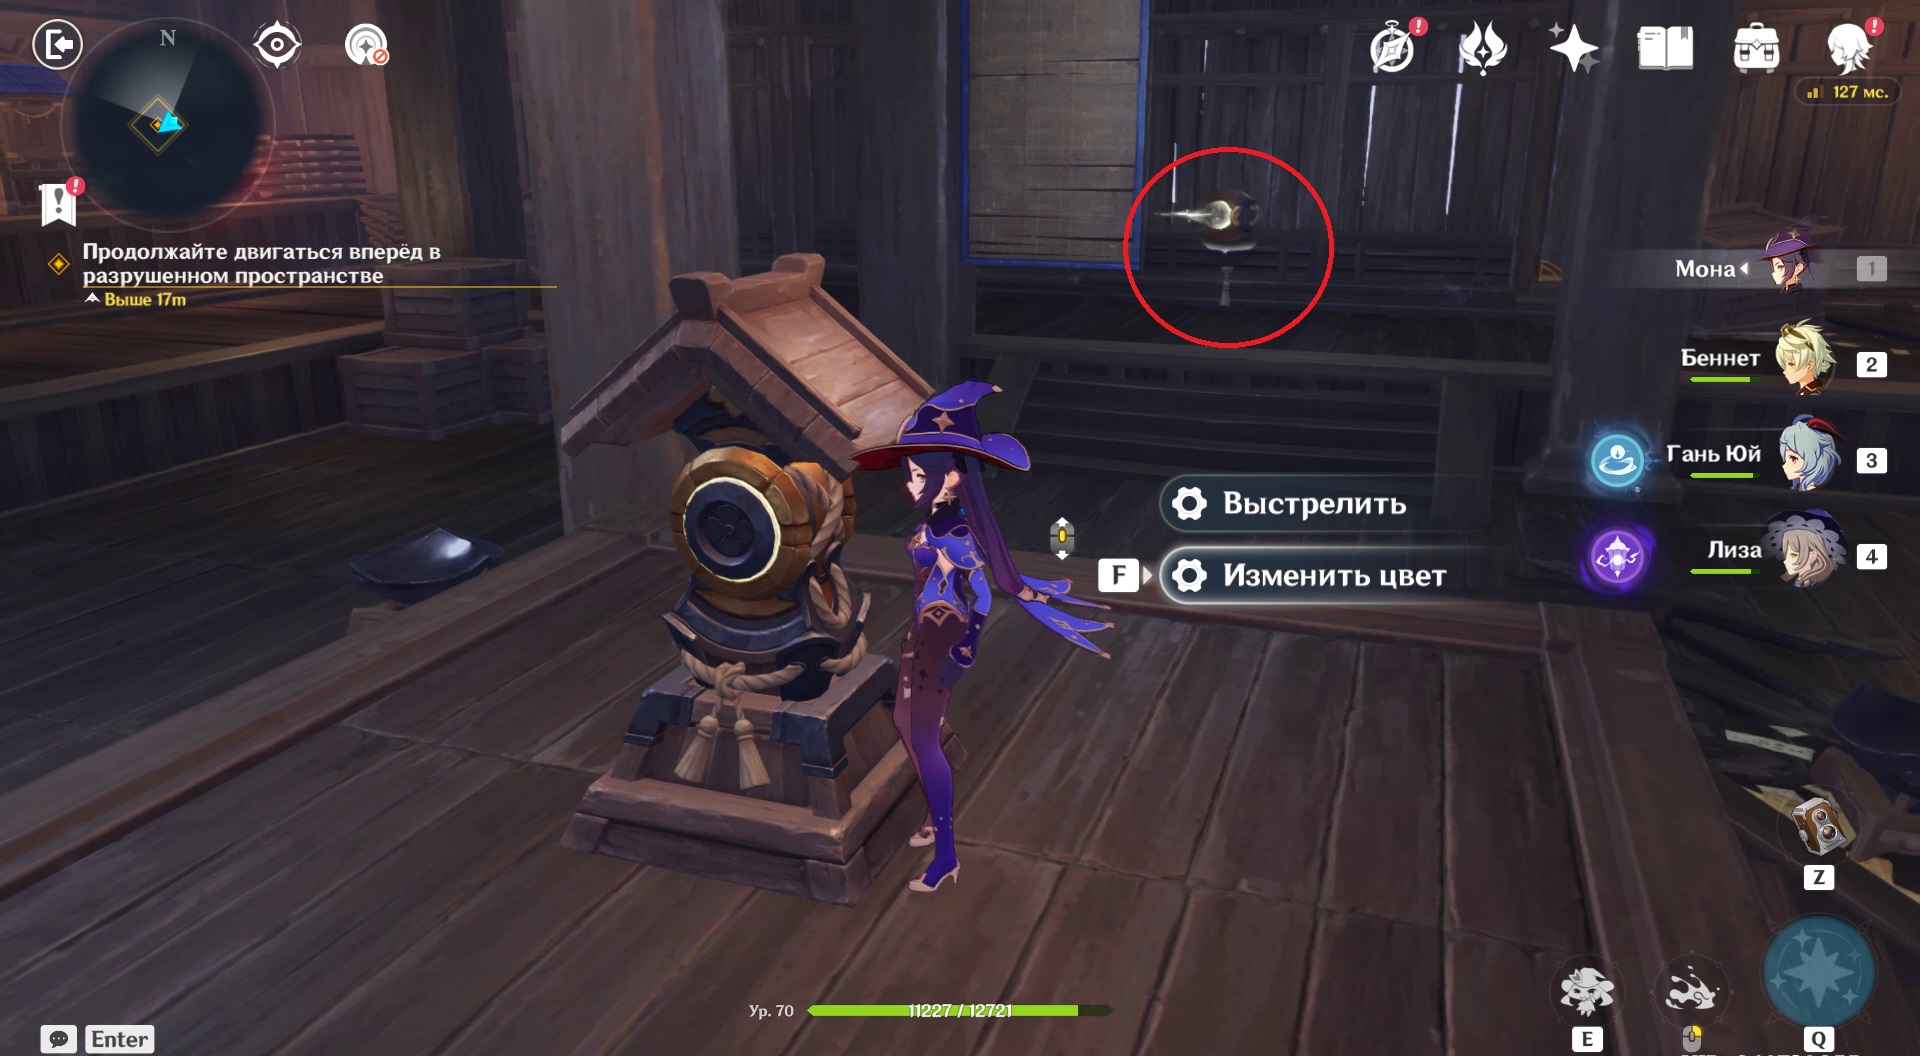
In the course of further passage, you need to solve spatial puzzles, which are based on the mechanics of firing Prism Towers:
- prism tower shoots clot energy in one direction. Shooting is carried out in 3 colors: red, green, yellow.
- Guide elements change the direction of the bunch flight. They can be rotated.
- Prism tower breaks Print clot of its color.
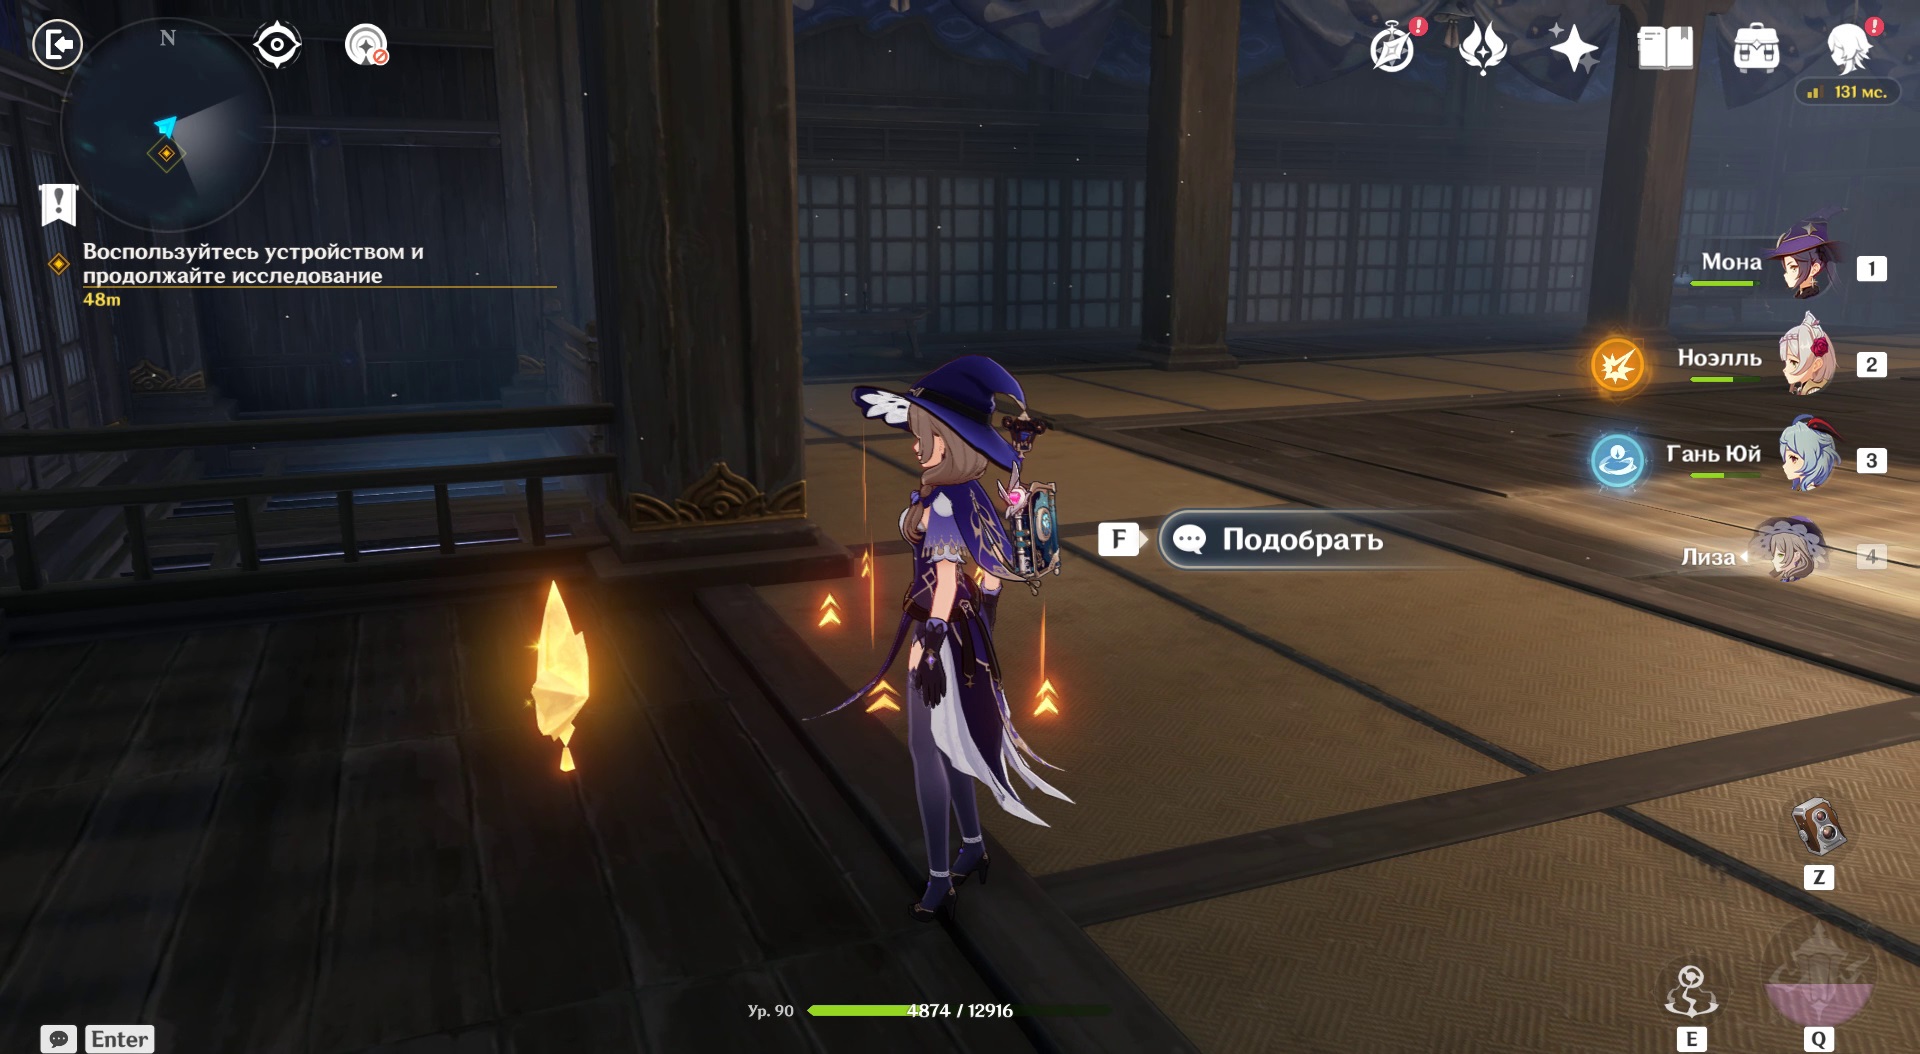
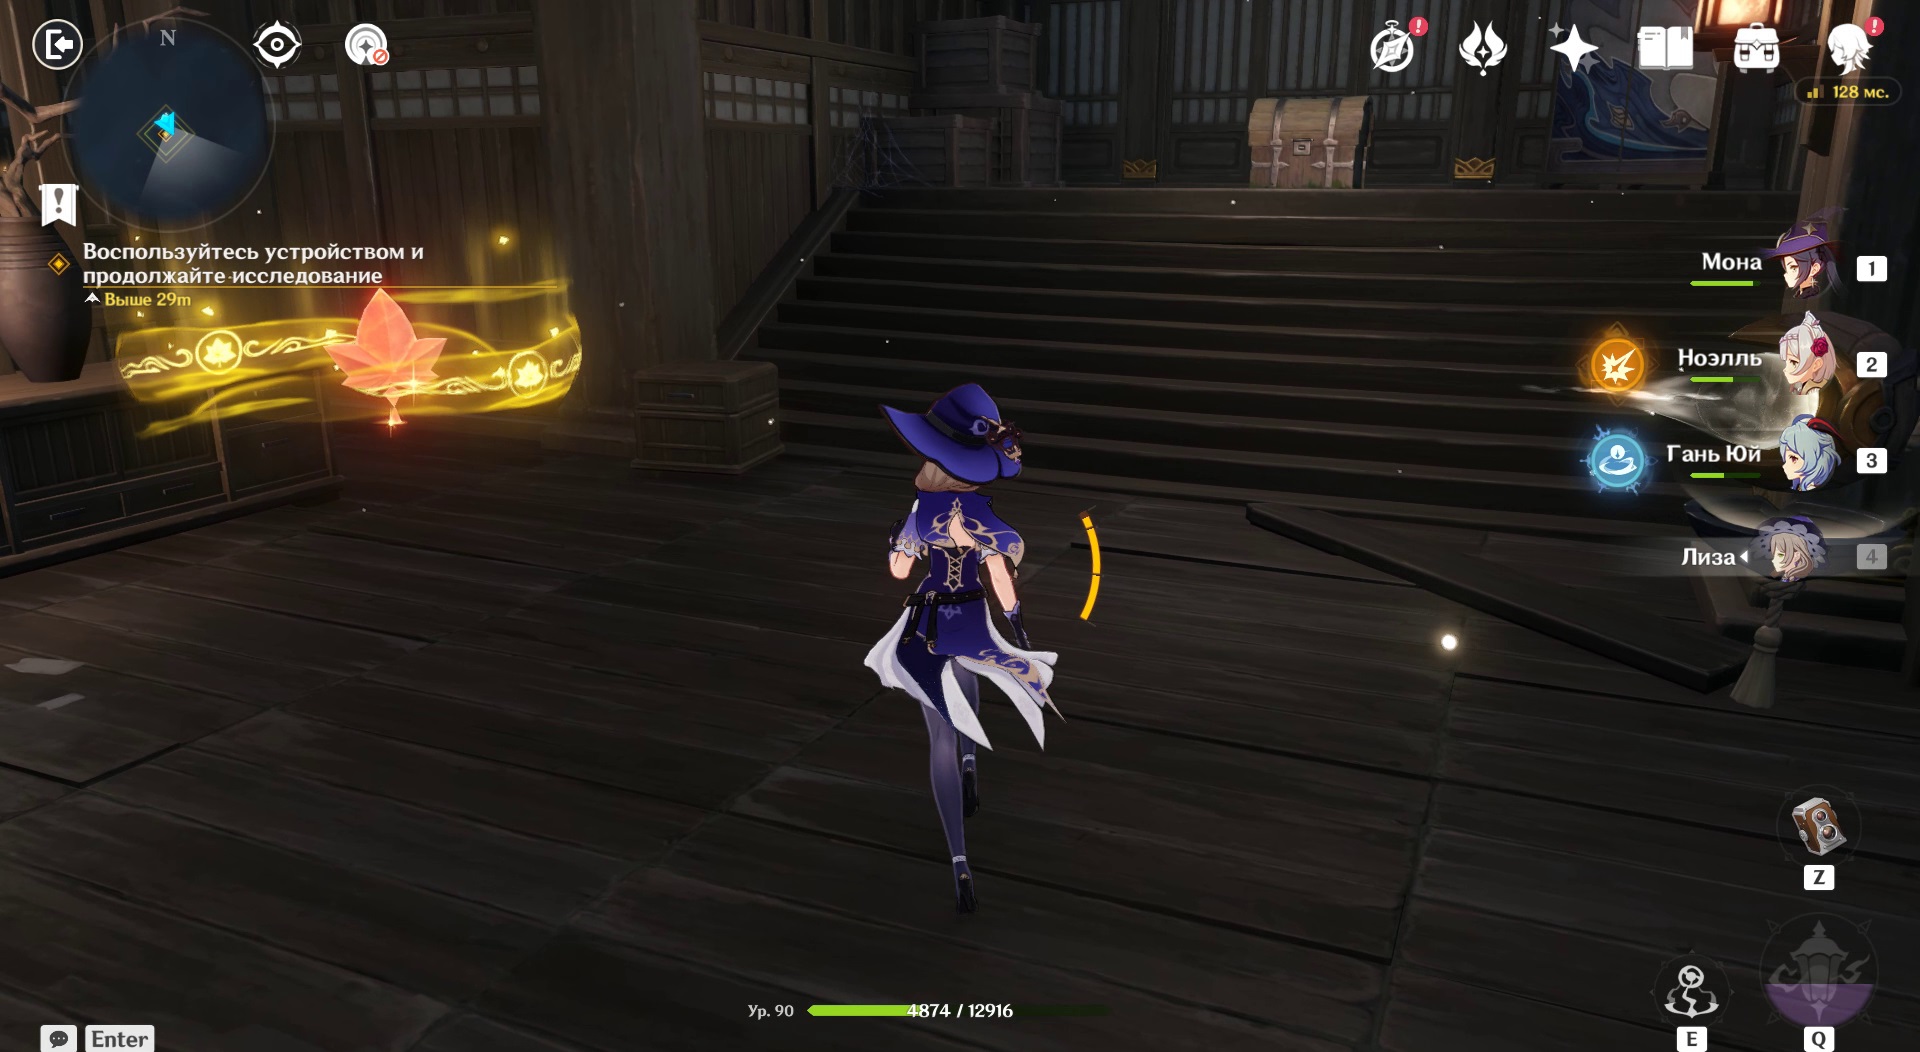
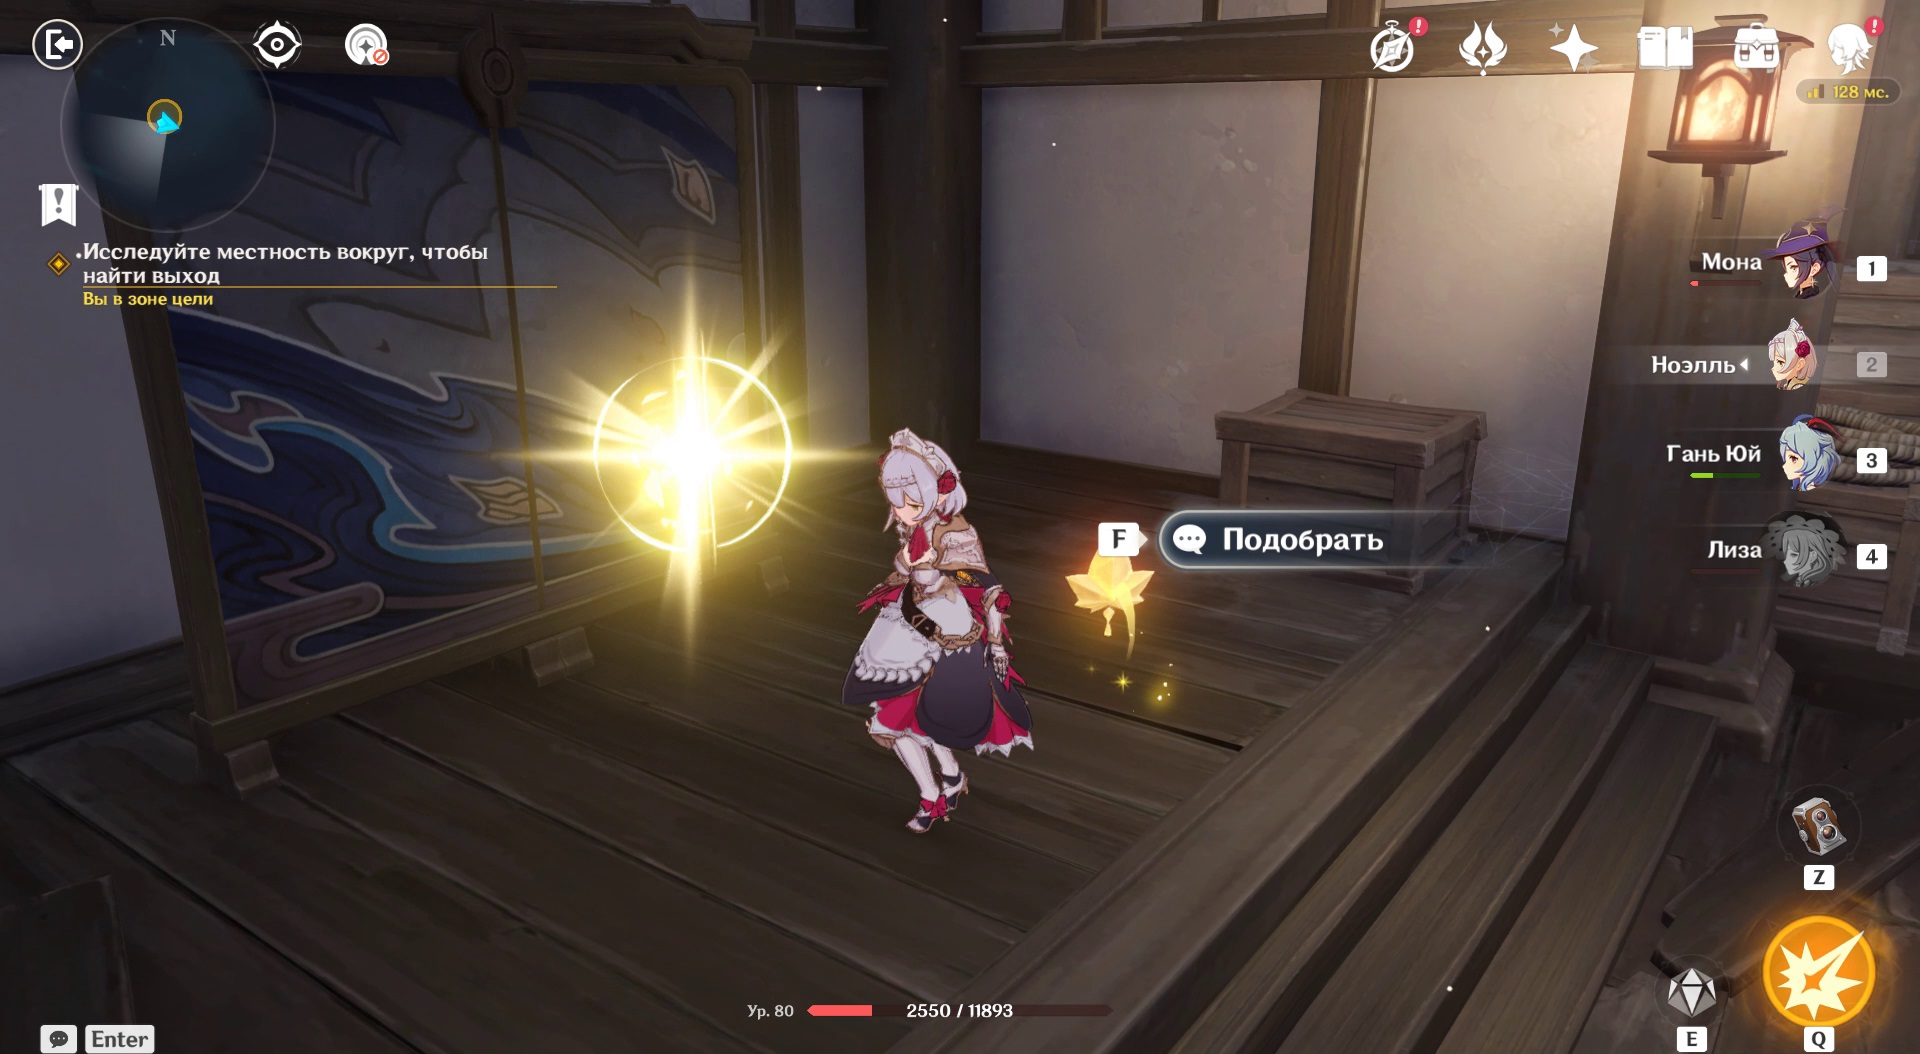
- Seals hide crystals in the form of a maple leaf: red, green, yellow. Pick up the crystal and bring it to the prism tower. Then she will shoot a new color.
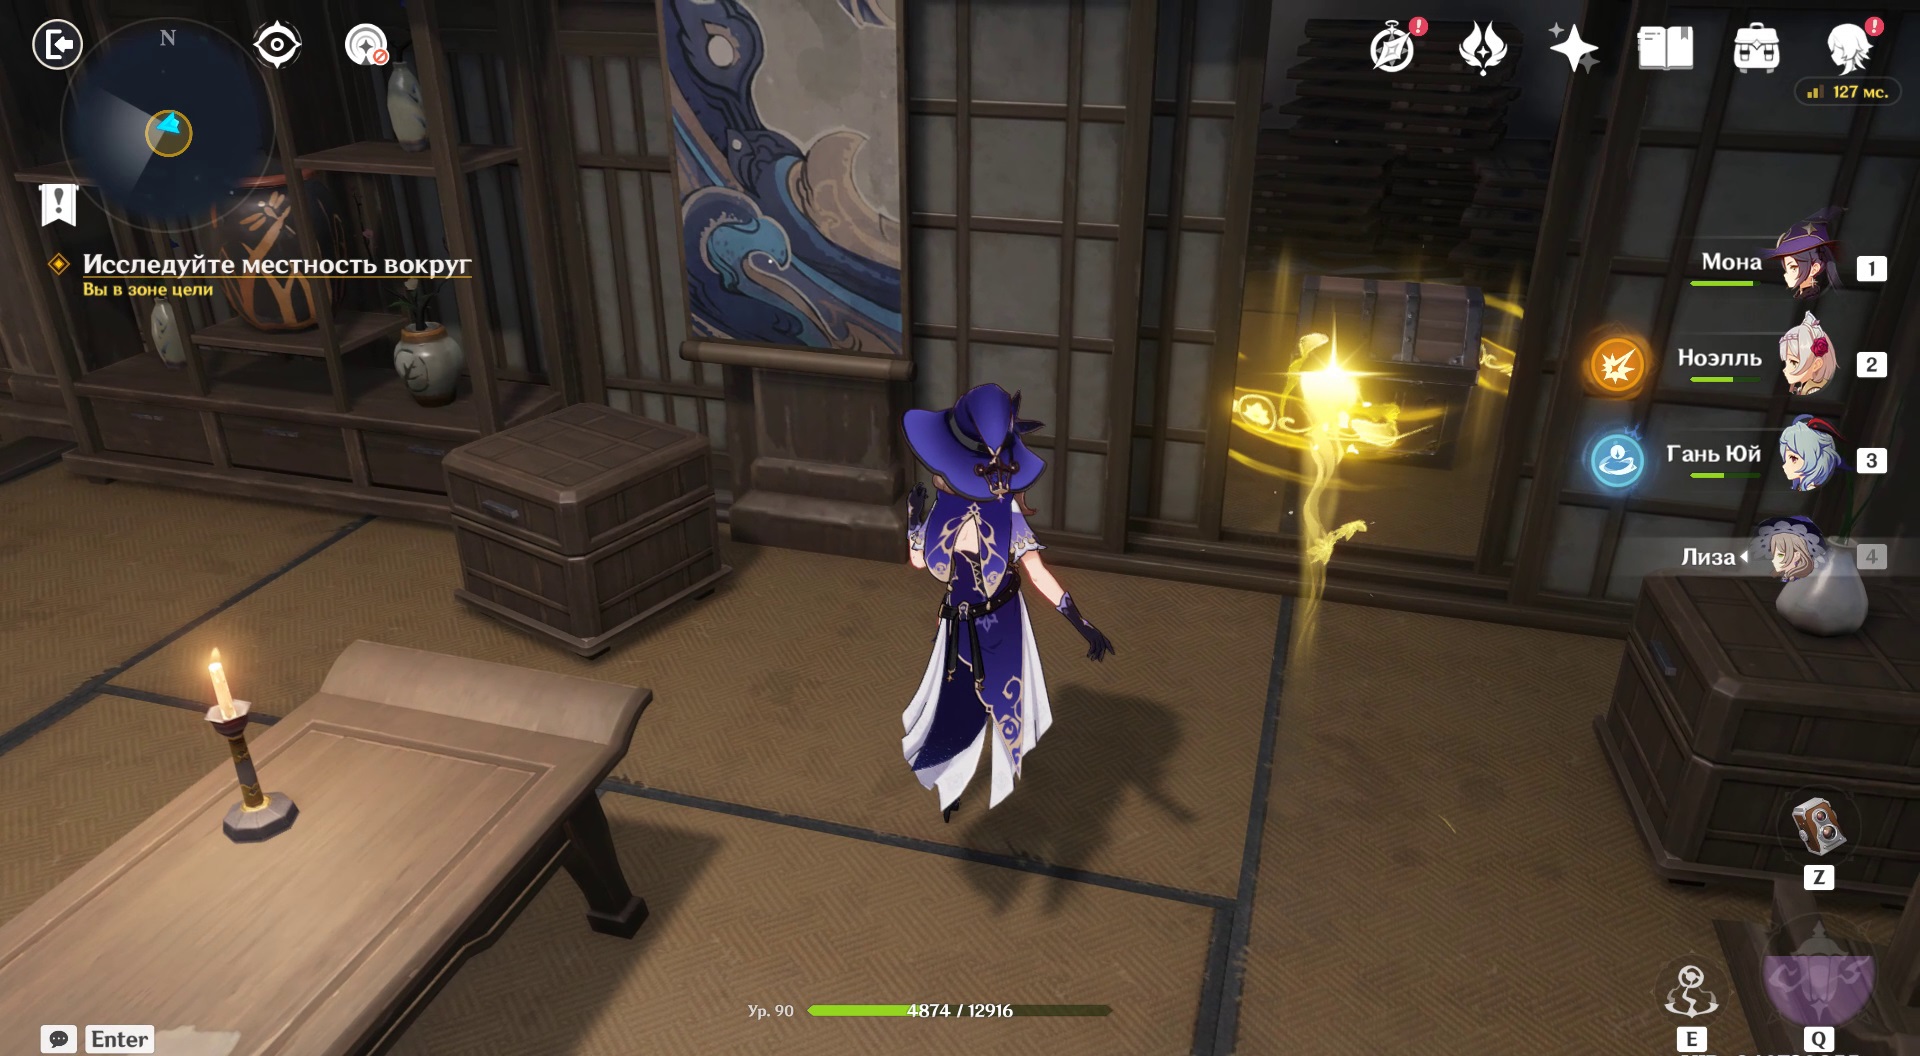
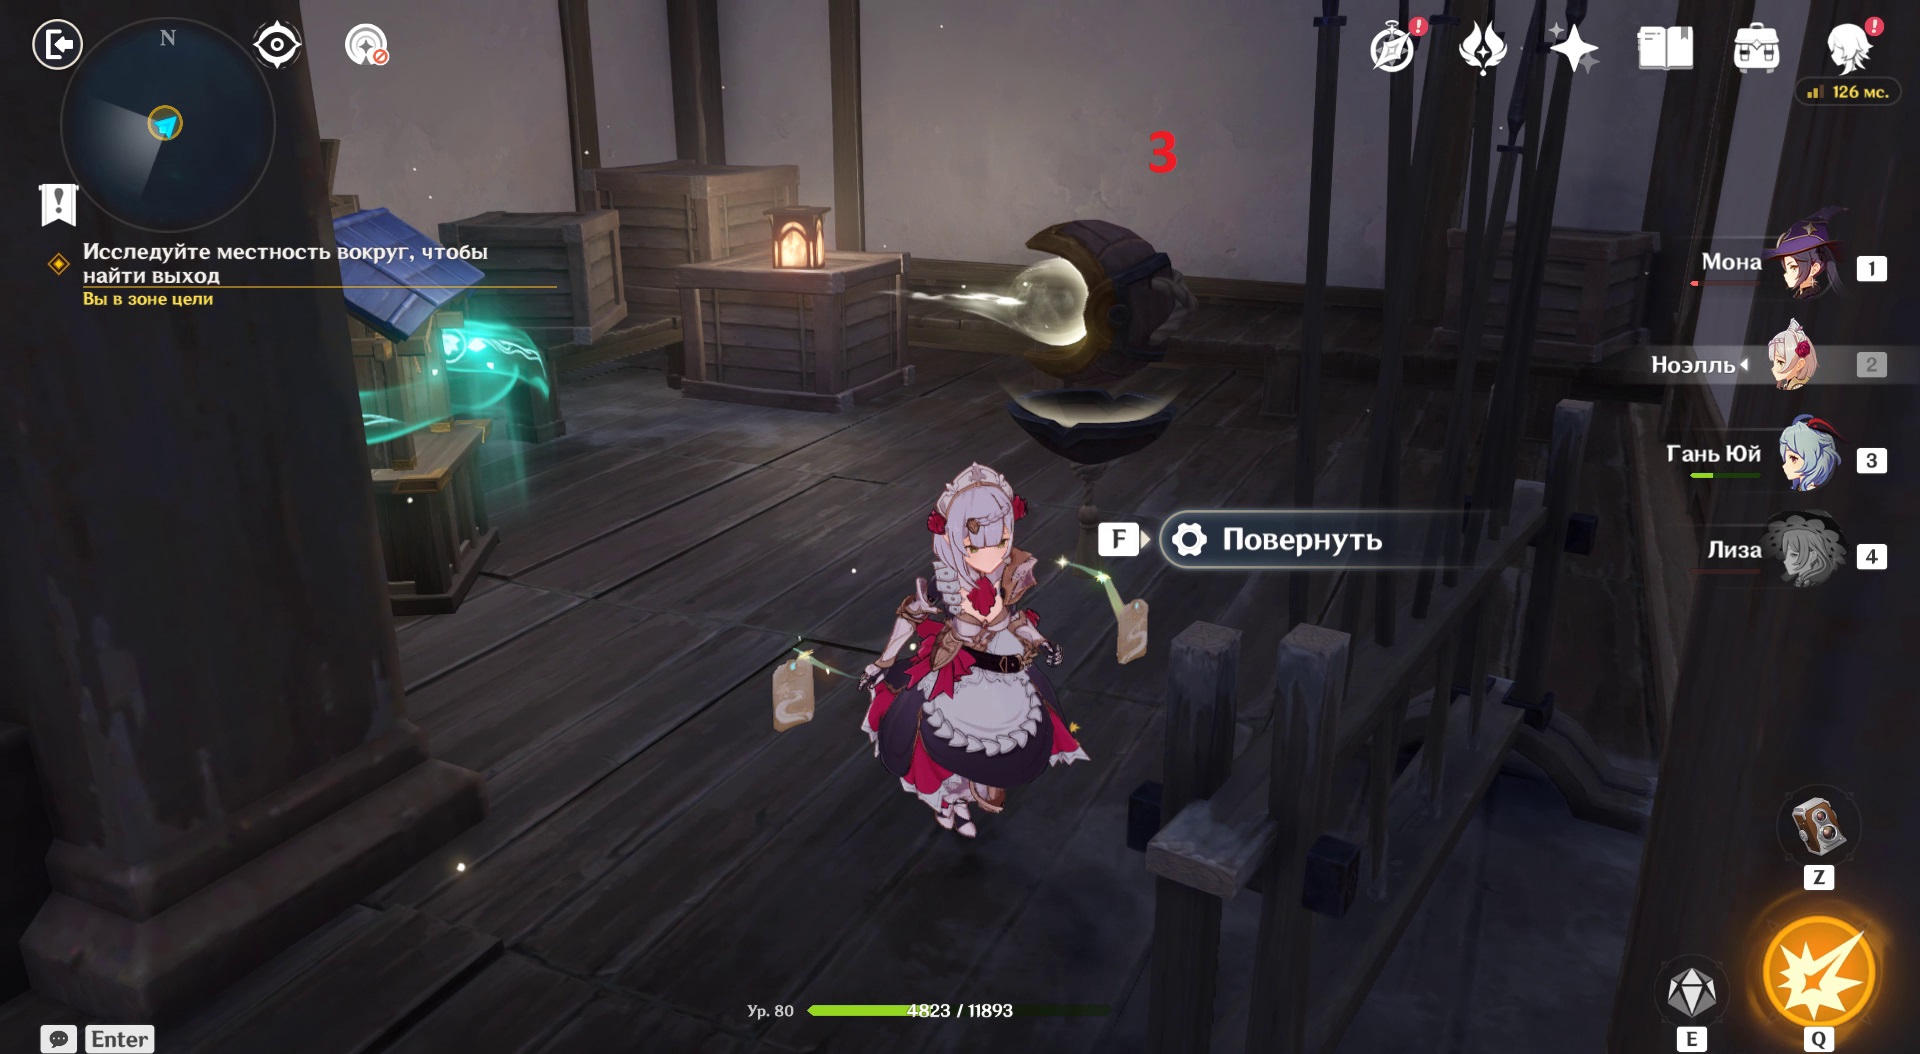
Don't run away from the first room. To collect the Small Chest behind the Yellow Seal:
- Activate the tower by breaking the green seal.
- Collect the yellow maple leaf, charge the tower with it. Now she shoots yellow projectiles.
- Rotate the 2 guides as shown in the photo so that the yellow projectile breaks the seal of the chest.
In the future, these actions will need to be repeated many times to solve different puzzles of the illusory dimension that the characters have fallen into.
How to open the golden symbol door: where to find omamori
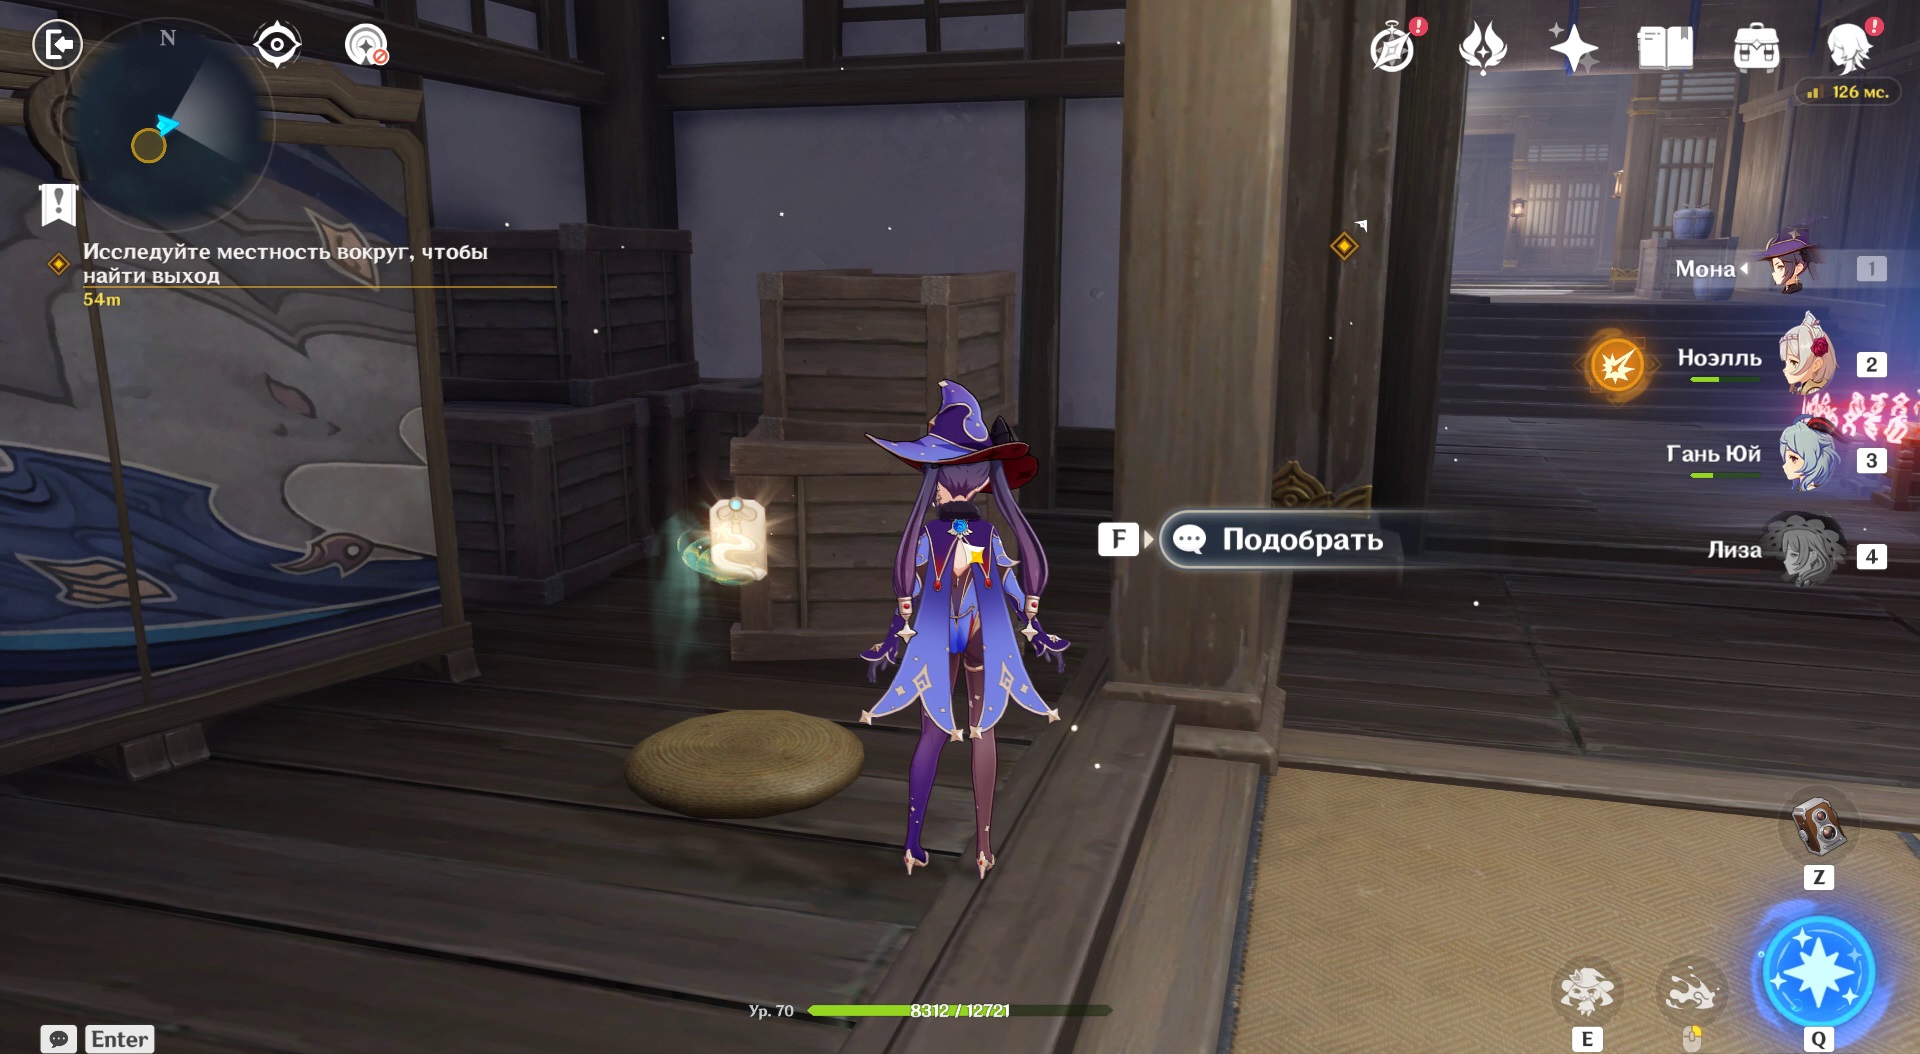
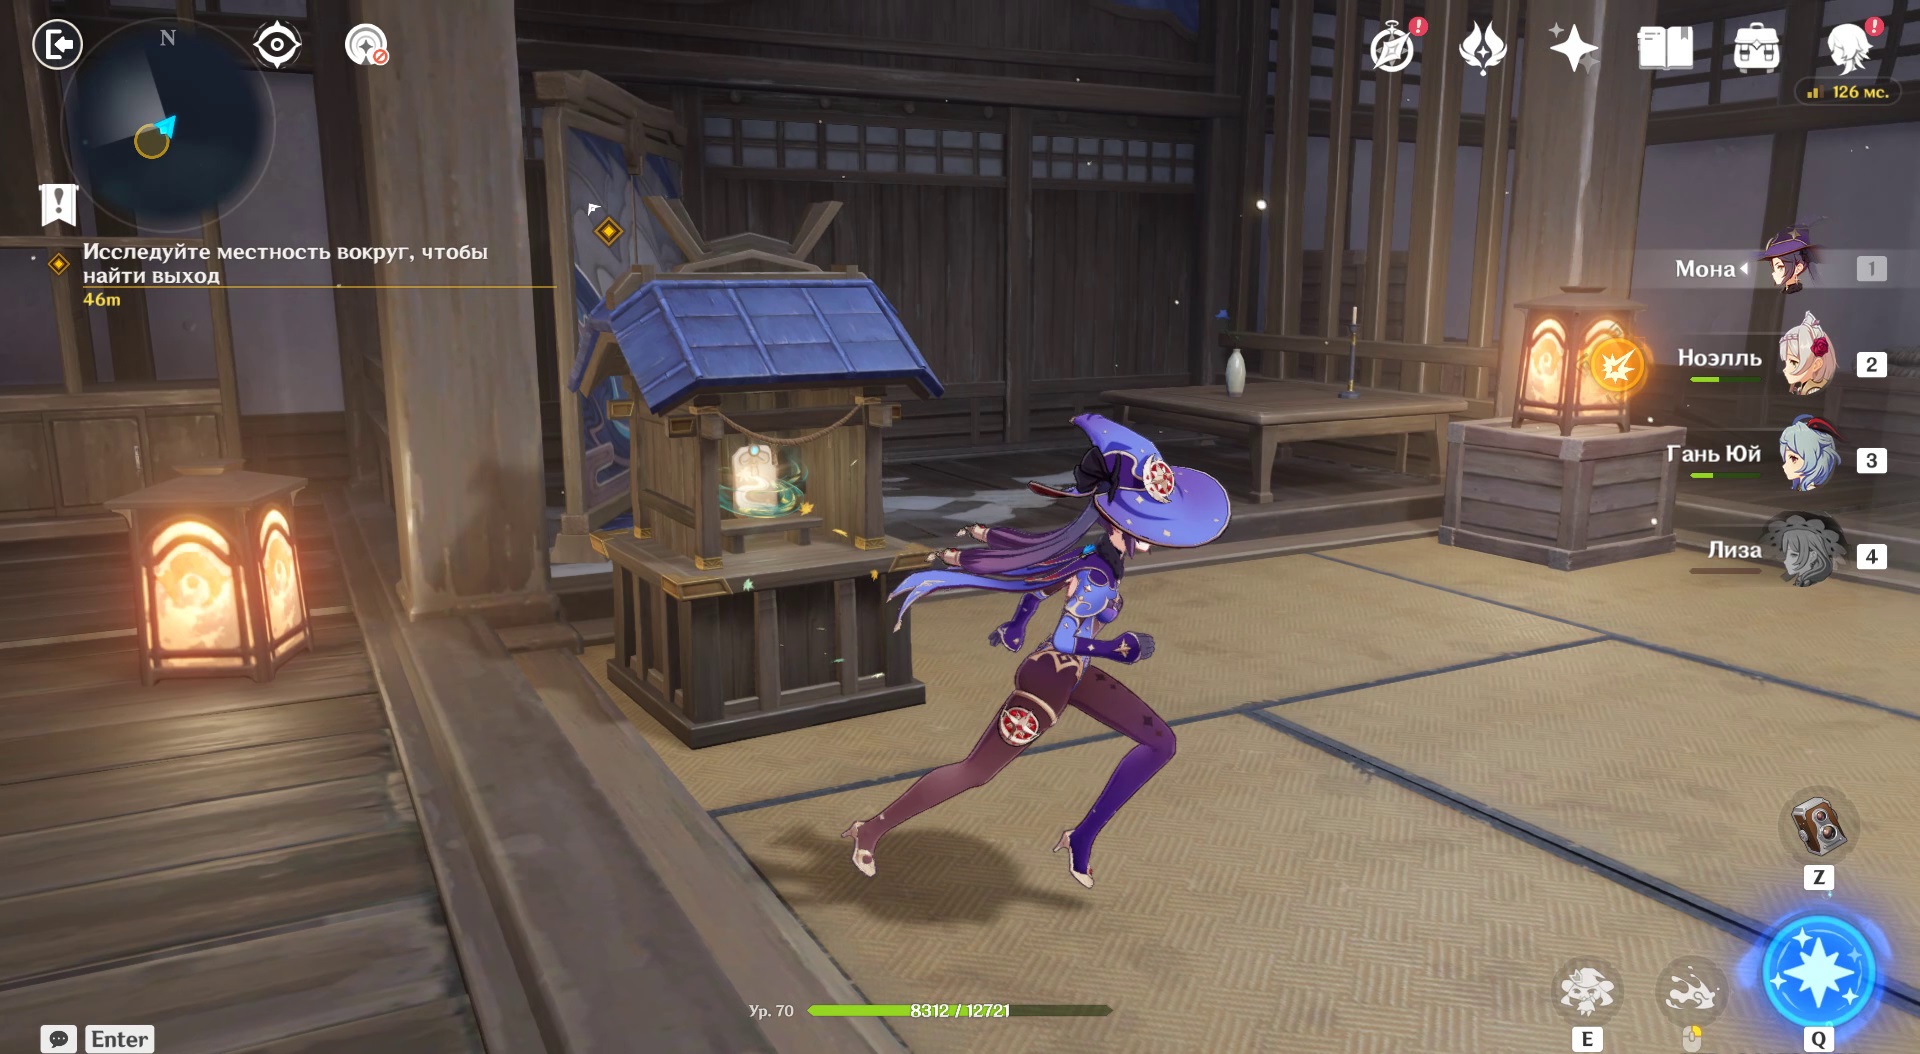
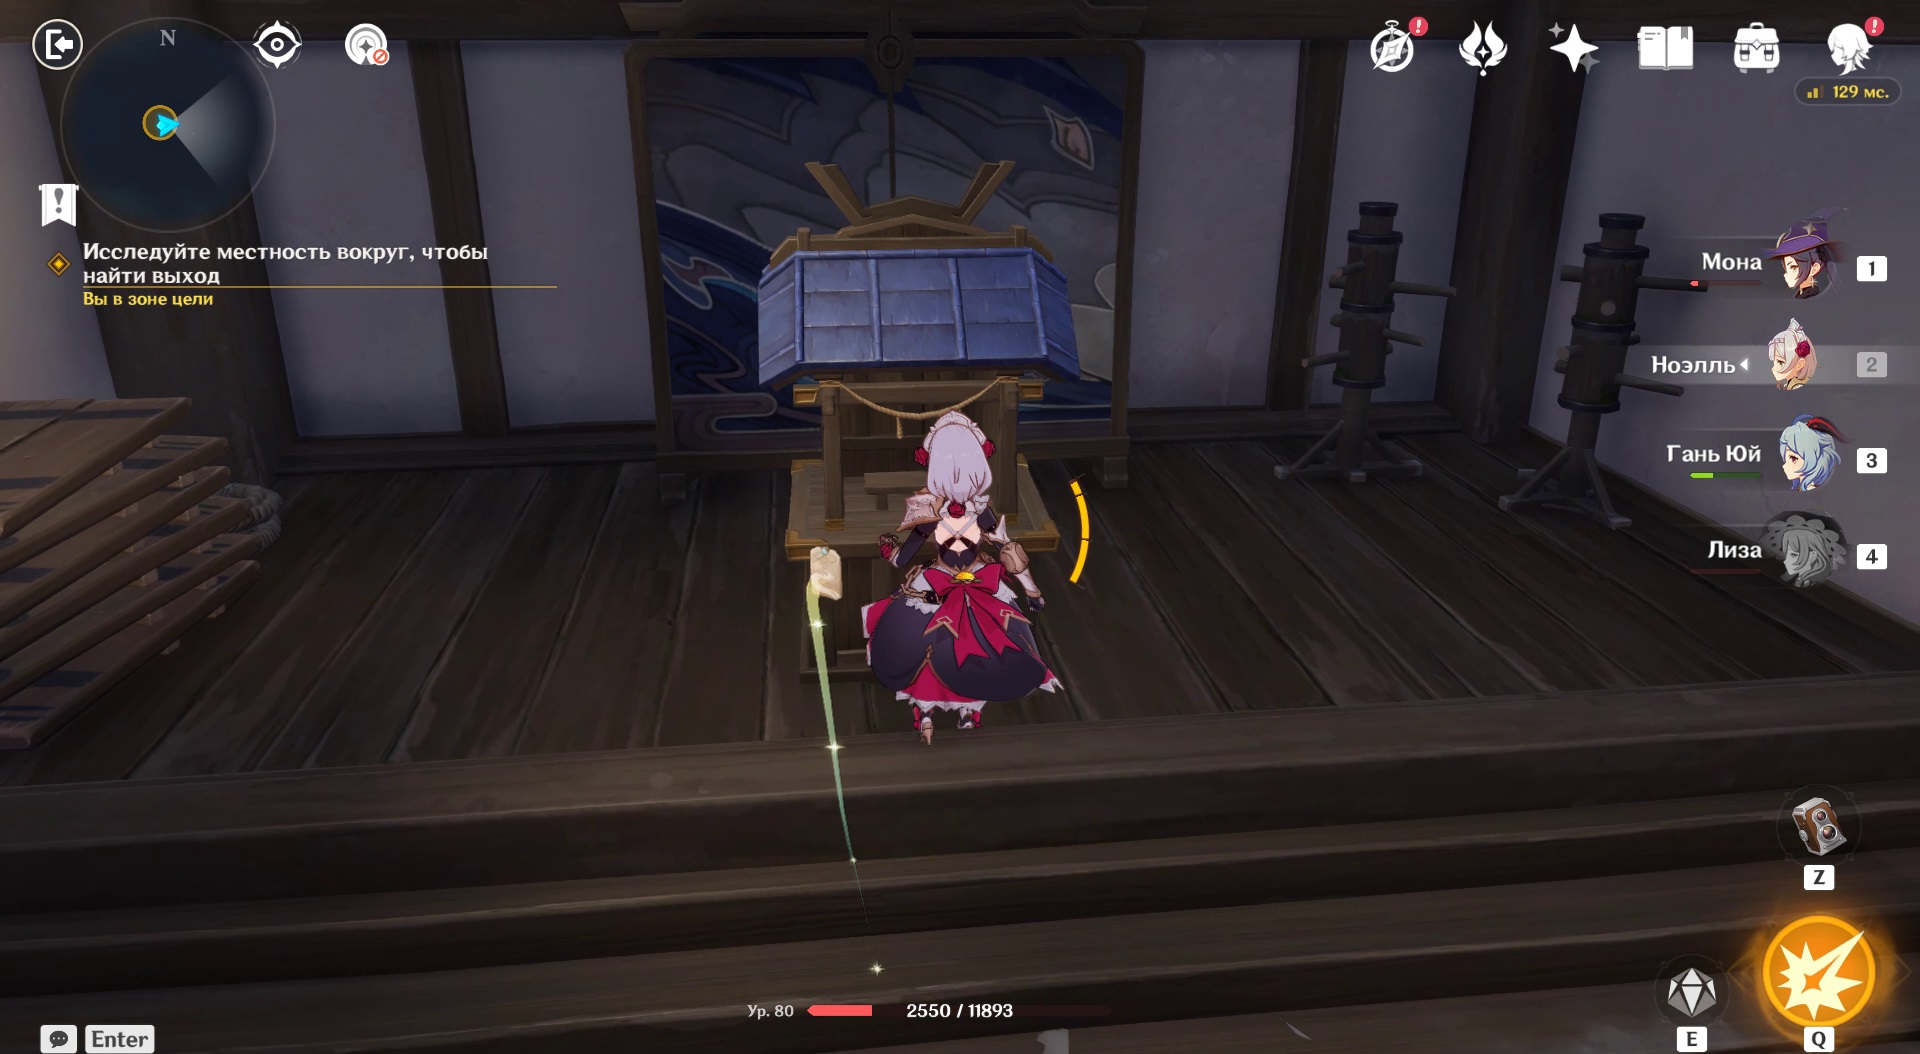
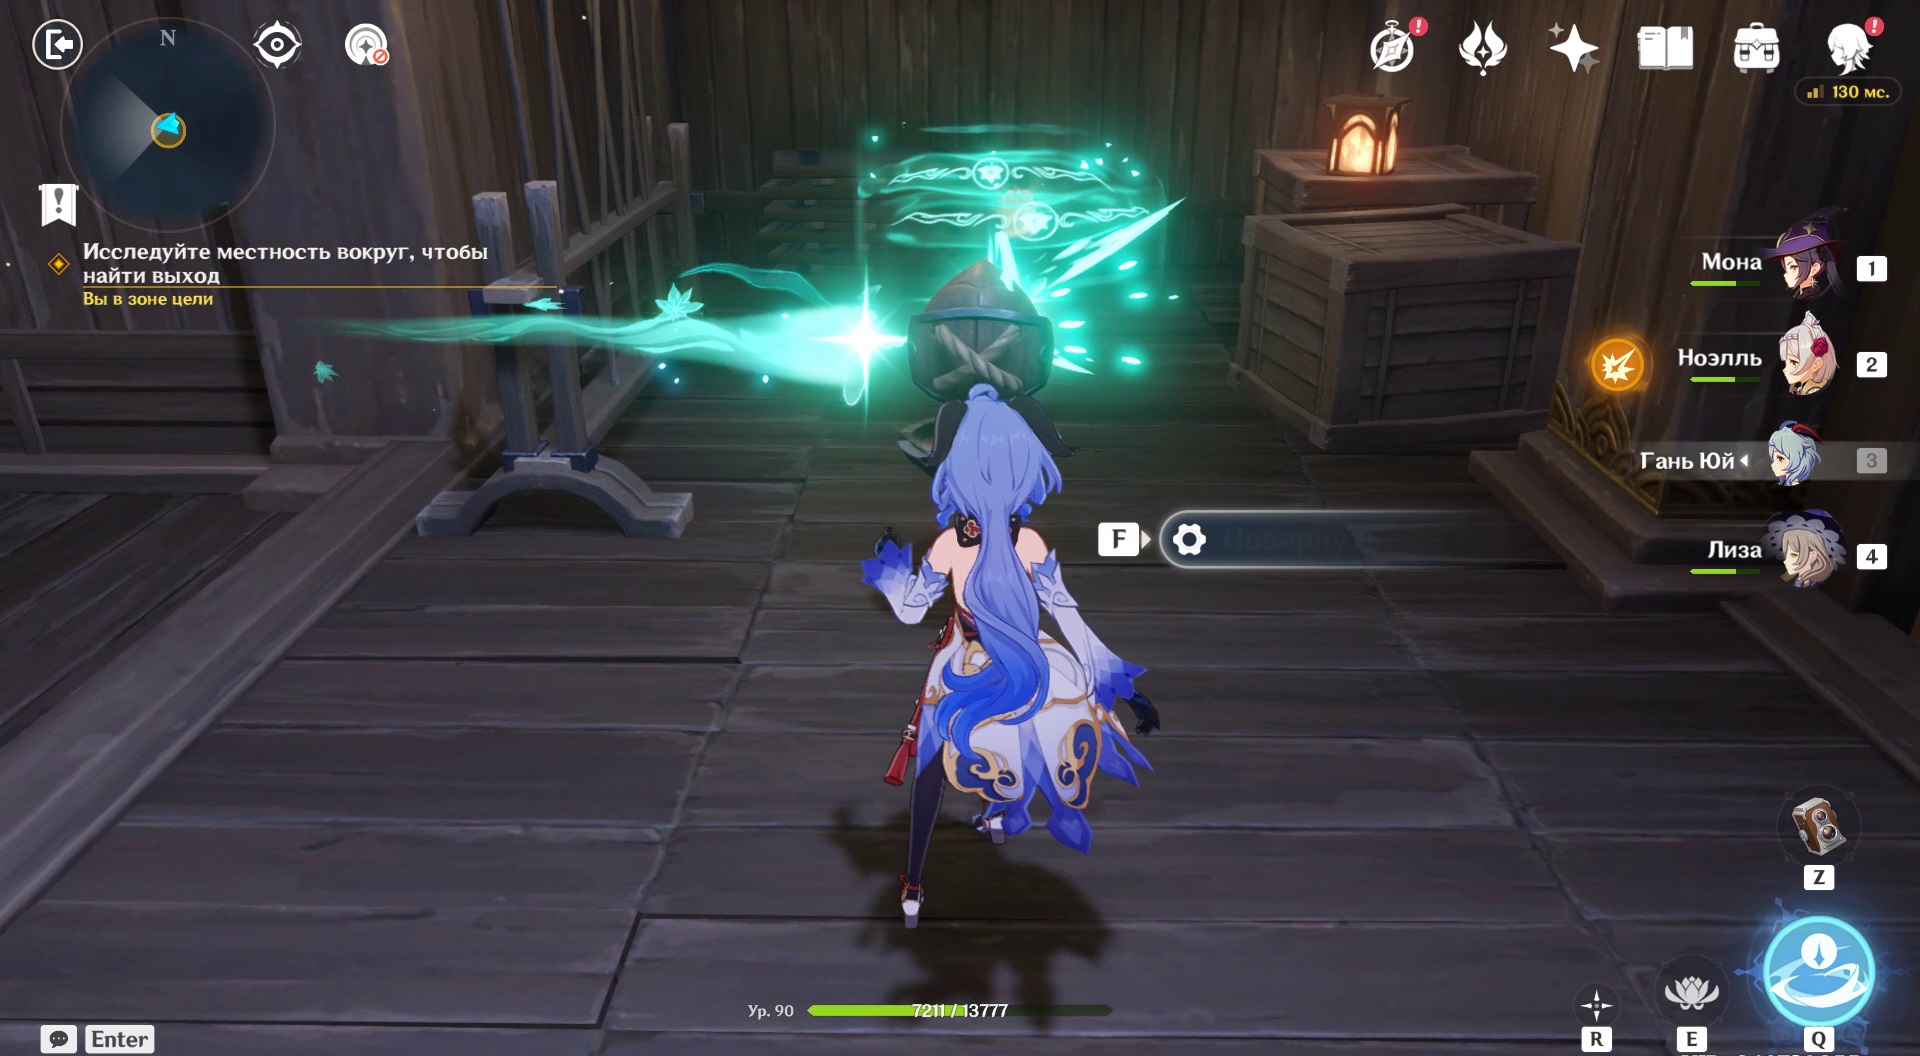
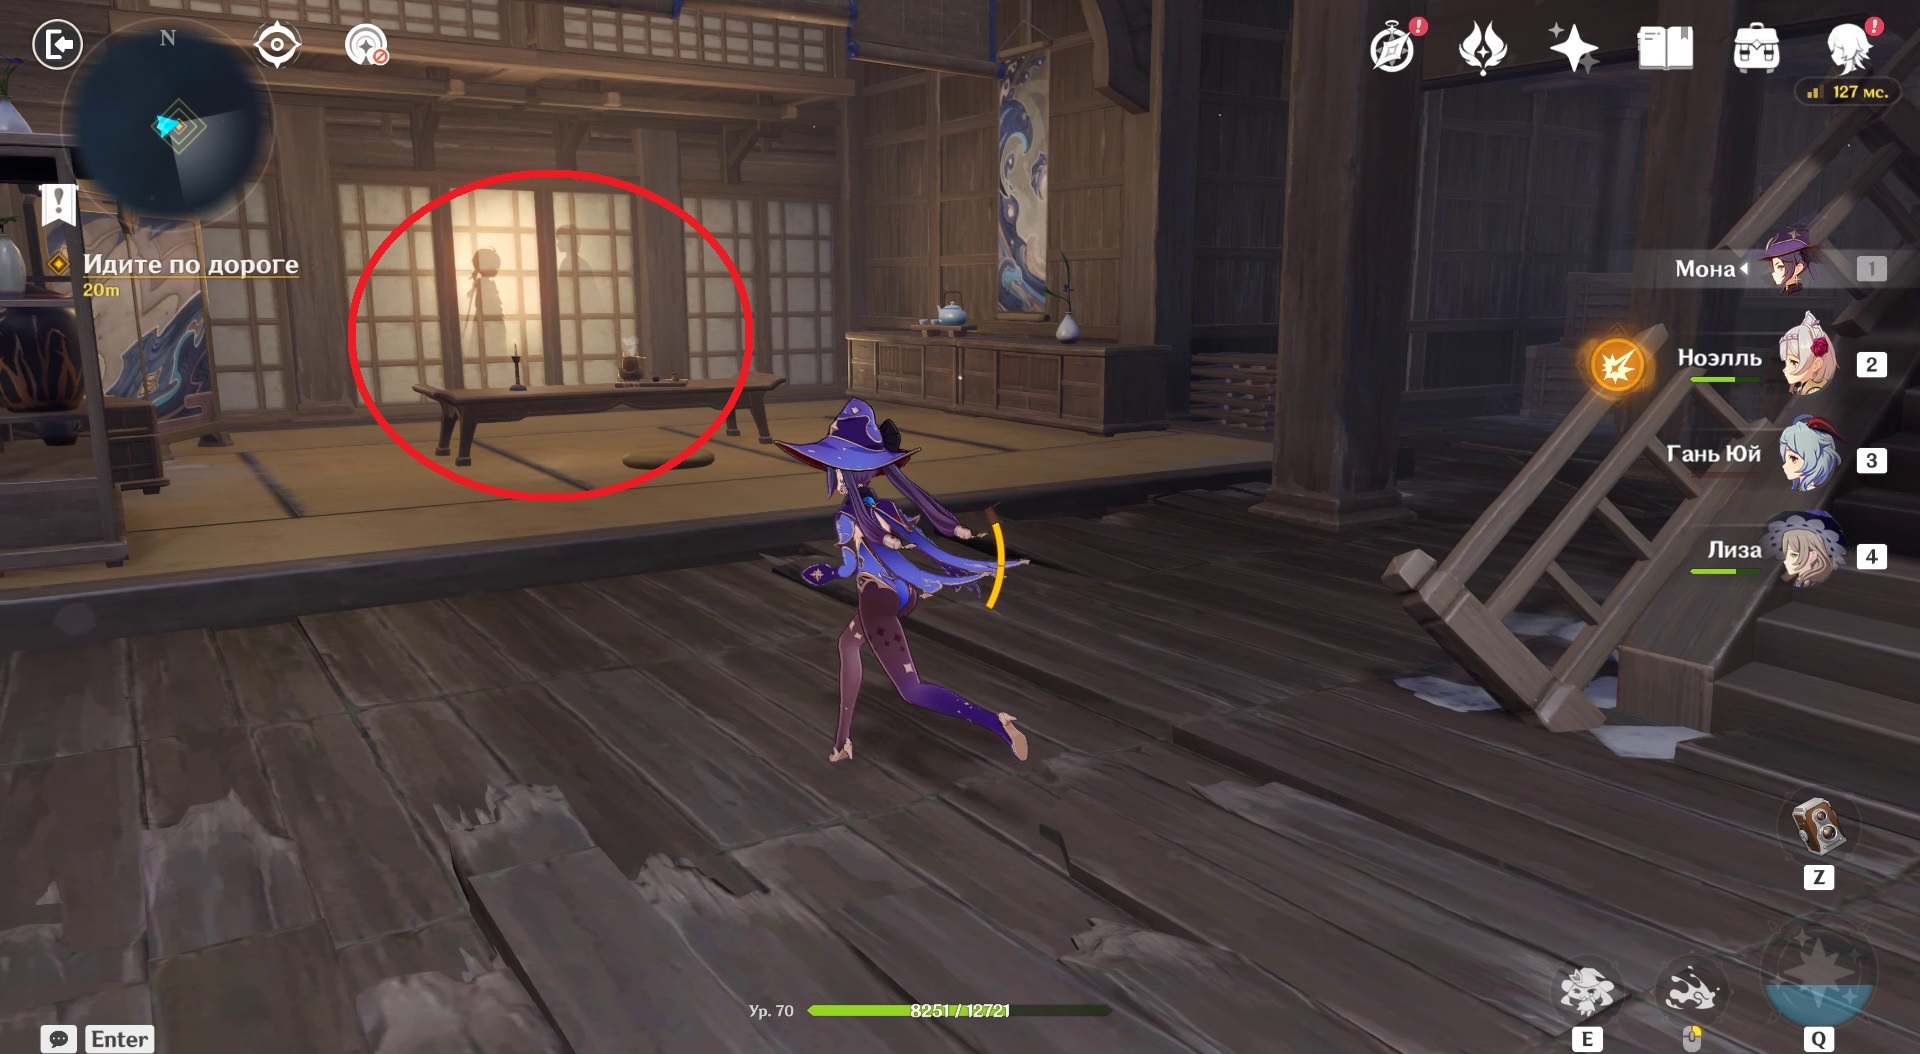
Move along the corridor. Another room with a prism tower and a lever: run through itwithout touching anything. Go to collection room. There is a note on the table. Take it for now only herwithout changing the guides.
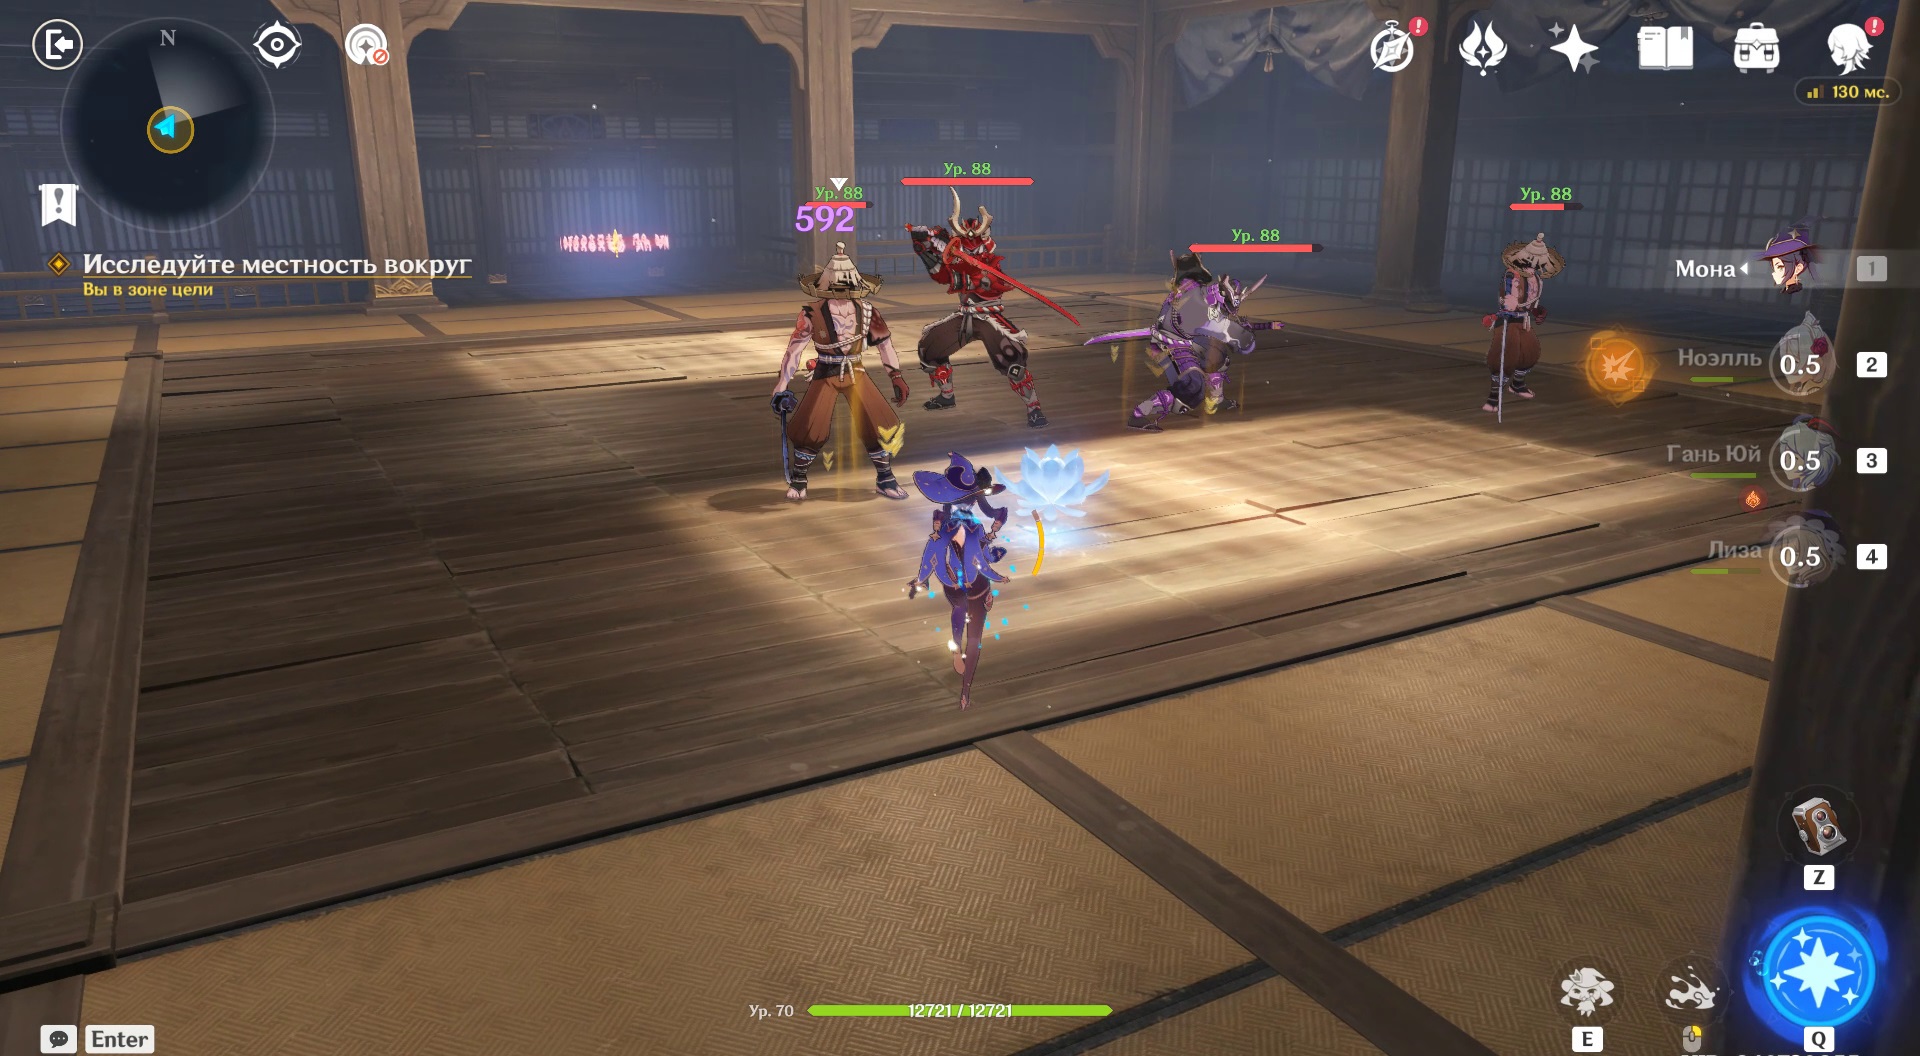
Now back to lever: Select an Unknown room. will appear dojo. Defeat nobushi and kairagi: the latter must be killed at the same time so that the second does not revive part of the HP after the death of a comrade-in-arms. Take away yellow maple leaf and paste it into prismatic tower. Now she shoots in two colors: yellow, green.
Return to Collection Hall, arrange the guides, focusing on the photo, shoot. The middle optional chest is open.
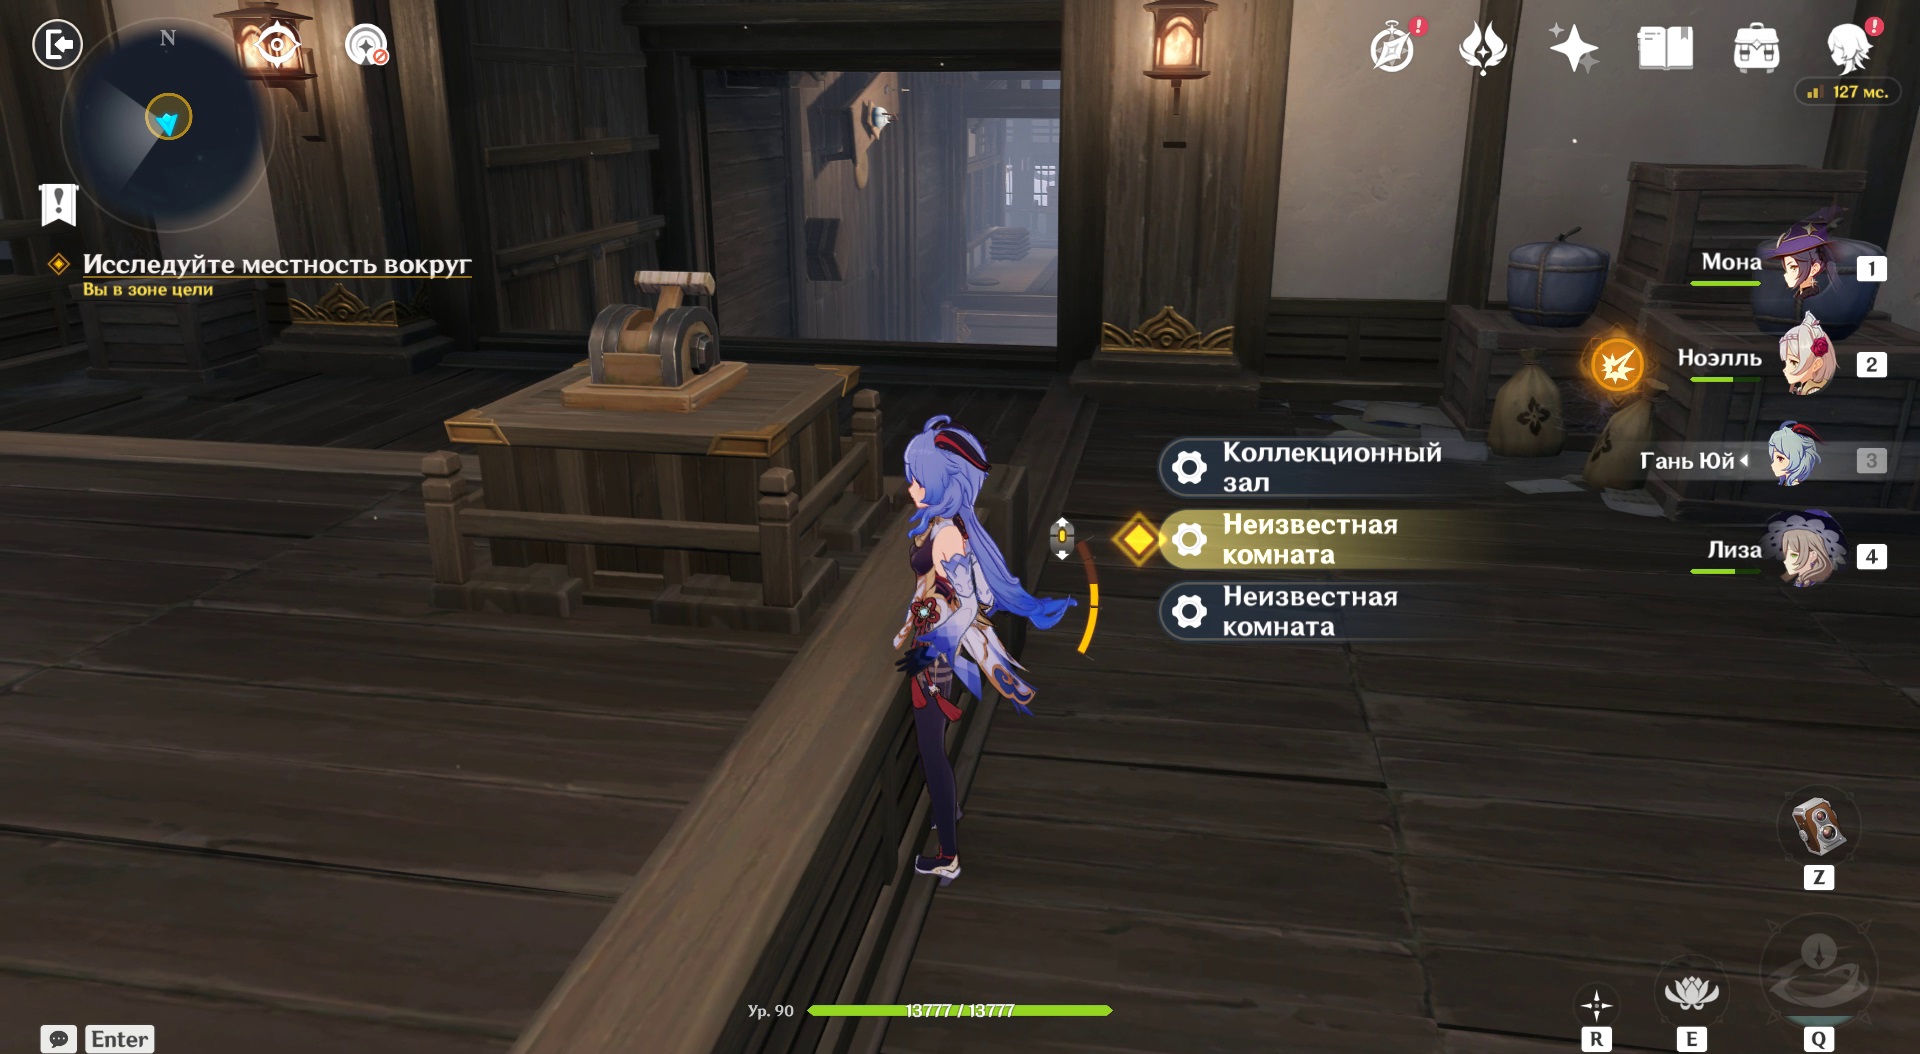
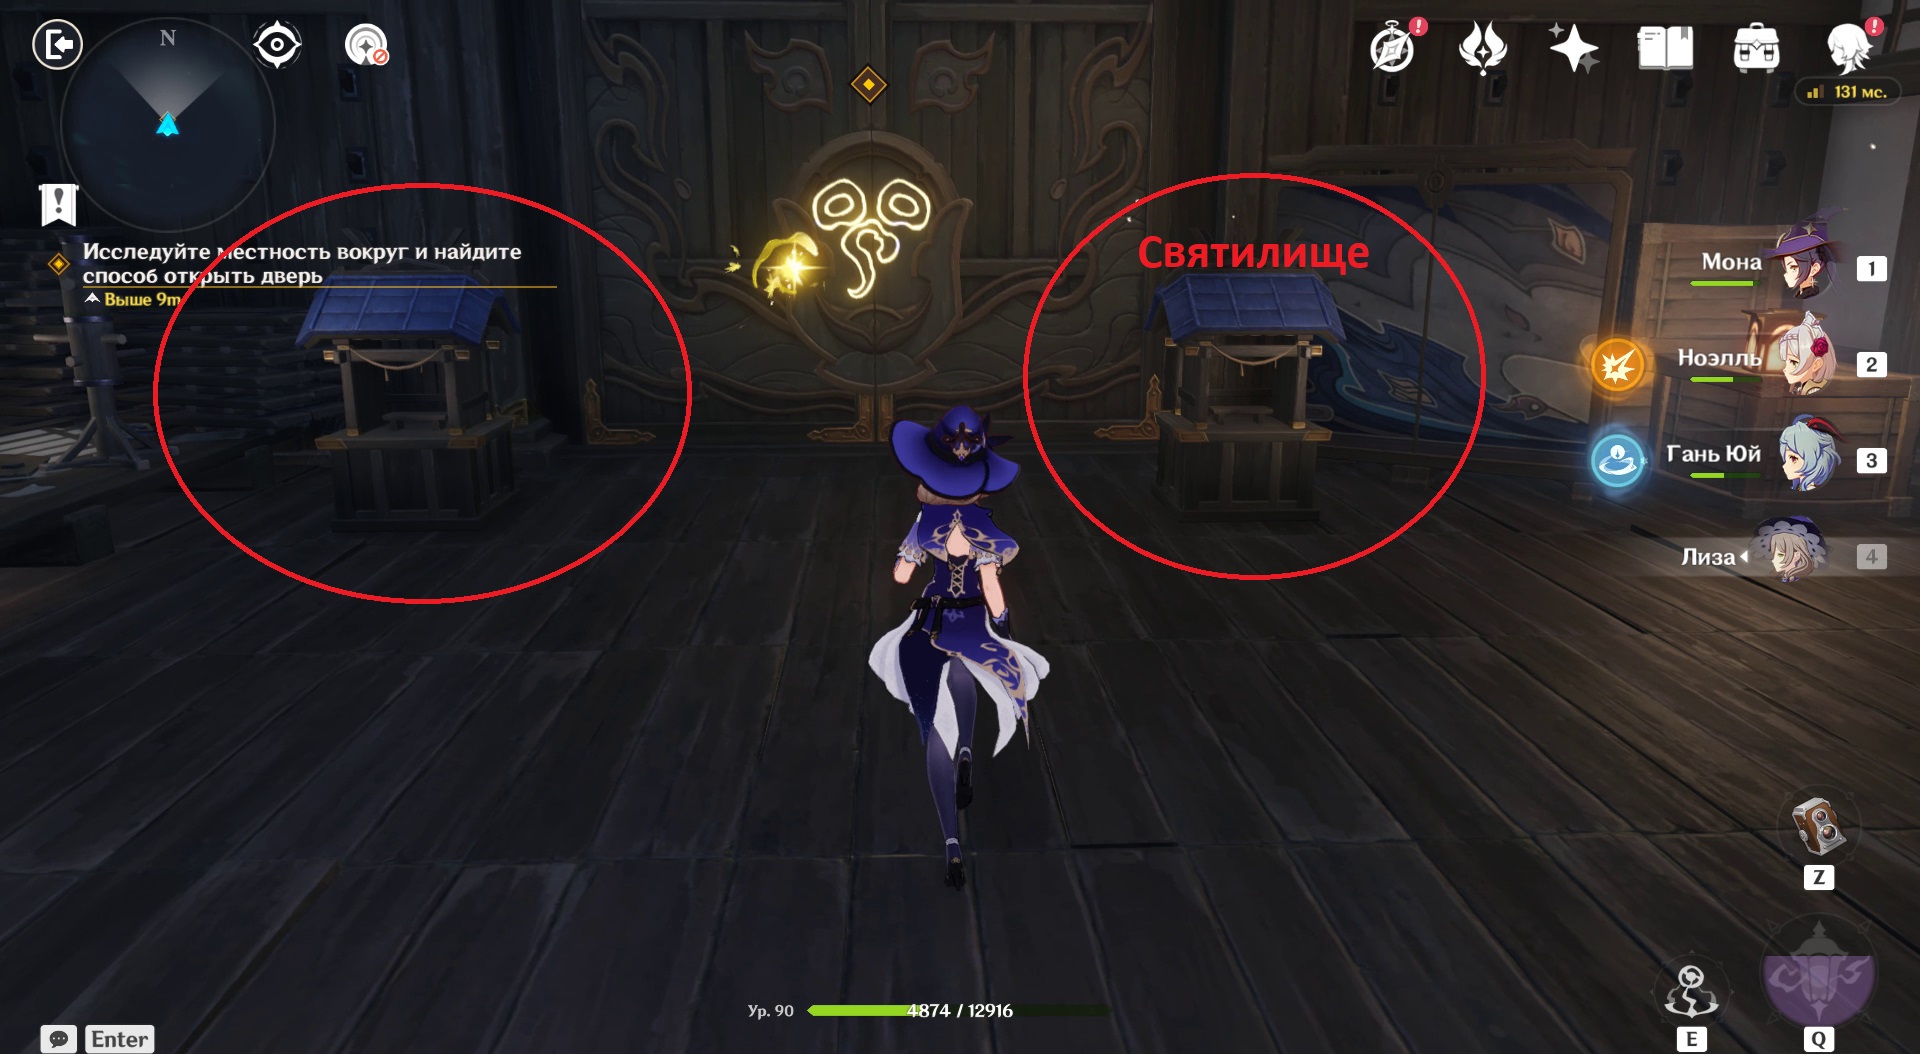
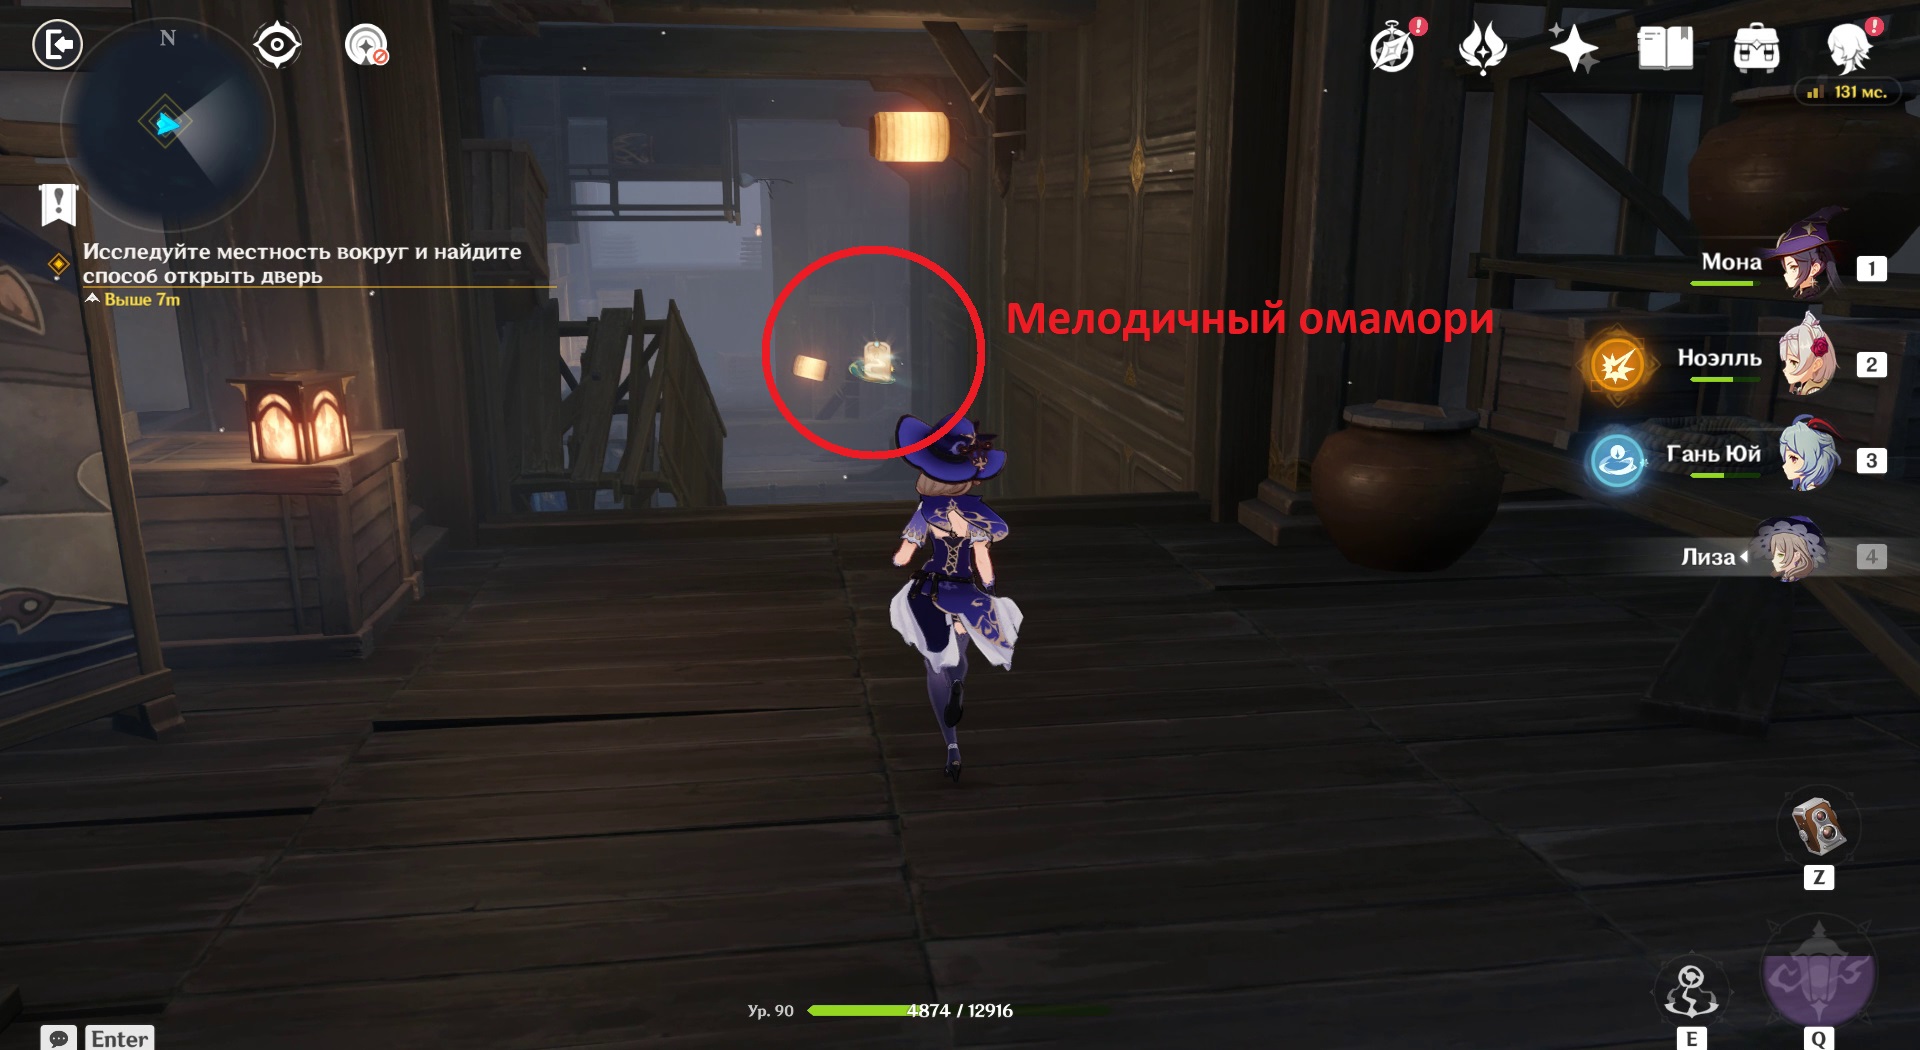
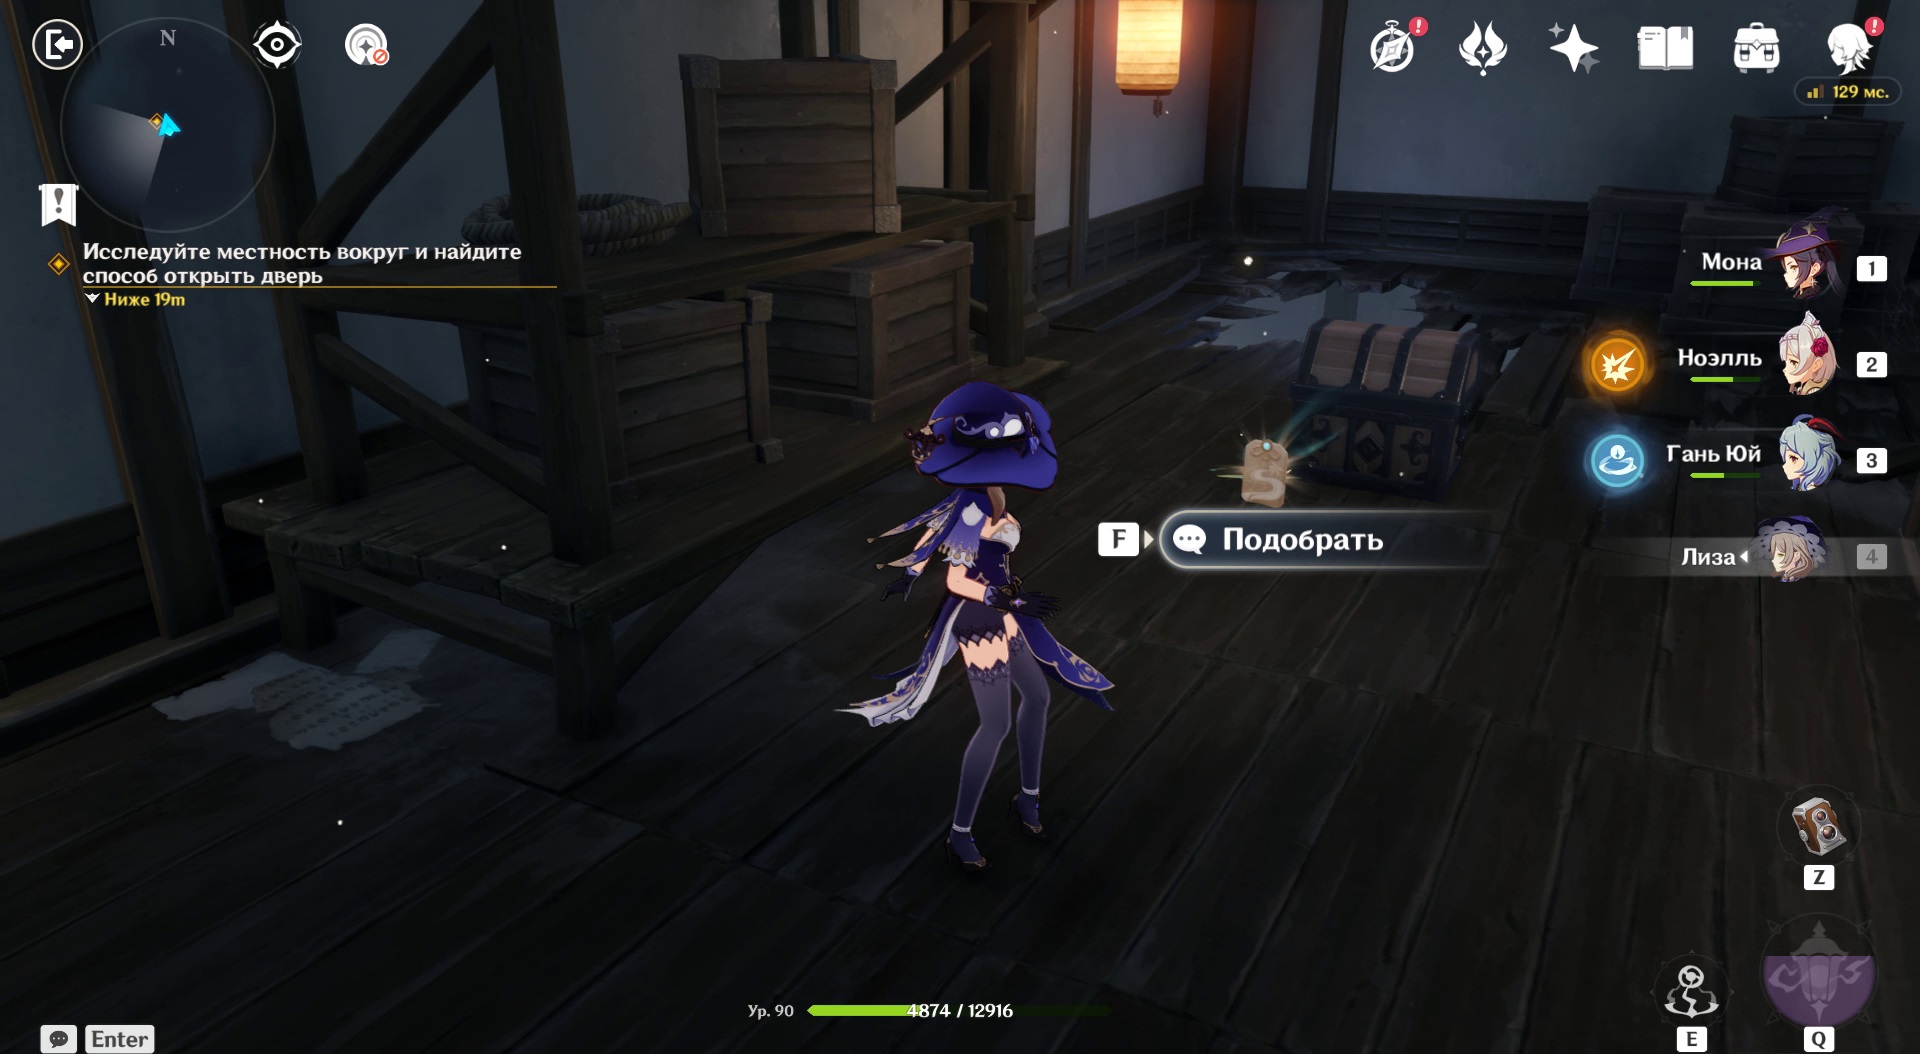
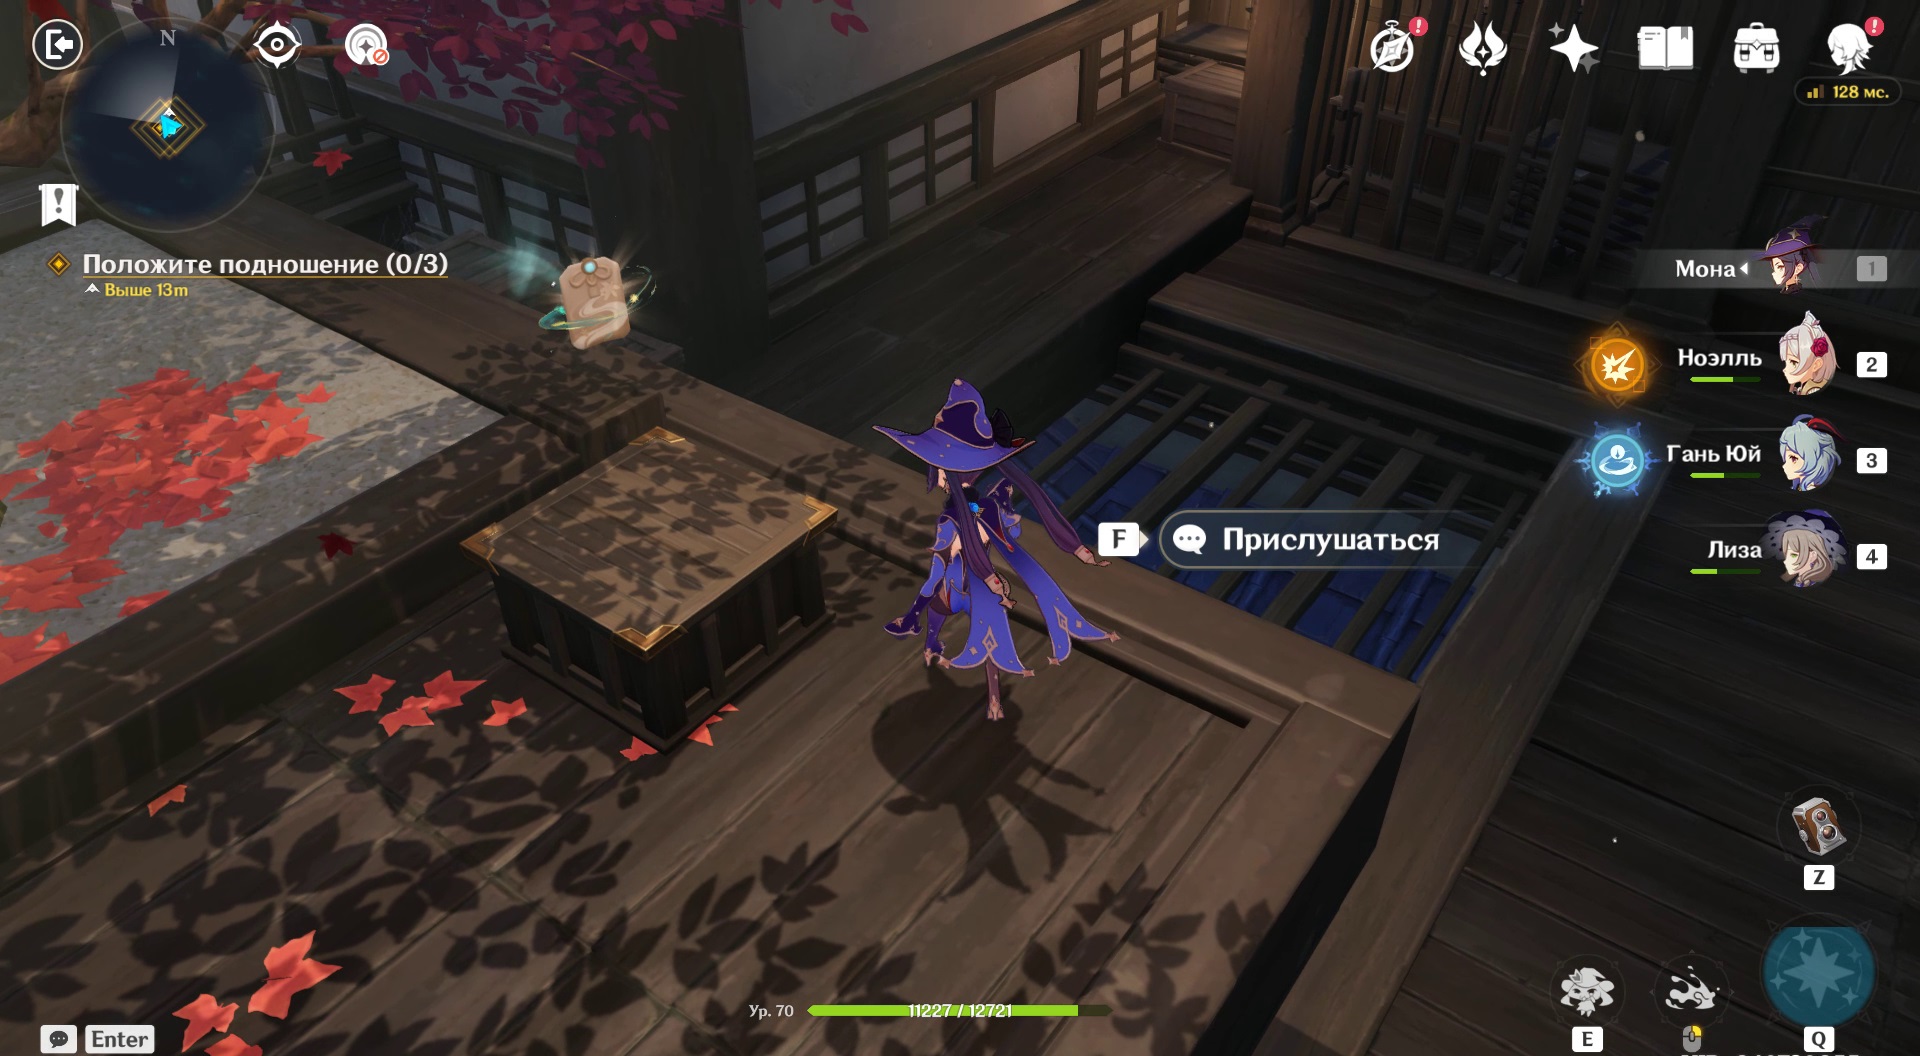
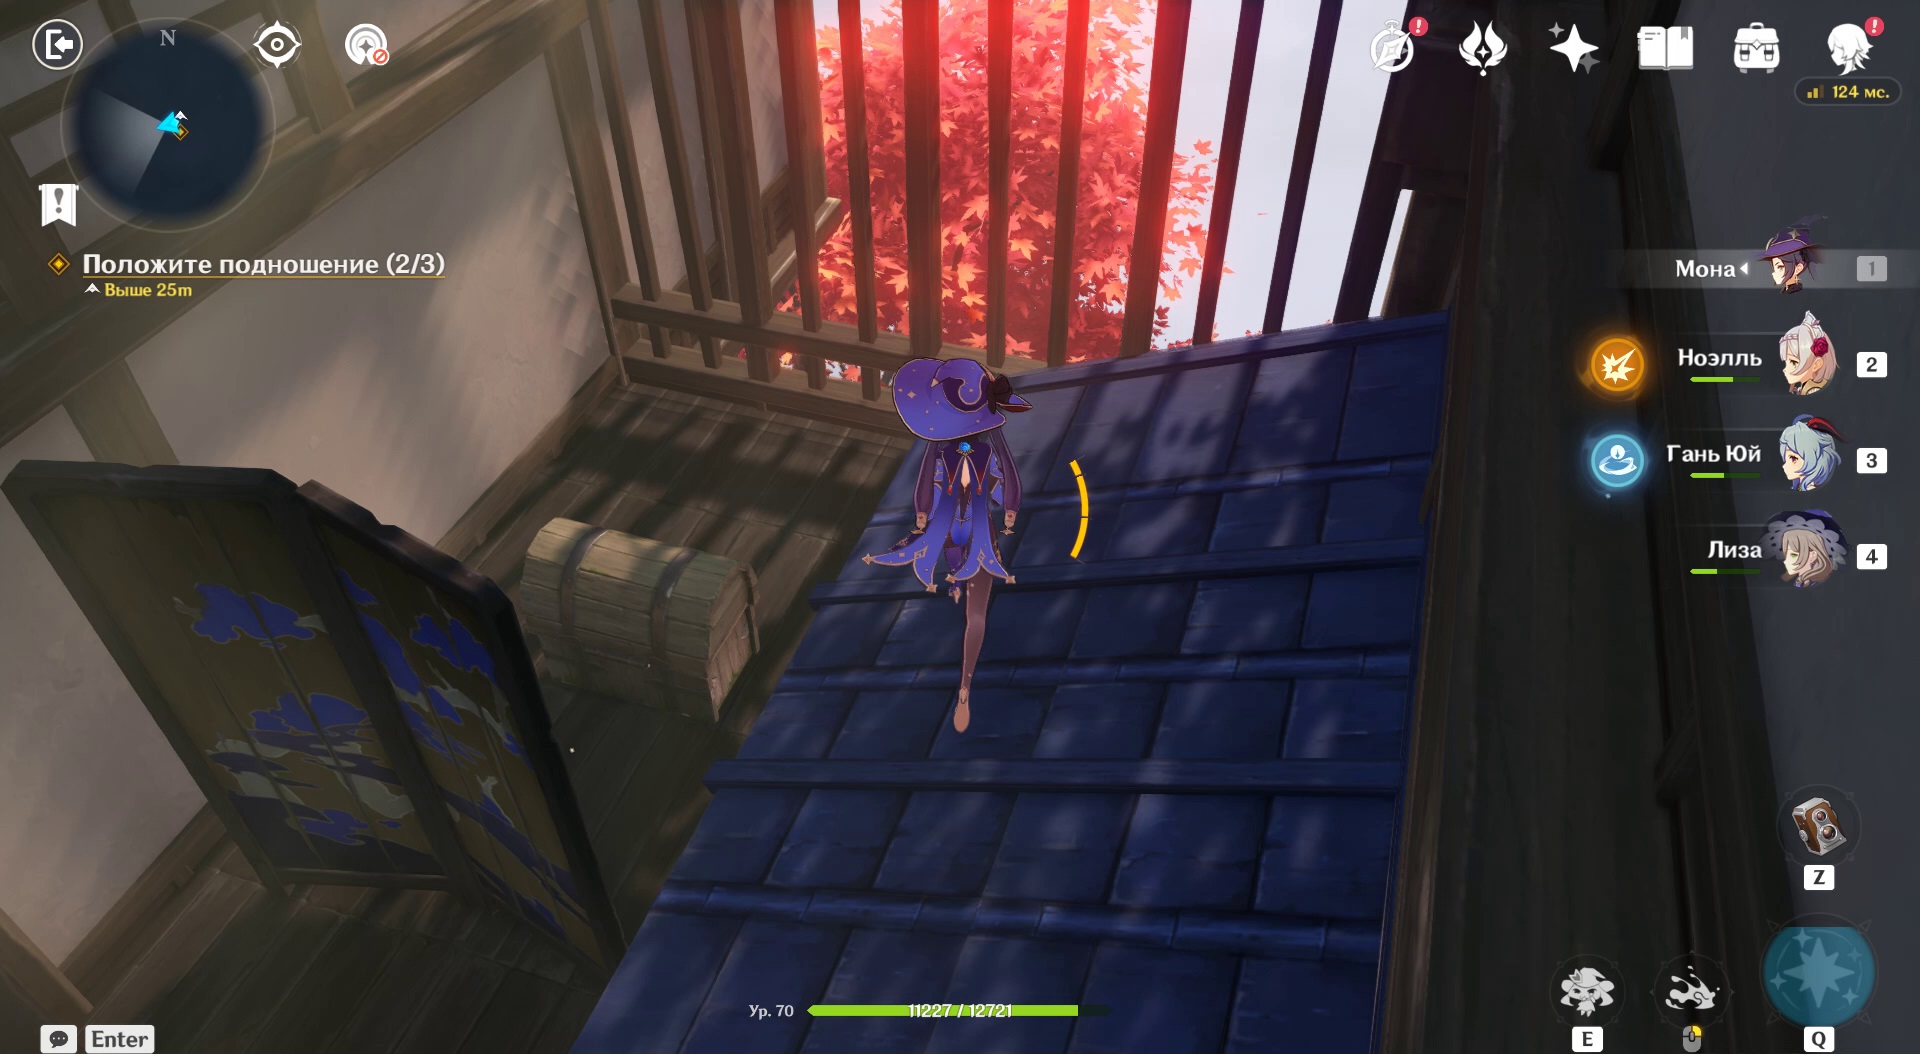
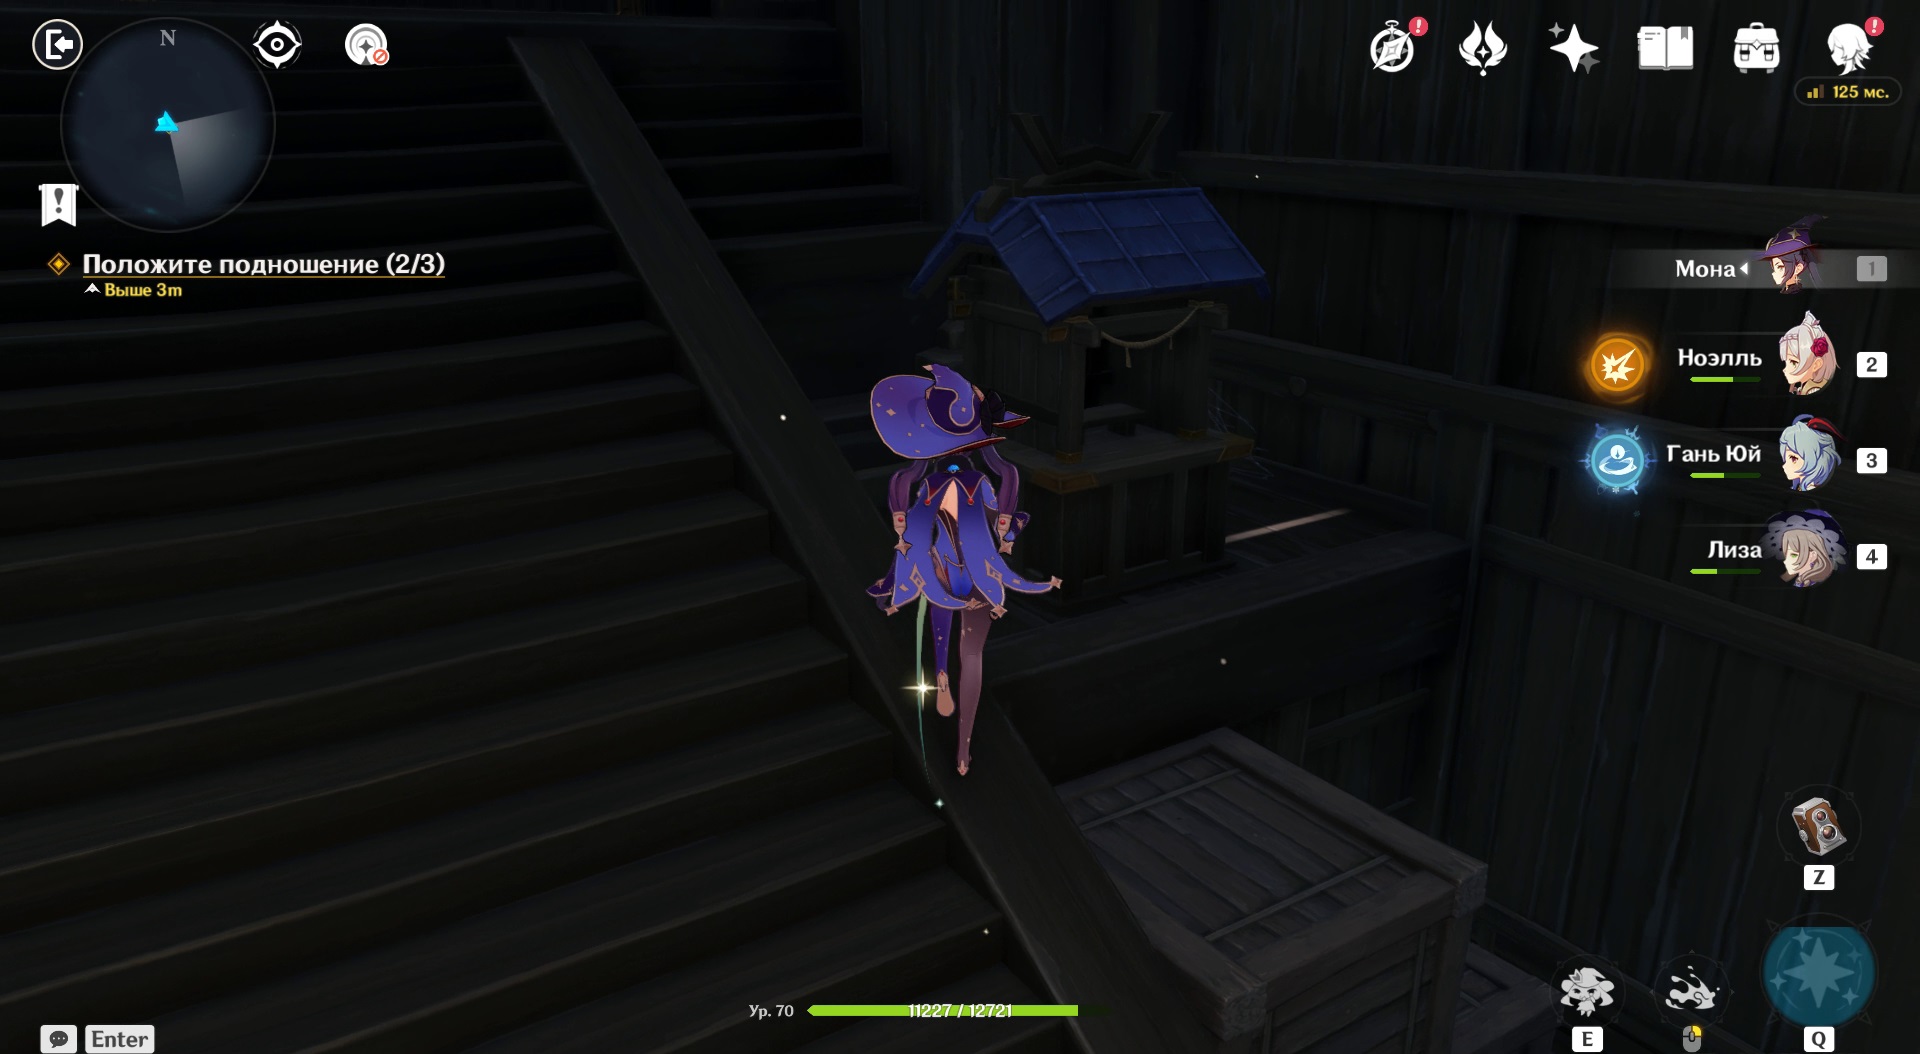
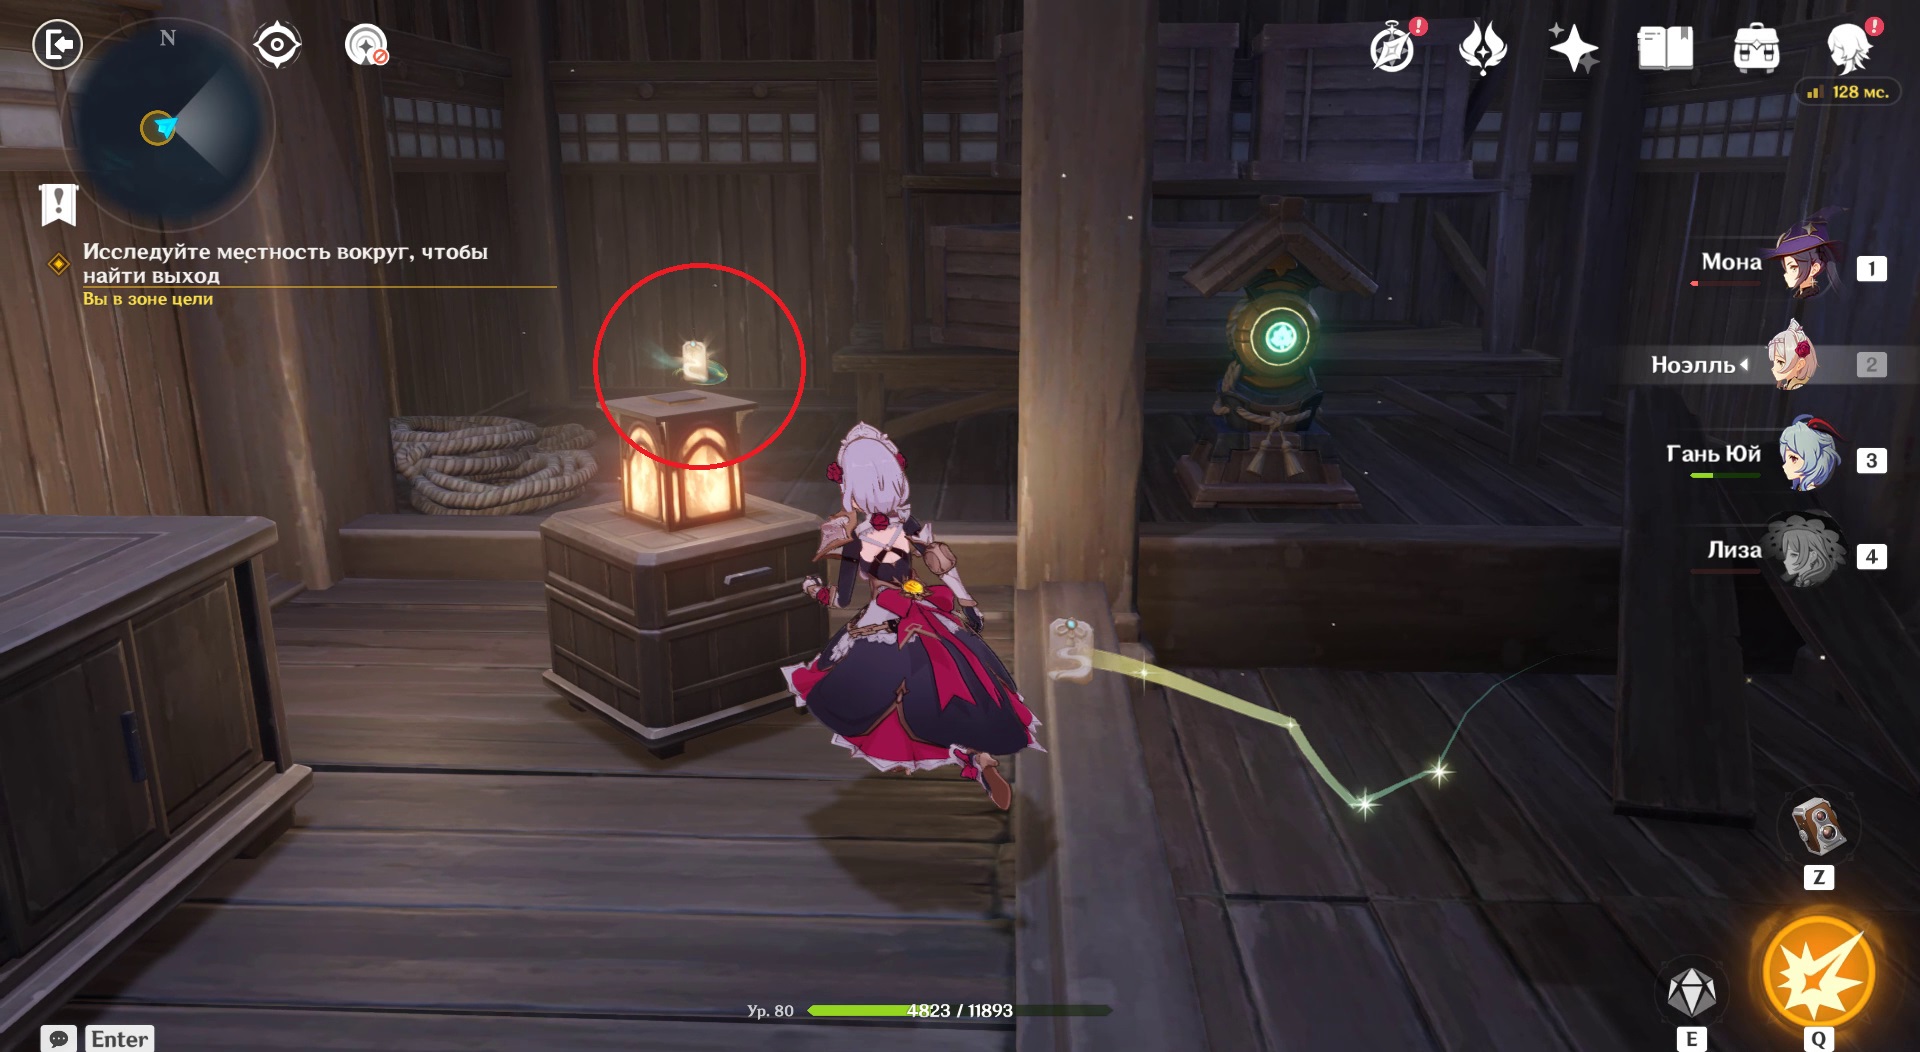
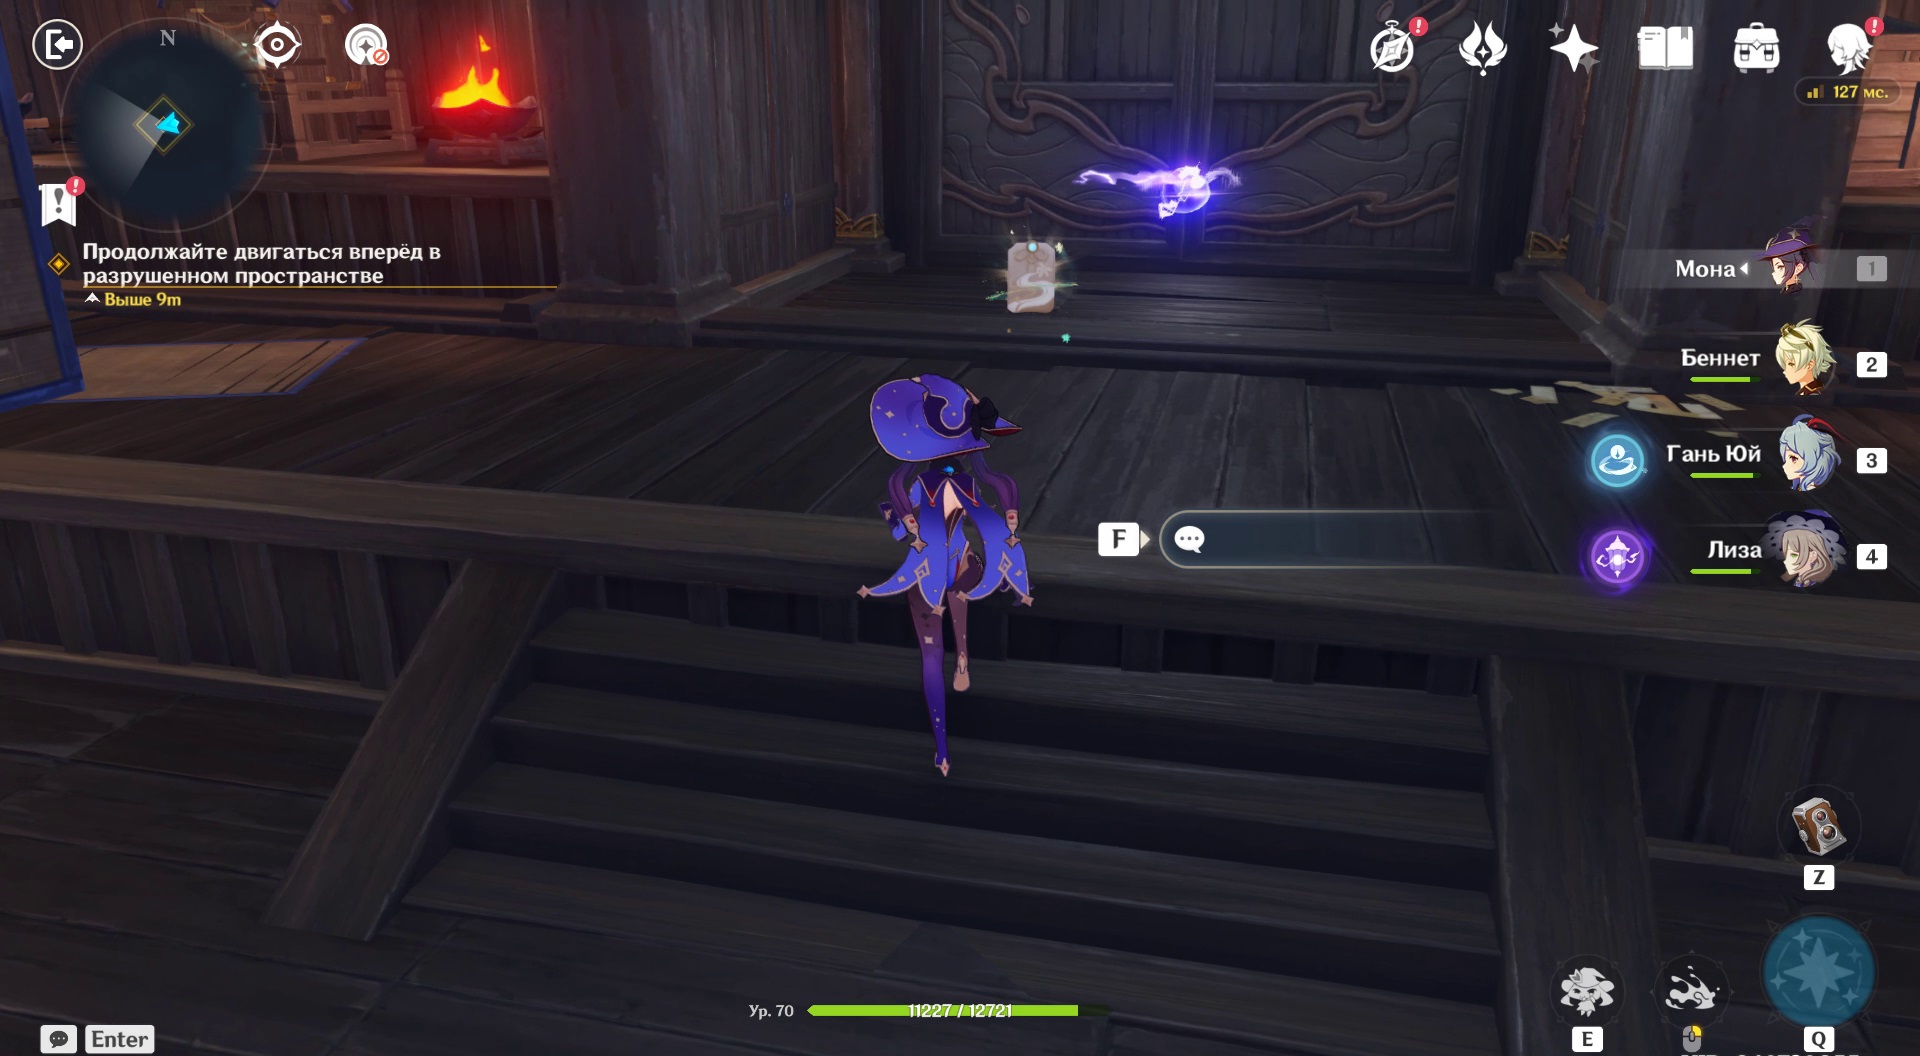
Return to the lever a second time and select the last Unknown room. From this point on, an additional mechanic appears: artifacts with the name melodic omamori must be collected from room to room and brought to sanctuaries. Pick up one of these to the right of the door with two shrines on the sides. Go down the only corridor. At the end of the path, there is a middle chest, an omamori and a hole in the floor: loot the rewards and jump down. Bring both talismans to the shrines. The door with the golden symbol is open.
Put an offering

The hero is waiting for room number 3 with tower and lever. This time you don't need to switch rooms for the story, so head straight if you want to complete the story. Below we will analyze the optional branch of rooms, after returning to the main one. open access lever.
How to get the yellow crystal
Here foot soldiers and samurai guard yellow crystal. Defeat them, take the artifact to the tower.

How to get a red crystal
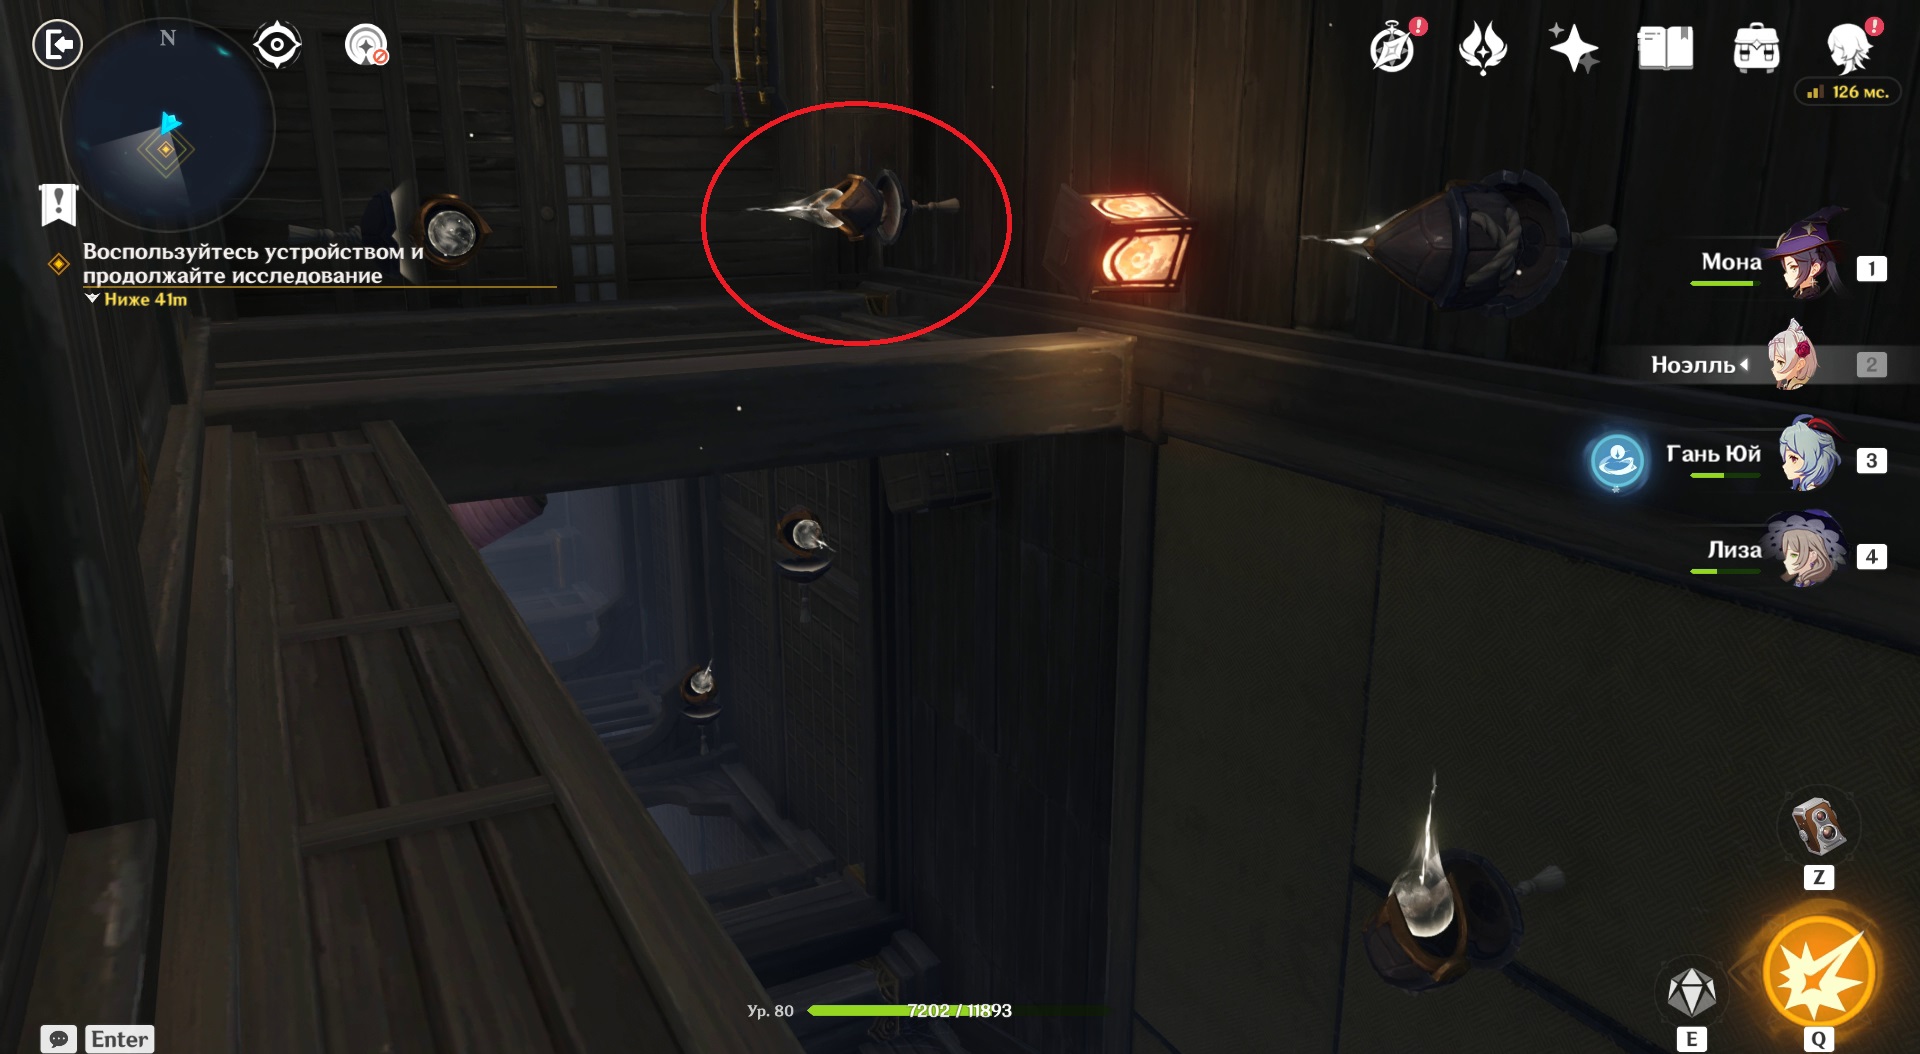
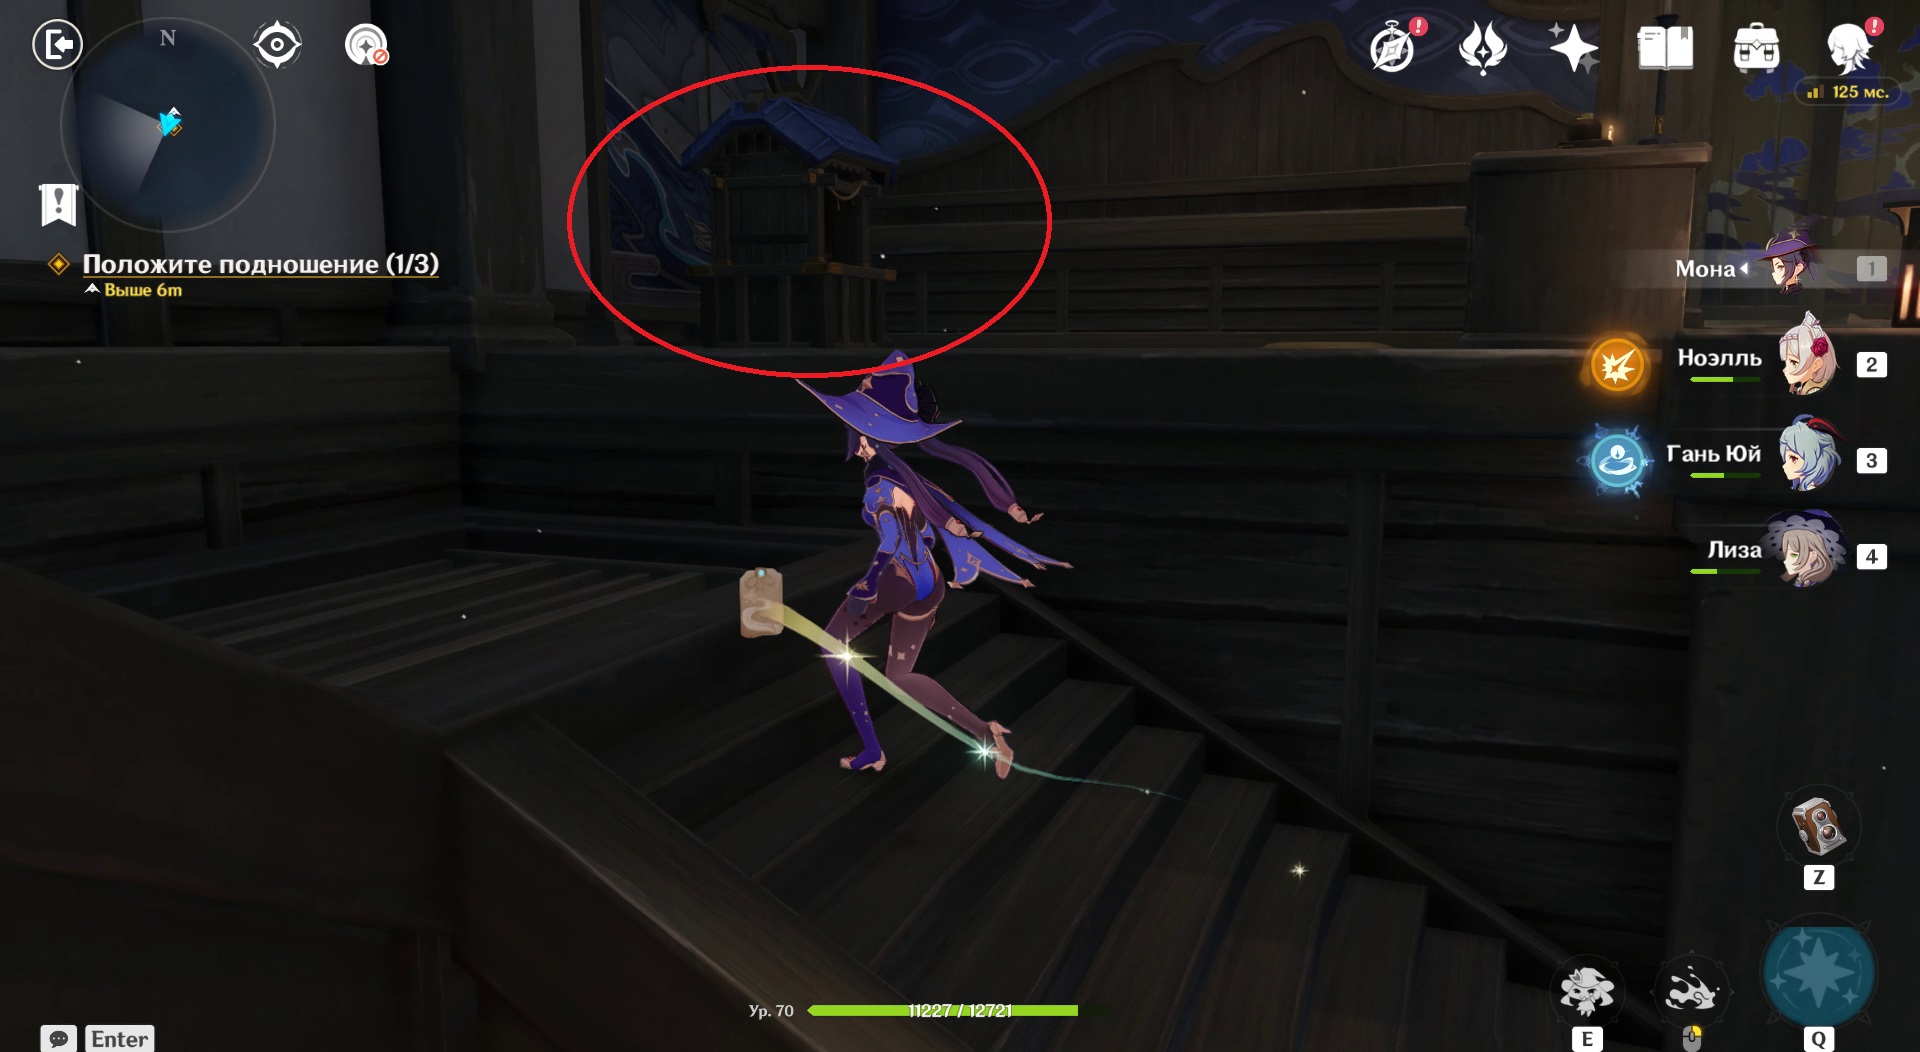
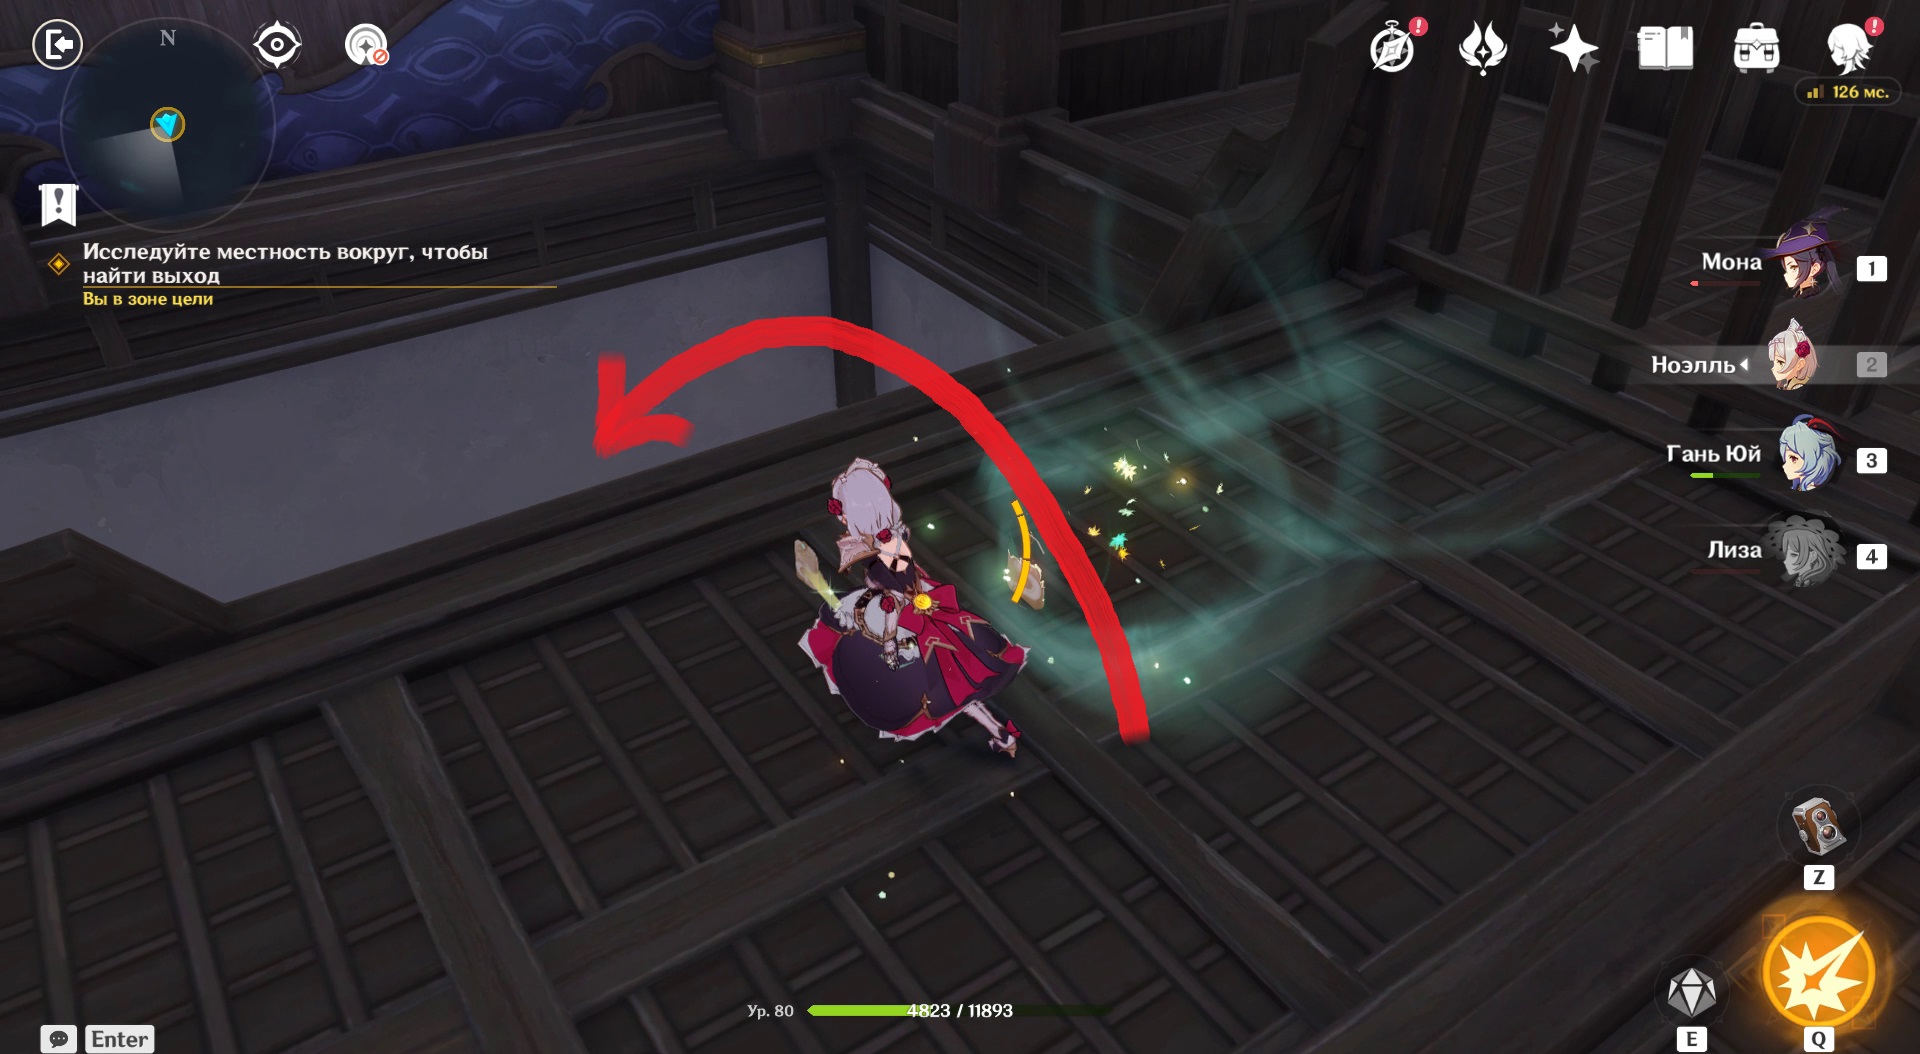
Turn only one reflector, which is located next to the stairs, guided by the photo. To do this, adjust the height twice. Fire a shot, then take red crystal, read a note. Don't forget the small chest to the right of the seal. Apply red to the tower.

How to open a chest in the Hall
Immediately go down to the chest.
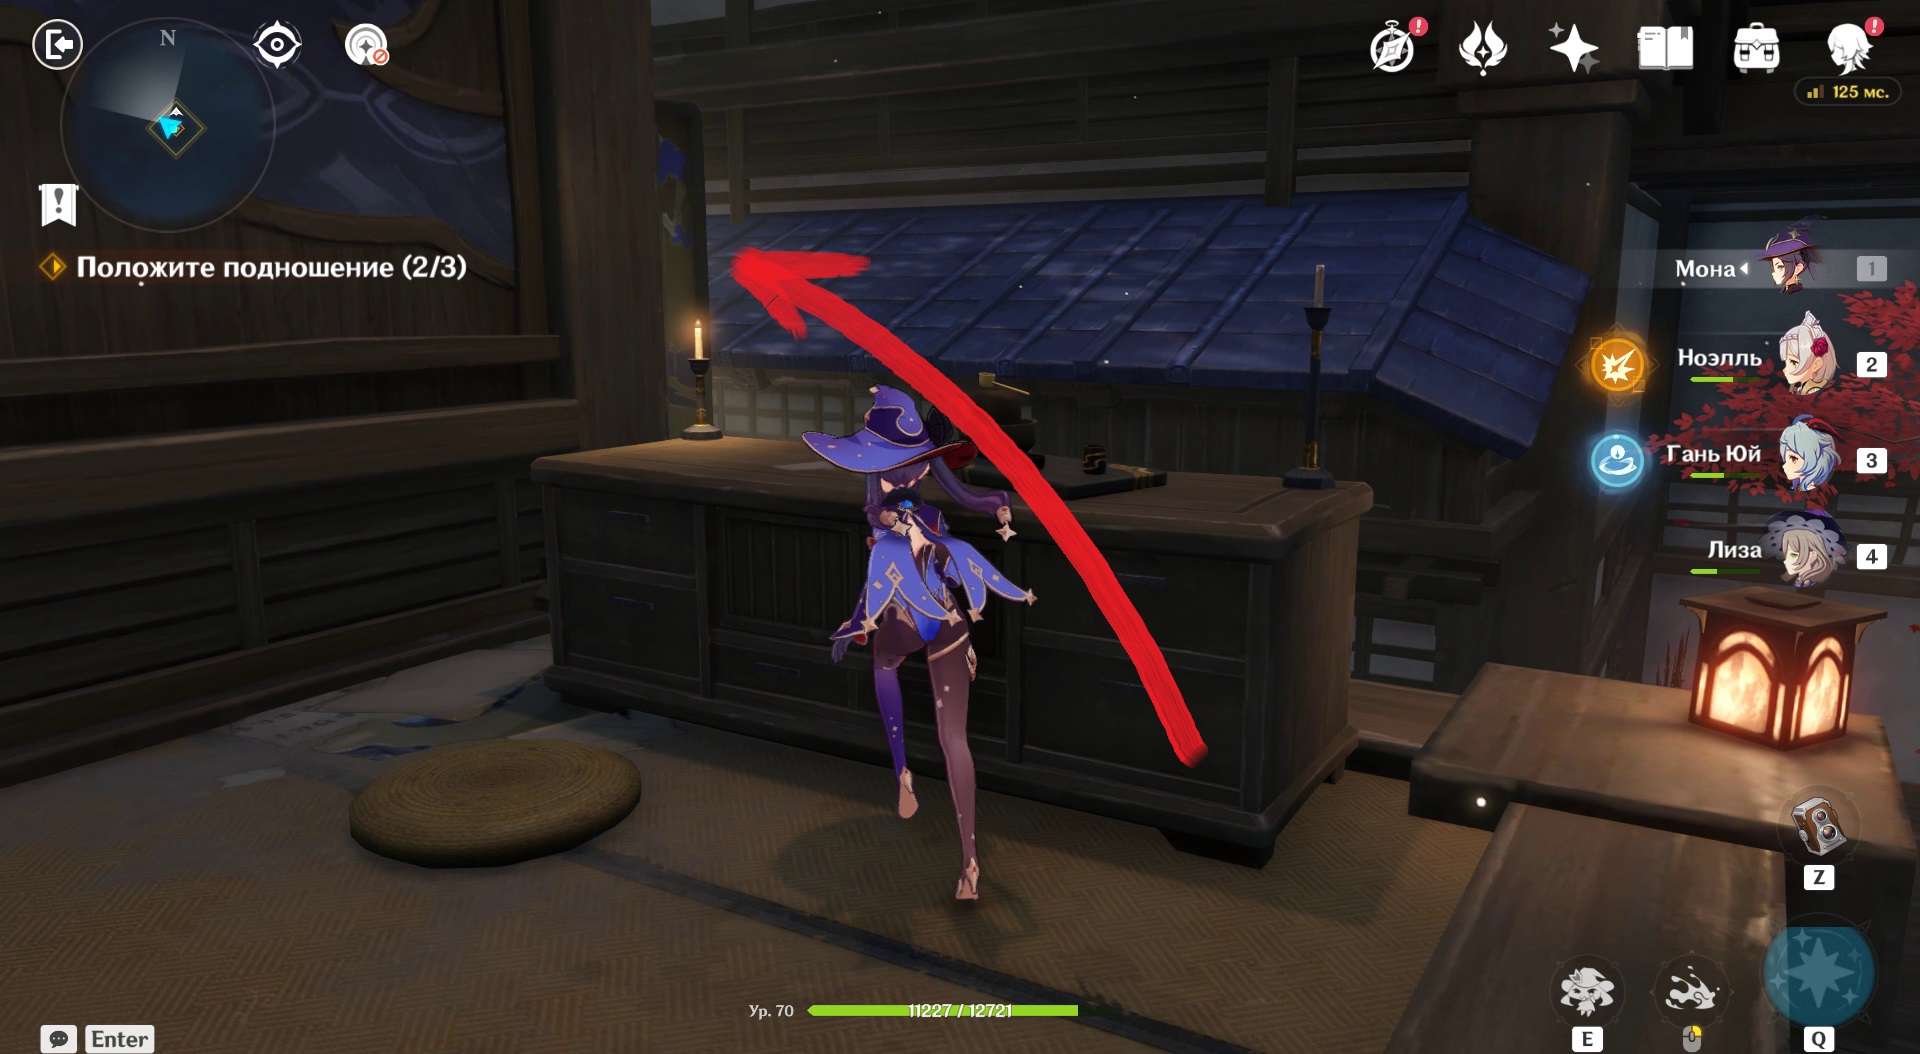
In the hall, bring 1 guide element to the position as in the picture: it should redirect the charge slightly upwards. Climb up the stairs. Here, too, you need to rotate one element: it is marked in the screenshot. Shoot and take the chest.

Where to find omamori in the Yard
Back to the plot: collect 3 omamori and place them on the altars.
1st near the maple. The altar is on the next flight. Step up the stairs.

2nd near the weapon rack. The altar is 1 flight up. Opposite it is a roof visor, jumping onto which you will see an optional chest below
3rd on a wooden table. Just go up the stairs. Altar on the top floor.

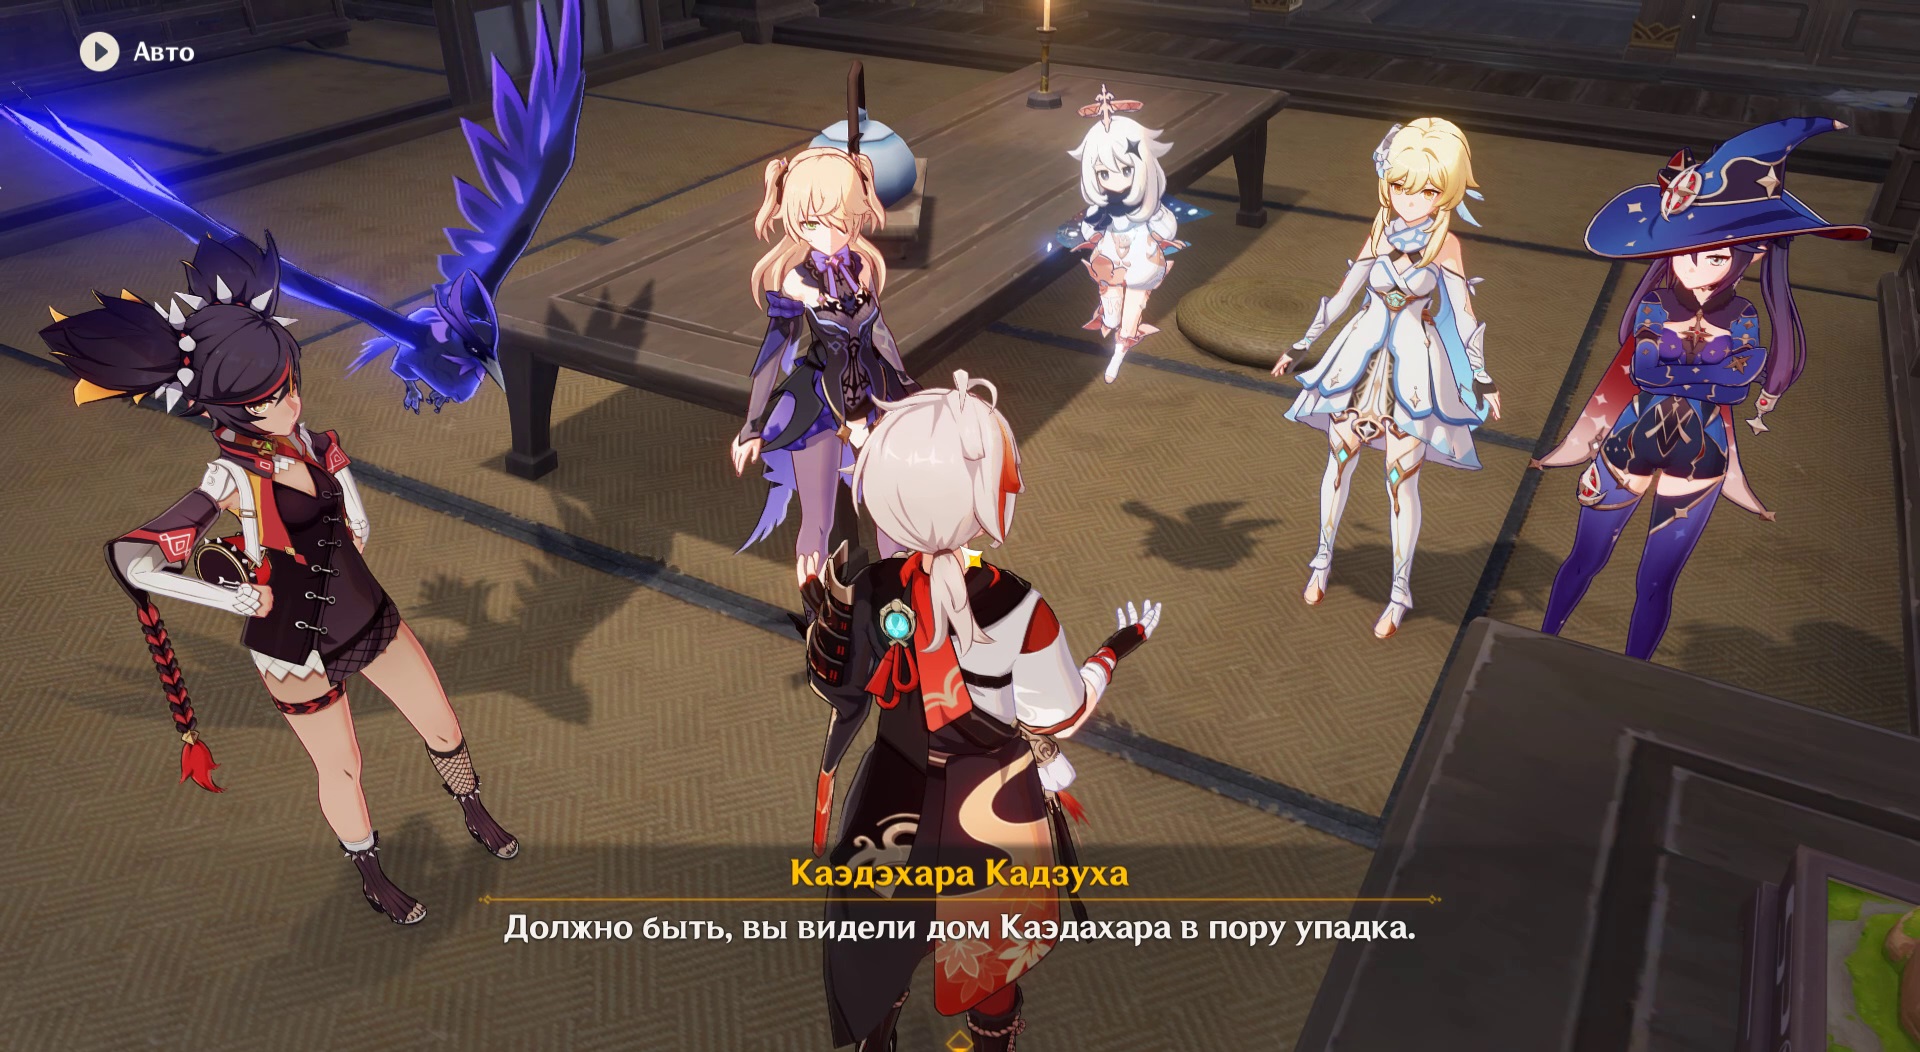
The big door opens and Kazuha is behind it. Together, the team enters an open location: a modified Pudding Island.
Where to find the necessary items
Kazuha decides to change the composition of the bonsai, which is associated with the oddities that happen to the characters. The tools are on top of the cliff, in a chest.
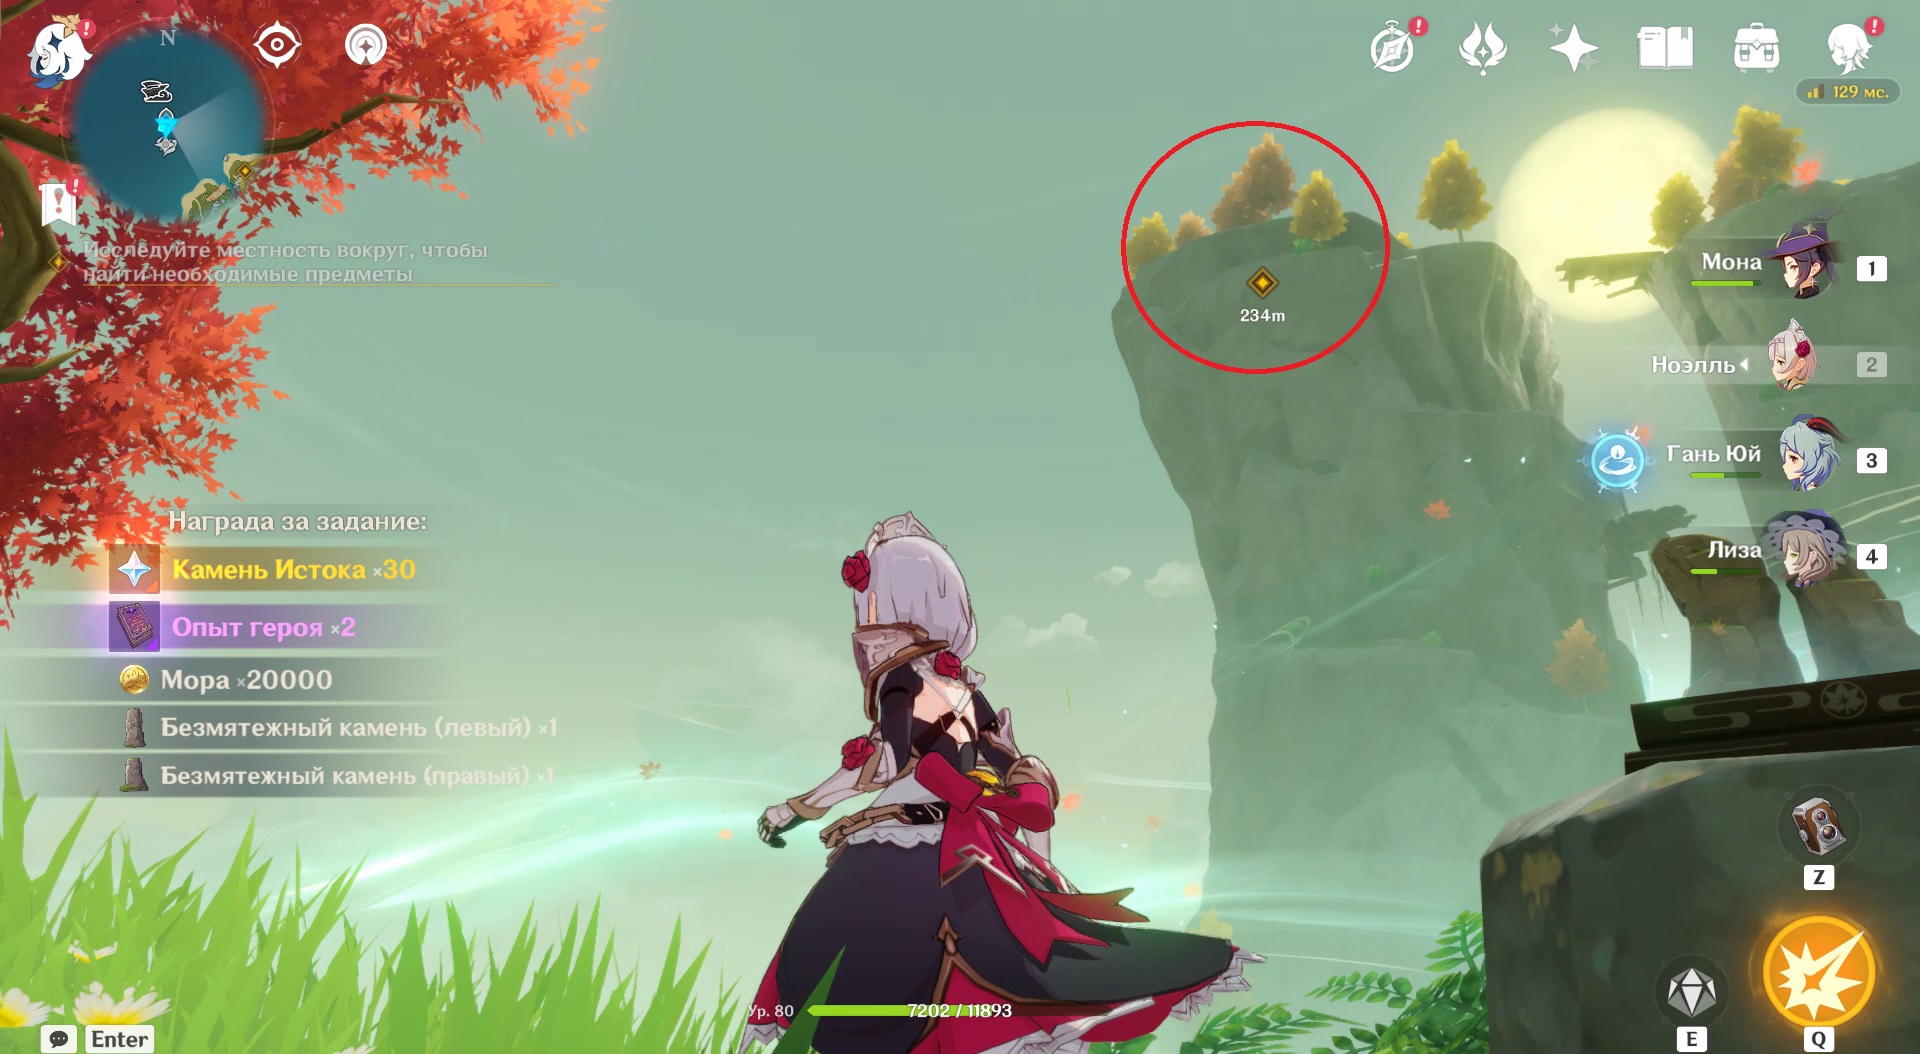
A quick way to get to the top is to start the time trial (see photo). A strong Anemo stream will rise, which will carry the player to the top.


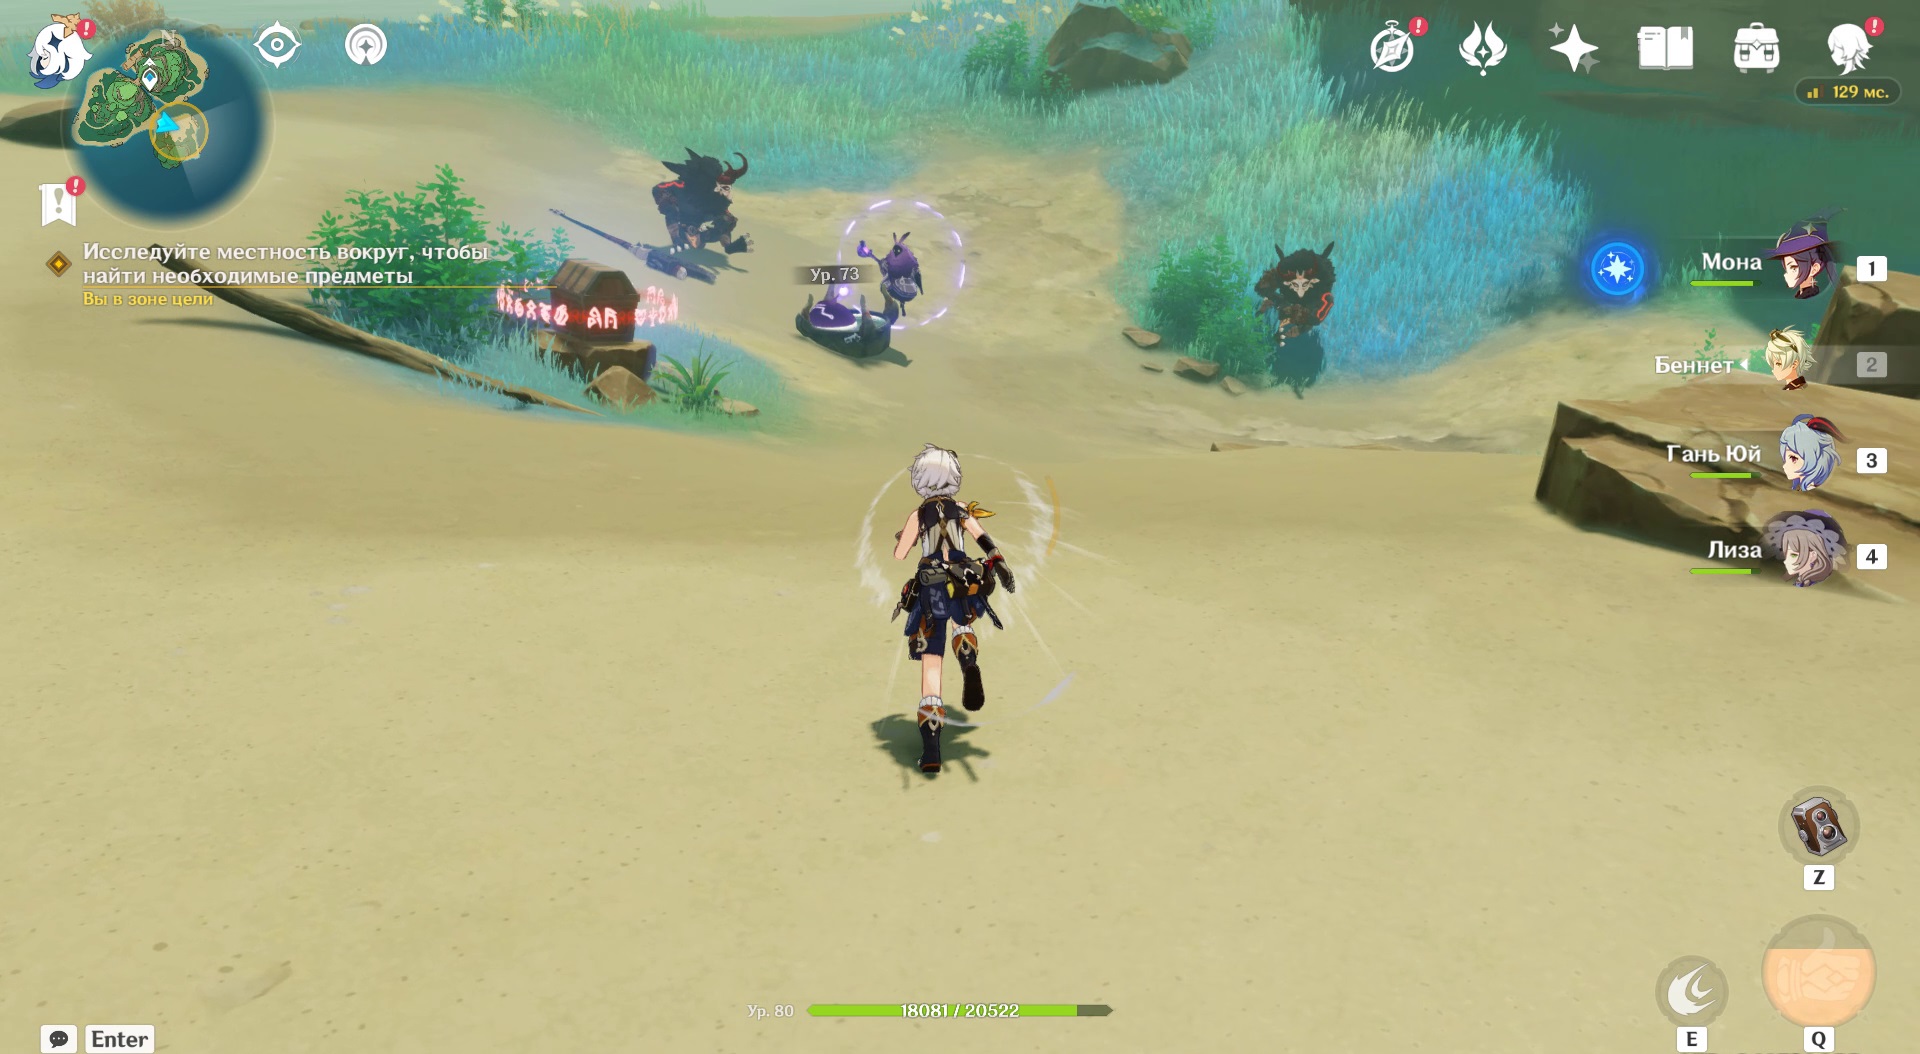
Activate the teleportation point and move to the marker on the map. Tools are guarded by enemies:
- Mitachurl - 2.
- Abyss Pyro Mage -1.
- Electro mage of the abyss - 1.
Use Hydro and Cryo heroes to counter shields. Take the contents of the chest and return. Place the stone in the bonsai pot: the group will move to another dimension a second time.
Where to find the exit and omamori
In the new space Kazuha got lost again. Follow into one of the rooms with an omamori and an altar. Make an offering.
An Anemo stream will appear, which will send the hero up. Then go along the corridor: you will find a room with a lever that turns the room over and shrines.
Rotate the room with the lever. Enter immediately into the inverted one.

Take the first omamori.

Jump down.
Move along the corridor without touching the guides. Take the omamori at the end.
From the tower, turn the guides No. 1, 2, 3 as shown in the photo.
Shoot from the tower. The altar has been released. Use the Anemo Flow to return to the lever.
Rotate the room a second time.
Plant 2 omamori in shrines.
The big door is open and you can move on.
The next puzzle is also based on turning the room with a lever. Enter the room, placing the guides in sequence, as in the photo.

Return to the lever, use it. Return to the upside down room and go downstairs, turning right.
At the bottom, collect the yellow maple leaf.
Go back to the lever, rotate the room a second time. Apply the maple leaf to the tower, shoot from it. The shot removes the seal from the omamori. Take it.


Return to the lever and apply it a third time. You need to go down to where they took the maple leaf. Place the acquired omamori in the shrine. The door on the left is open.
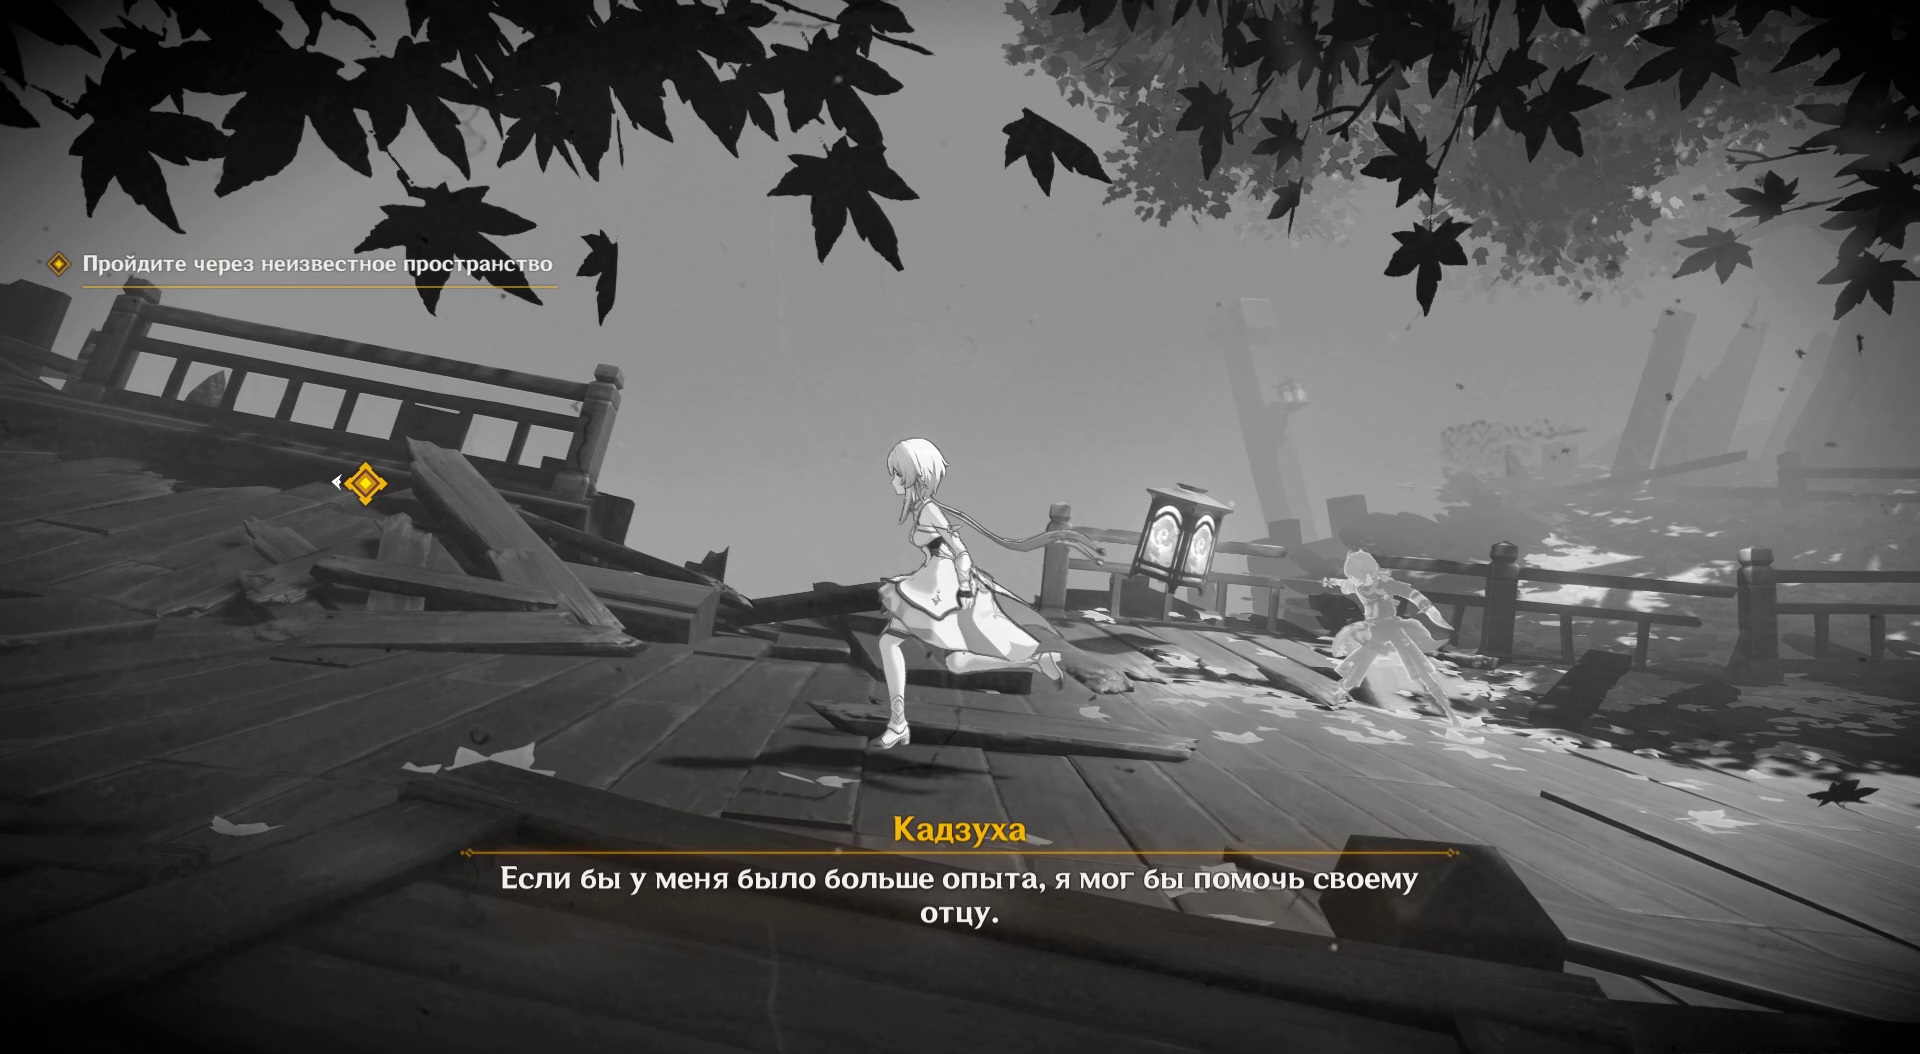
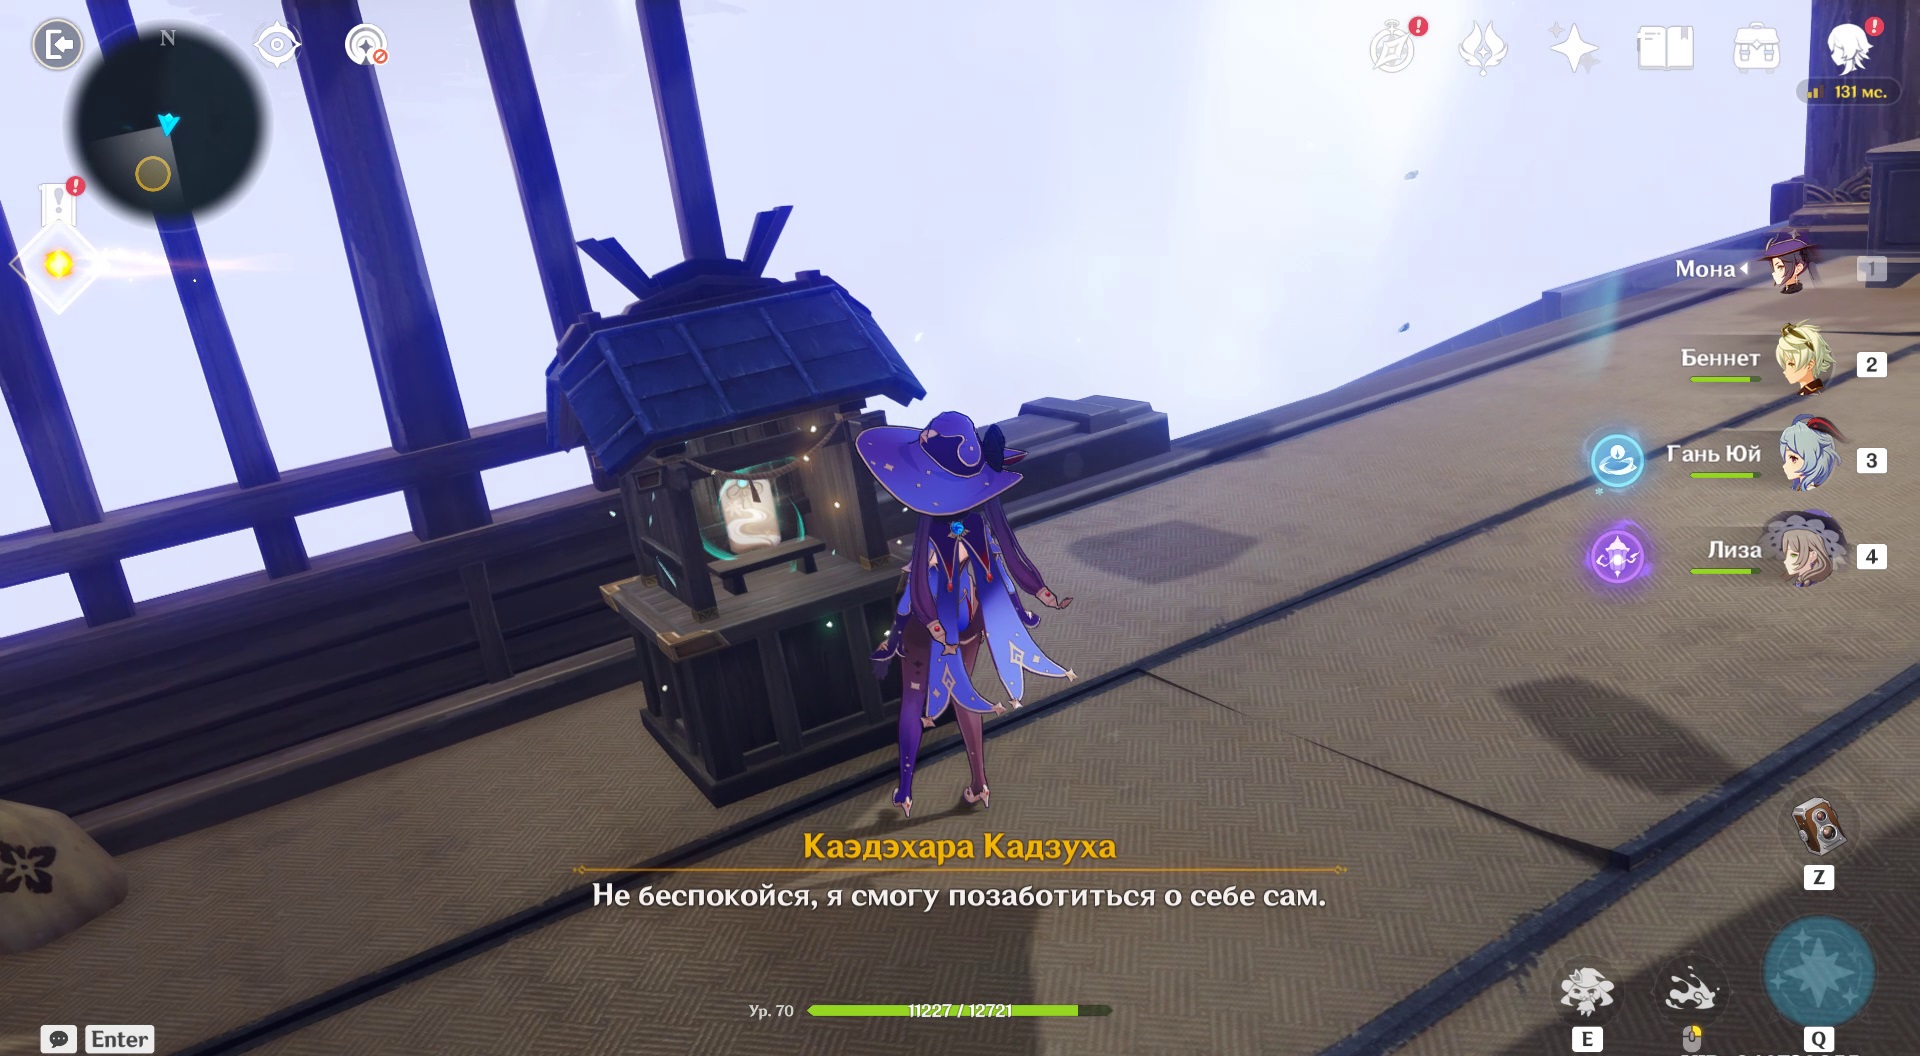
Along the corridor to the garden. The cutscene shows Kazuha's dialogue with his father.
From the silhouettes go left. Enter the dojo and defeat the enemy from the memory of a wandering samurai. At the end of the battle, there will be a reward in the form of a rich chest.

How to solve the seal puzzle
Based on the quest marker, go to rooms with a lever, which will immediately flip the area.

Plan down into the hole. Head to another room with lever. Rotate it to collect a rich chest and 2 regular ones.

At the bottom turn the side guides green tower just like in the photo. Now back to the tower: shoot and take the sealed omamori.
Rotate the guides a second time. Use red towerto remove the seal from the second omamori.
Soar back to the lever. Rotate the room. Bring both talismans to the altars. Activated Anemo stream, which will lead to the next area.
Another puzzle room with a lever. The tower now shoots two colors at once, which are allowed to be freely changed. We will shoot first red, then green print.
To take off the red set the color of the tower to red and turn the guides that are nearby, on the same horizontal line with it (see photo).

Flip the room. Jump down. Rotate the guides as in the screenshot.
Come back upstairs. Pull the lever. Shoot from the tower.
To take off green stamp, do not change the location of the guides at the level of the tower. Change the energy color to green. Just turn the room with the lever and go down. Set the rails at the door as shown in the screenshot.

Return to the tower and shoot. Second omamori received.
Flip the room one last time with the lever, use the Anemo Flow and jump onto the platform with 2 altars and a chest. Opposite them, an upside-down door will open.


We go inside, and there is the second scene with Kazuha and his father. Move closer and read the dialogue from the past.
How to enter a new area
From the silhouettes, run to the left. Enter the dojo and defeat the enemy. The player is confronted by a gang of nobushi, and a rich chest is given as a reward.

Follow the voice
Return to the silhouettes: in this room, go up the stairs, which will lead to a garden with a projection of a meditating Kazuha.

Open the door behind Kazuha.

Enter the unknown space
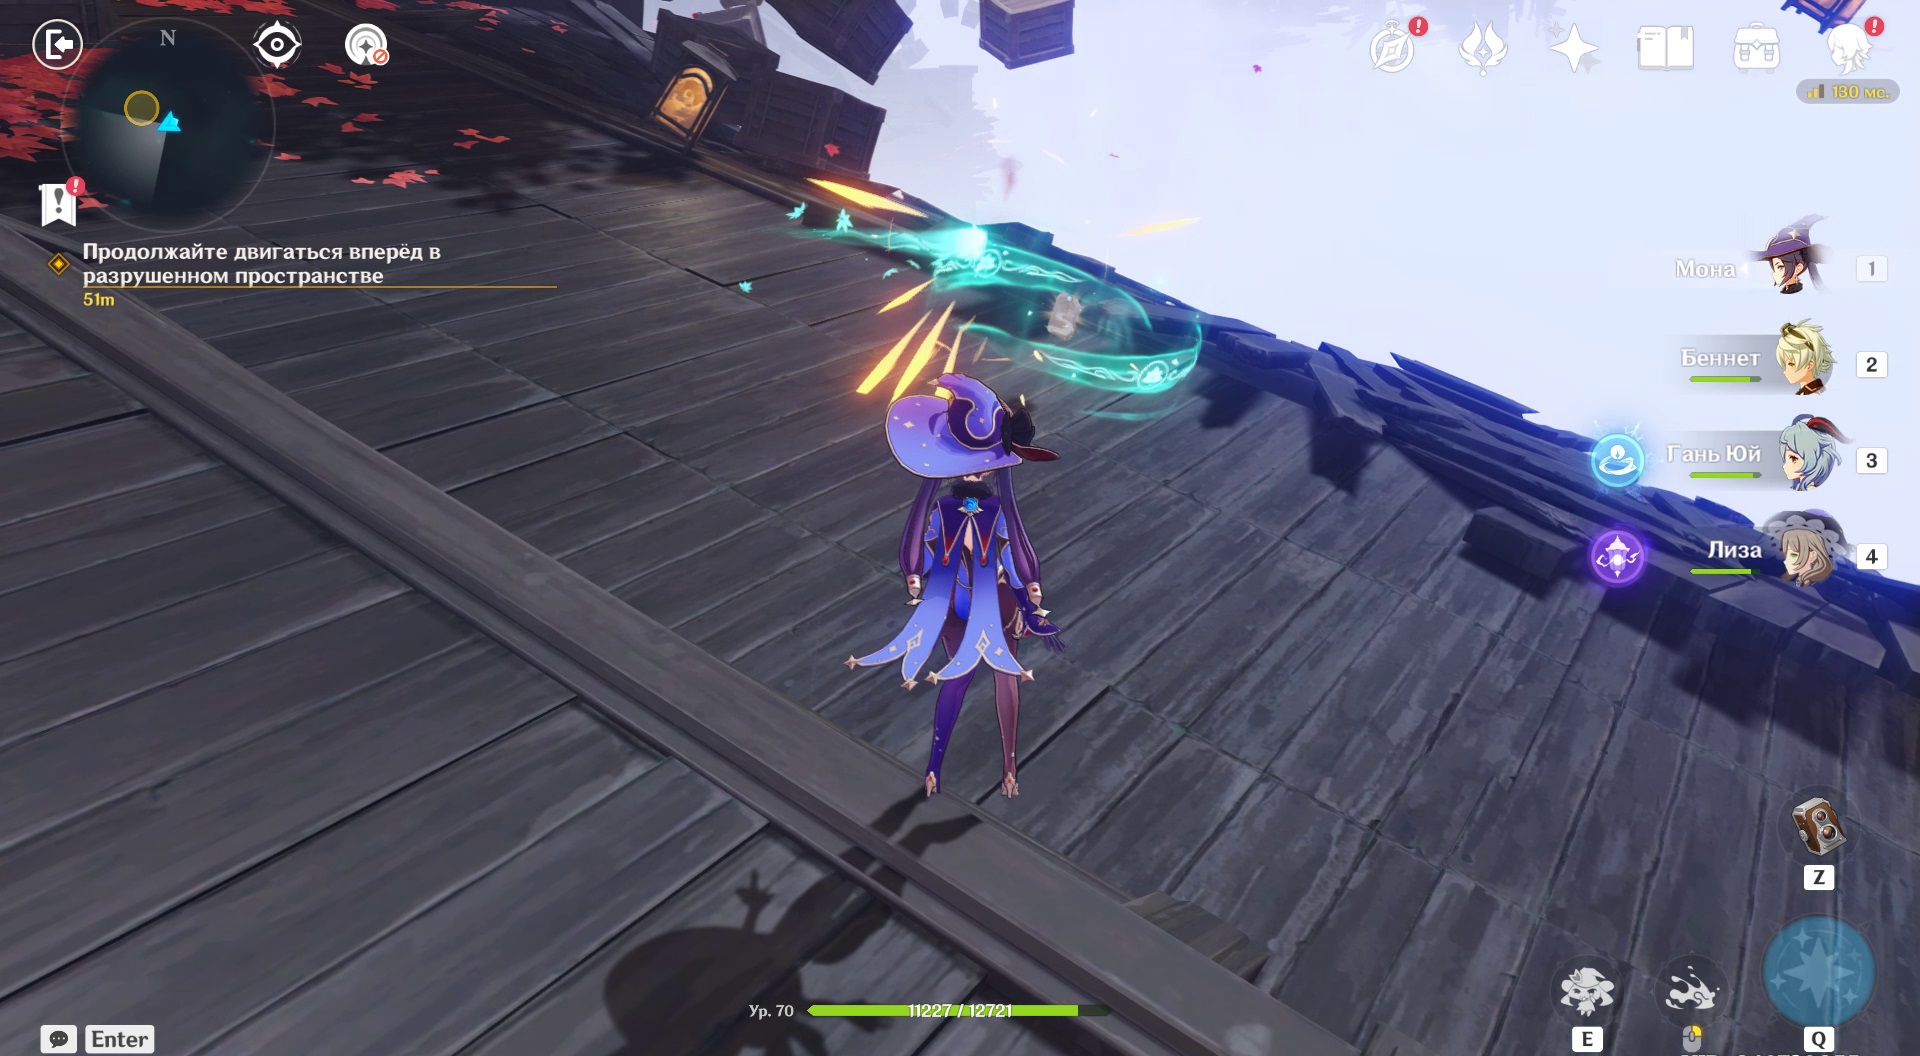
The traveler will be transferred to a location with a side view. Just move to the left while listening to the memories.
Where to find the necessary items
After the black and white scene, the friends are reunited with the samurai in an illusory space. Kazuha explains to the heroes what events they witnessed. The team finds out that the bonsai was the key to the dream world. To complete the miniature, you need to find the second set of tools on the modified Pudding Island.
Go to the camp of the mitachurls, electro slimes and the abyss mage. Fight the monsters and open the chest. Stone and brush in inventory, which means you can return to the miniature. Put the stone in the bonsai pot and be transported to the last location.
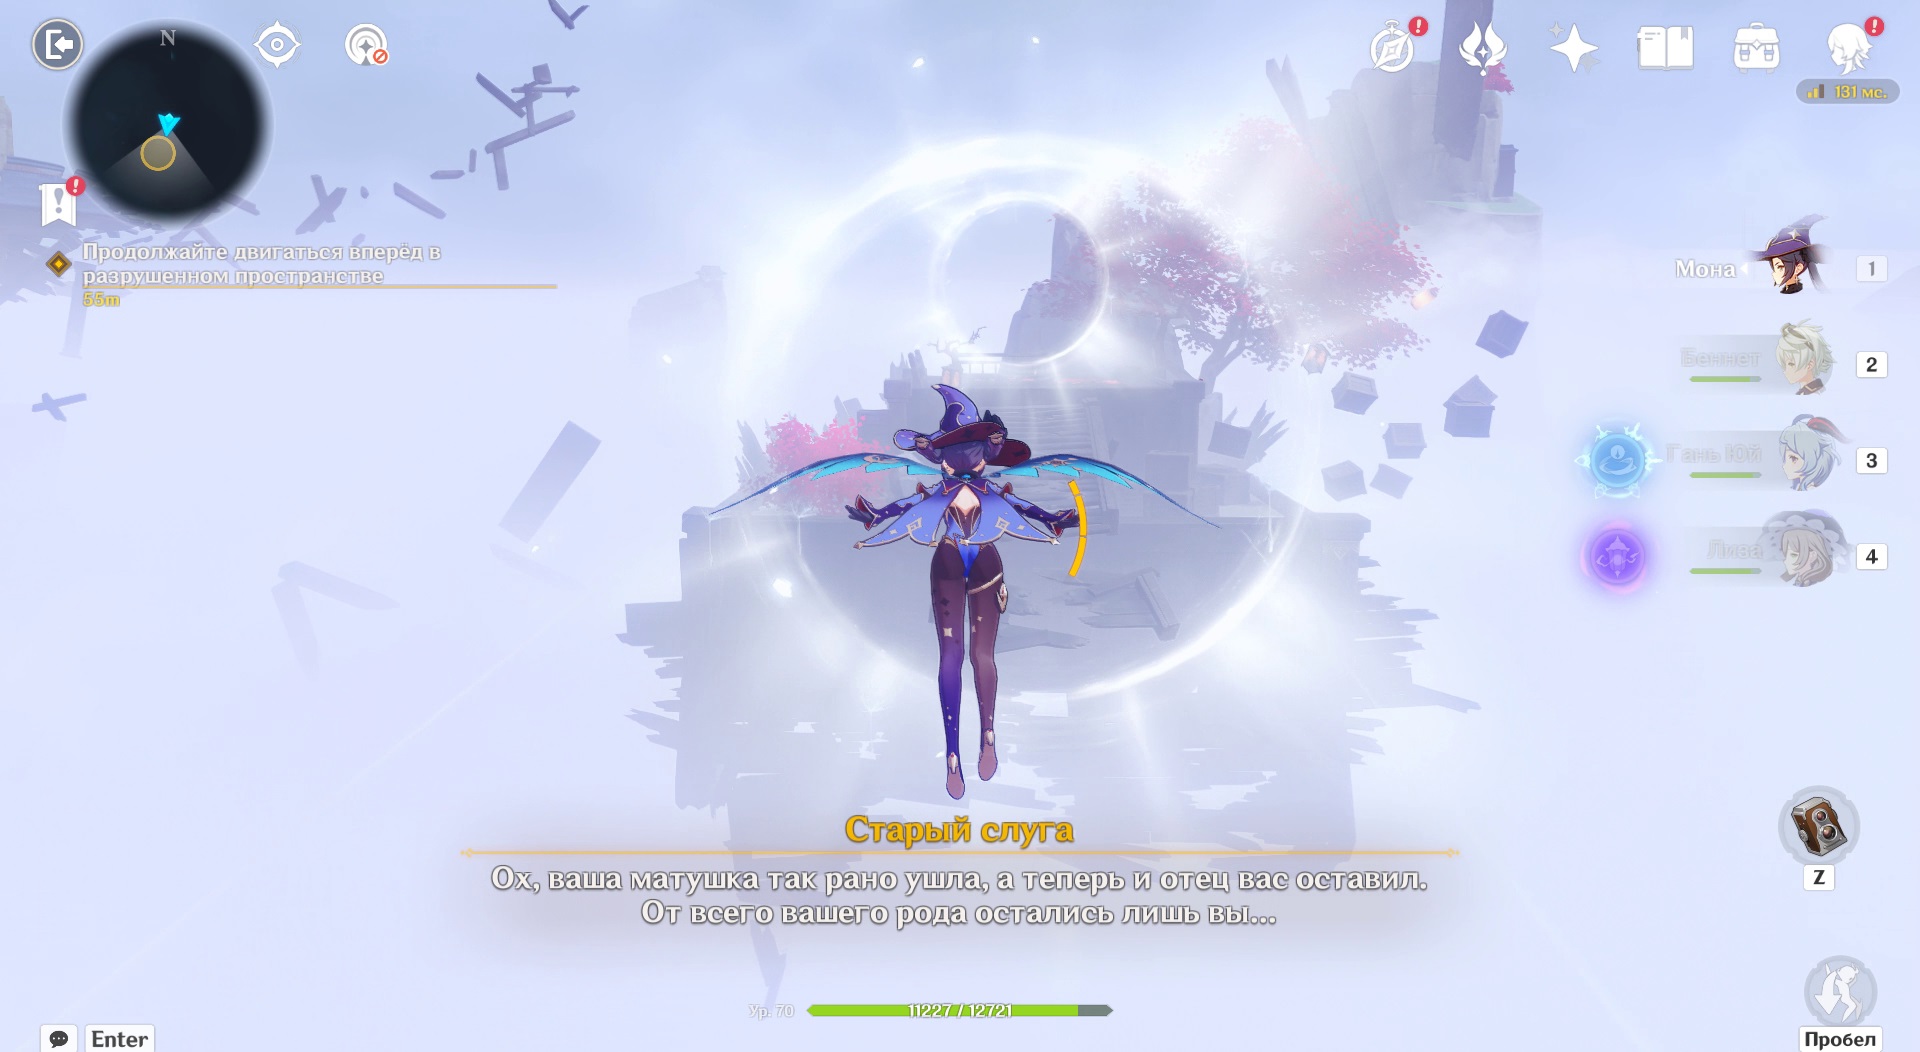
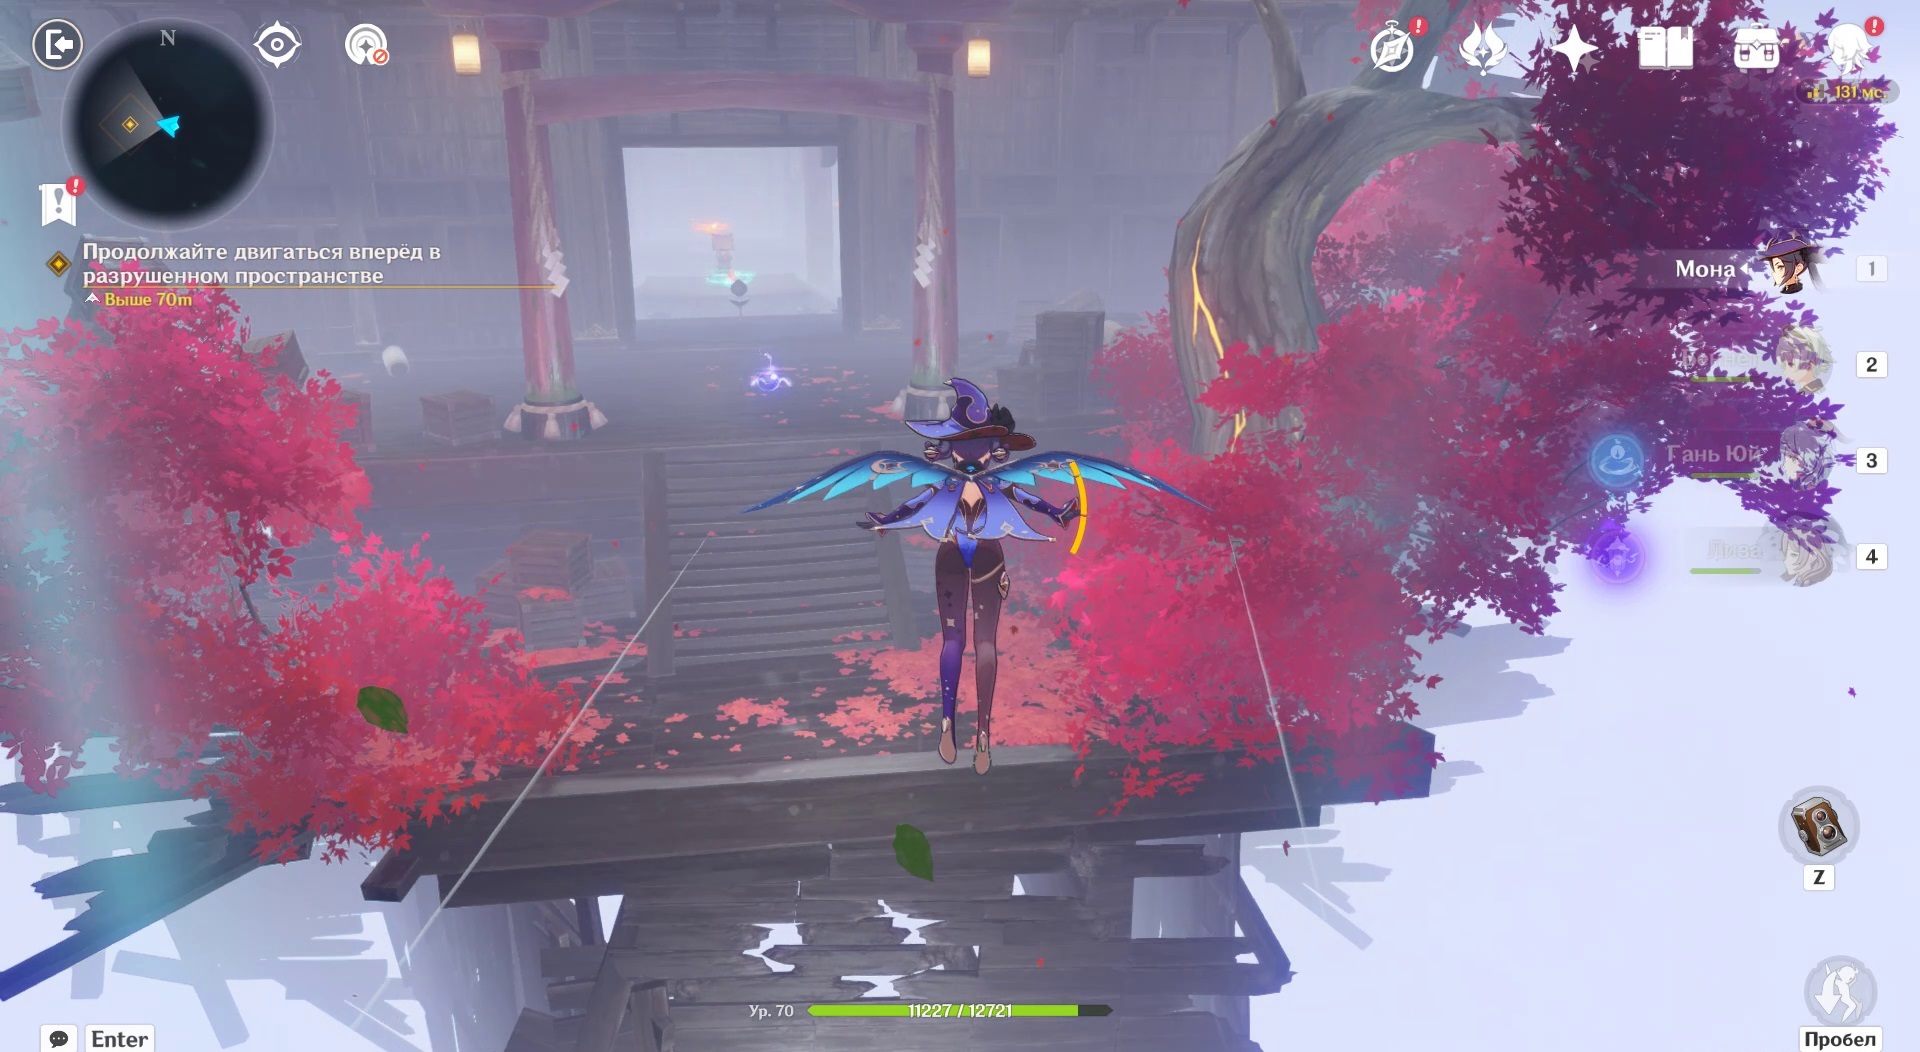
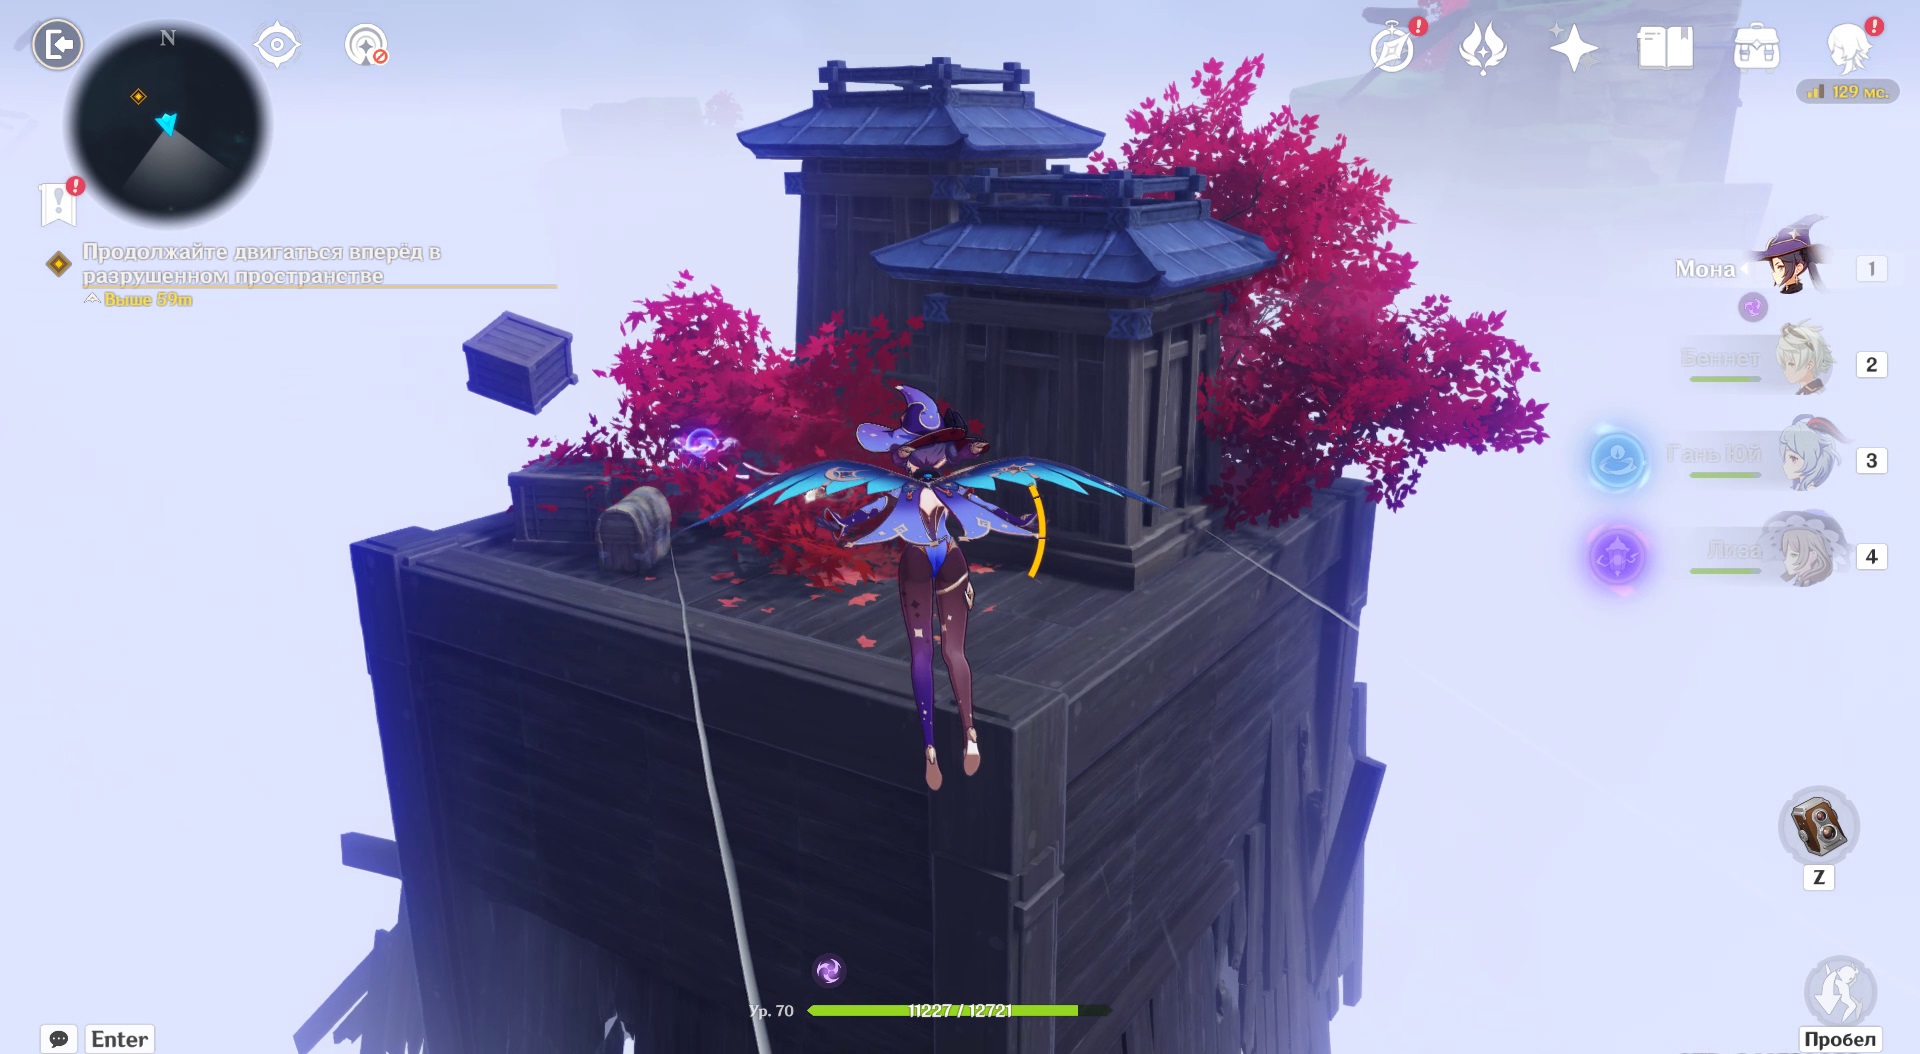
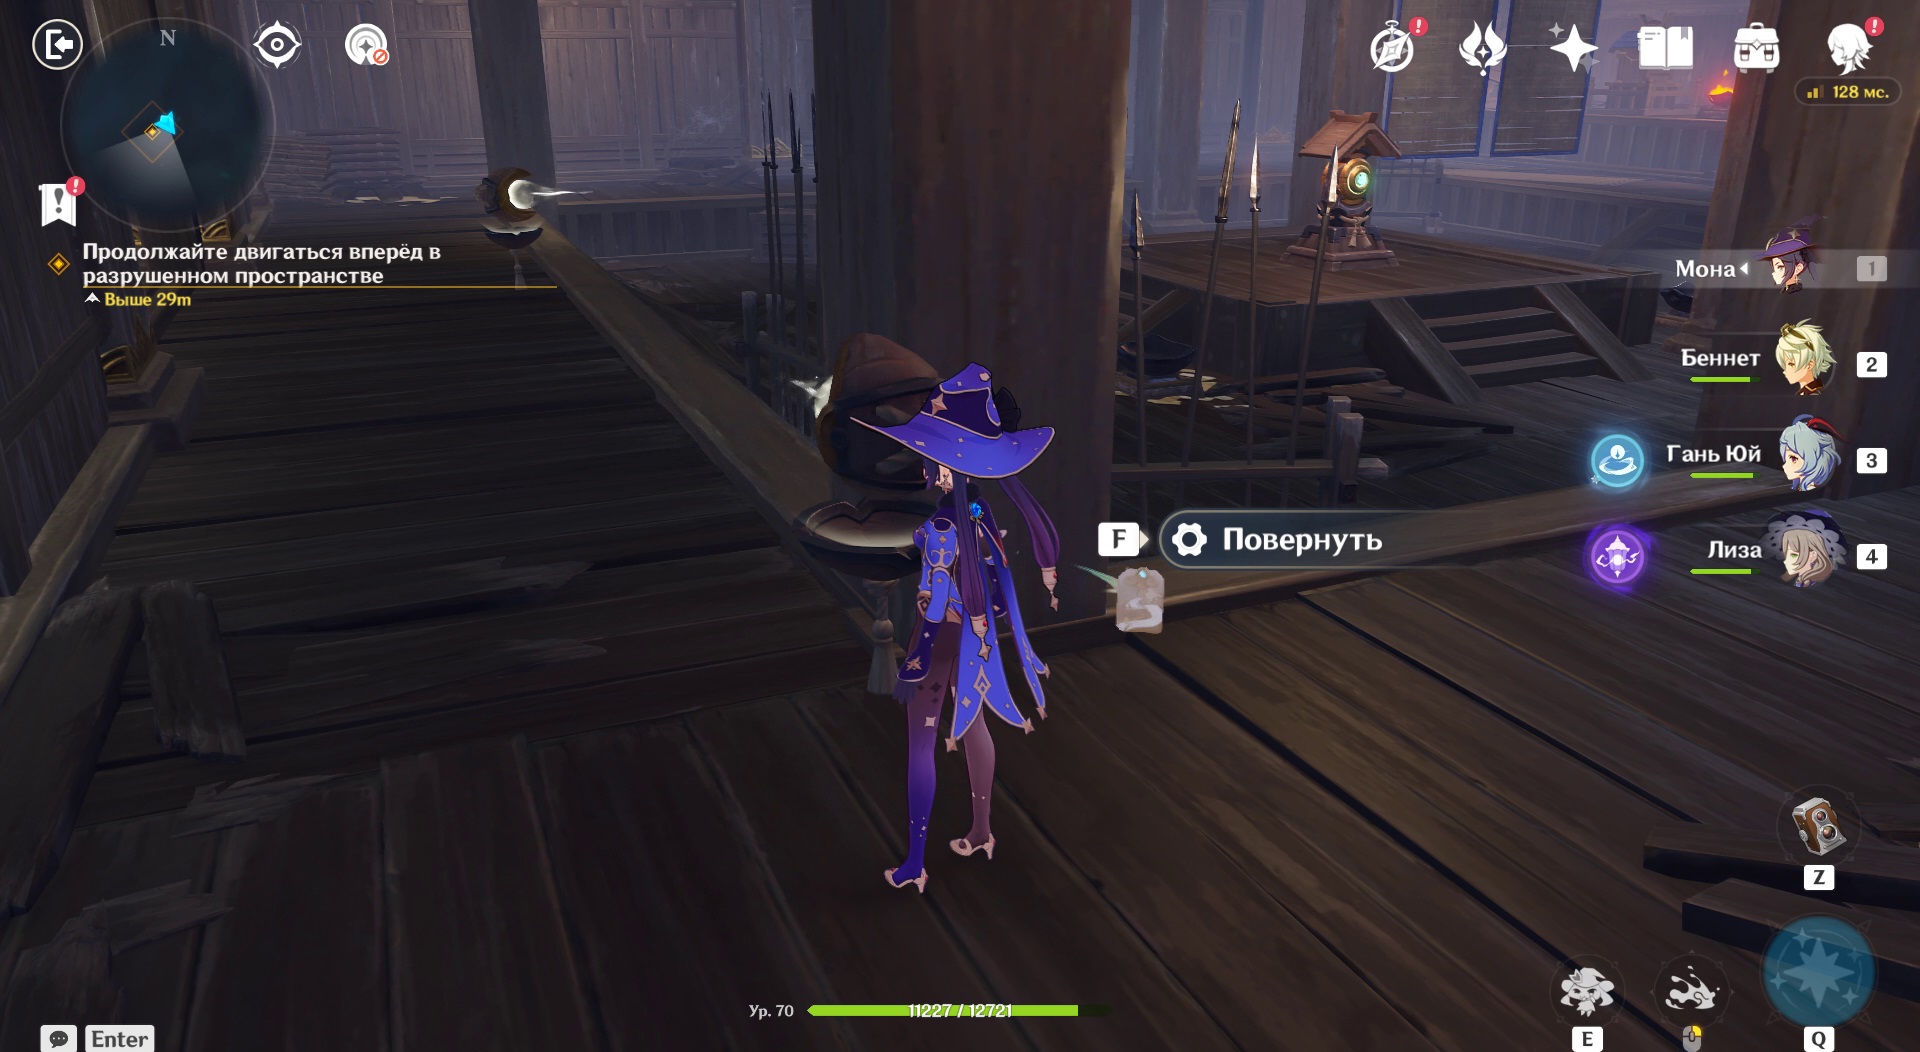
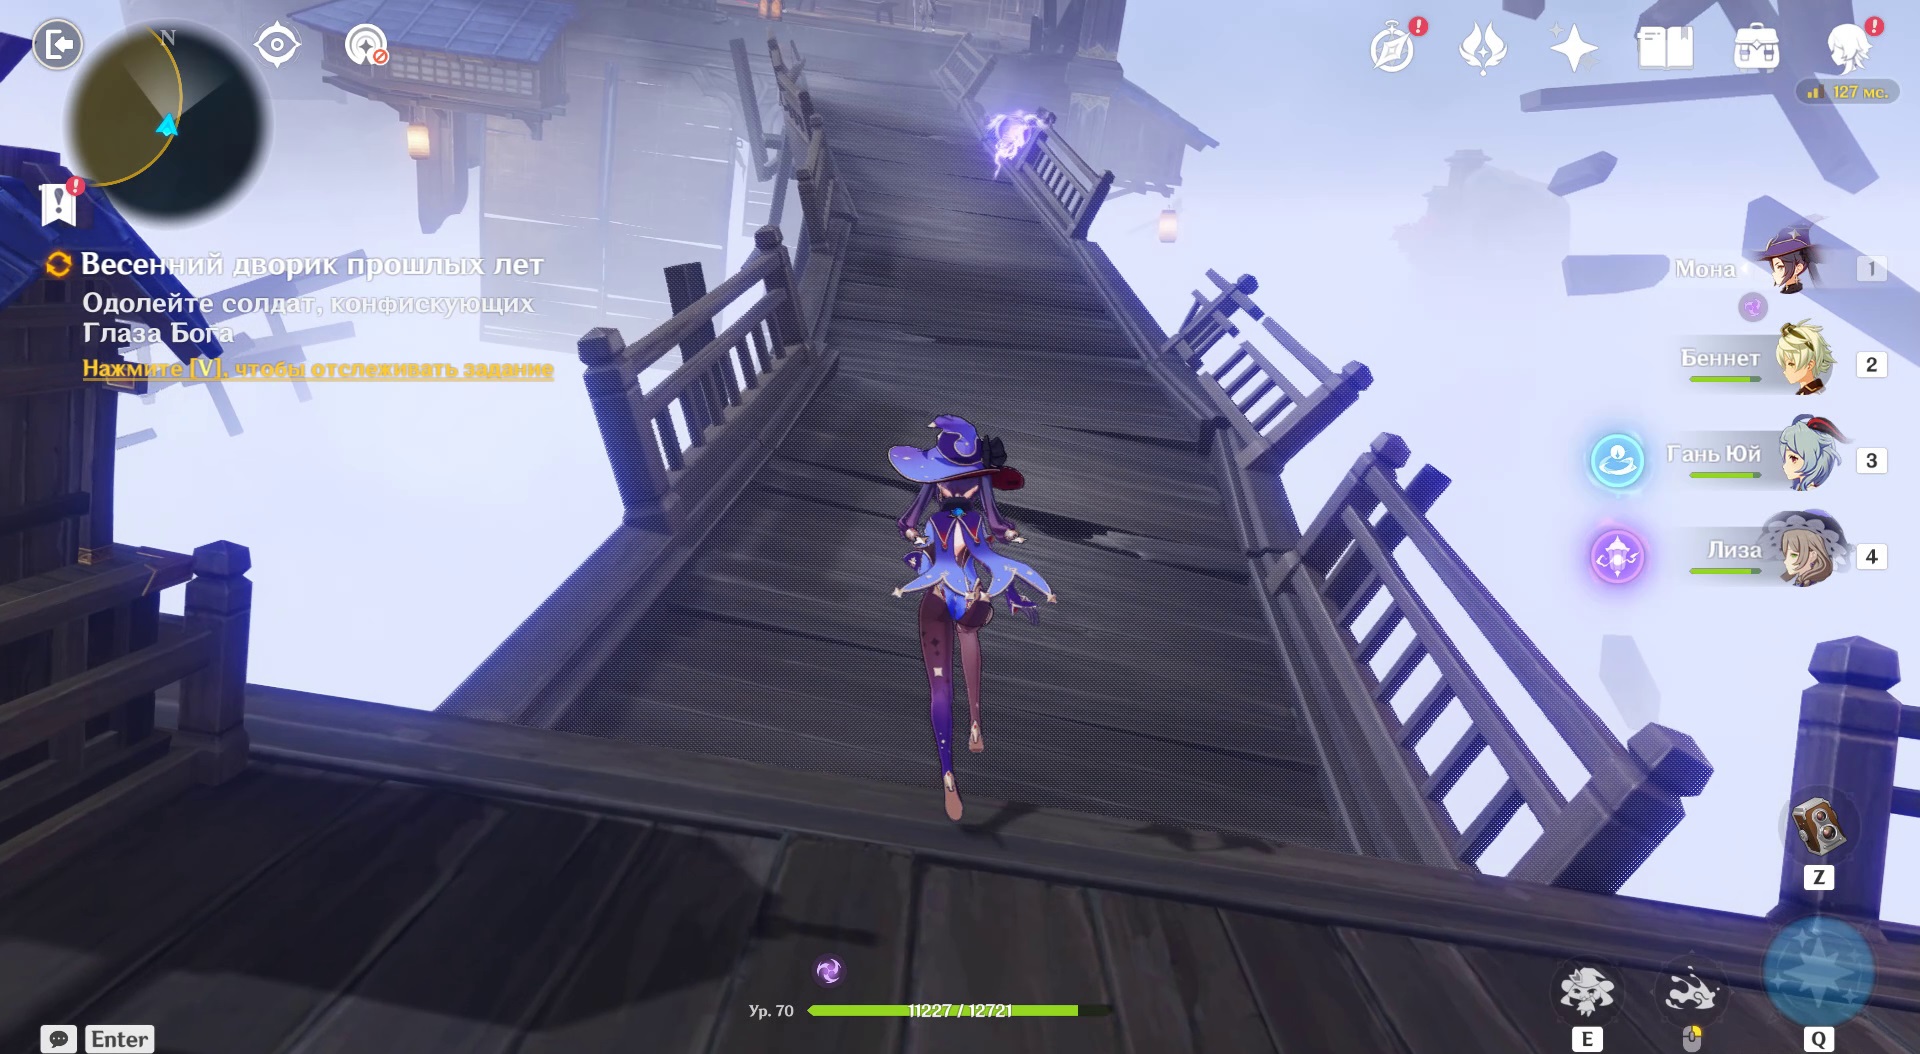
Where to find omamori in the ruined space
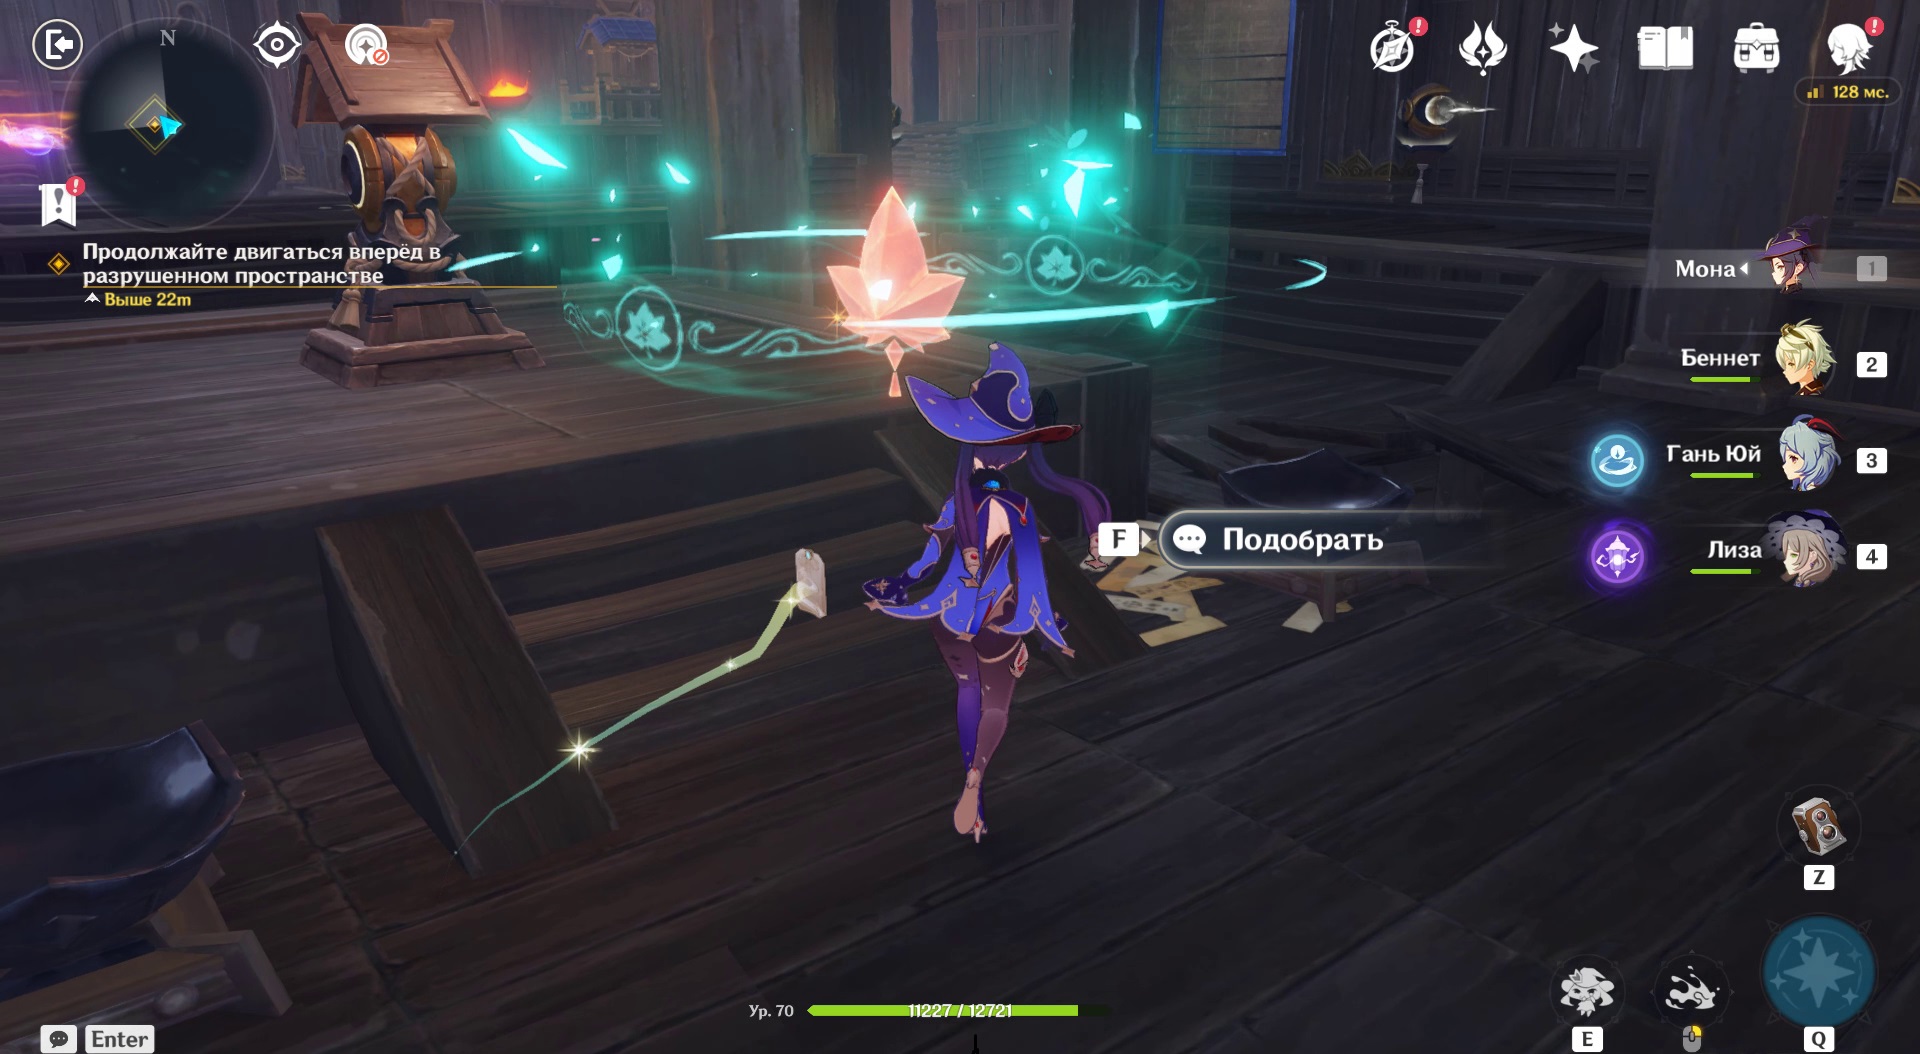
In the new illusory world, the Kaedehara estate is destroyed. This time the location is more linear and the puzzles are more forgiving. In the initial room, immediately shoot from the tower, pick up the omamori and put it on the altar.

There was an Anemo stream. Use it to glide towards the levitating part of the Kaedehara estate.

Here the amulet just floats near the tea table. Take it and use it at the shrine in the other part of the room. Another Anemo stream has appeared.
Glide through the rings to the lever platform. Activate it. Part of the dojo will move, another stream will appear, which will help you transfer to the next platform.
On the new platform, go down the stairs, picking up an omamori along the way.
Where to find the Echo Shell
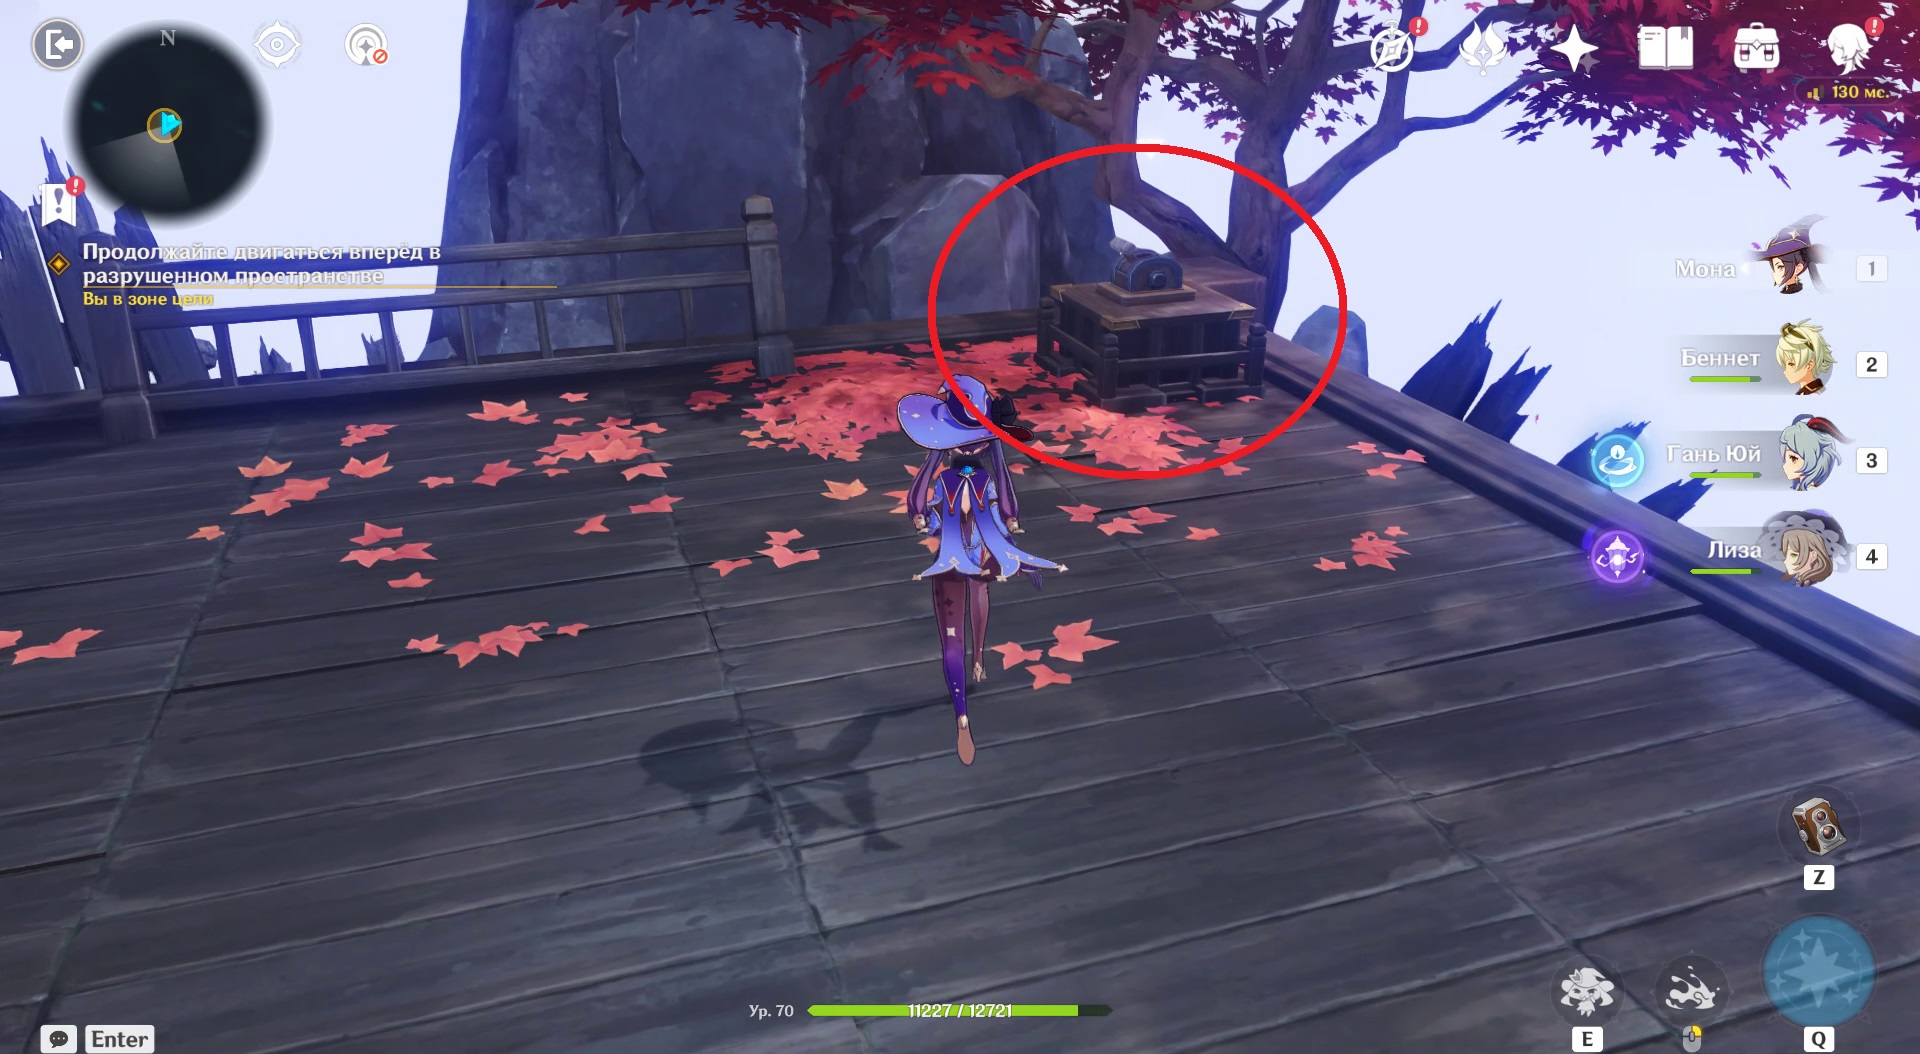
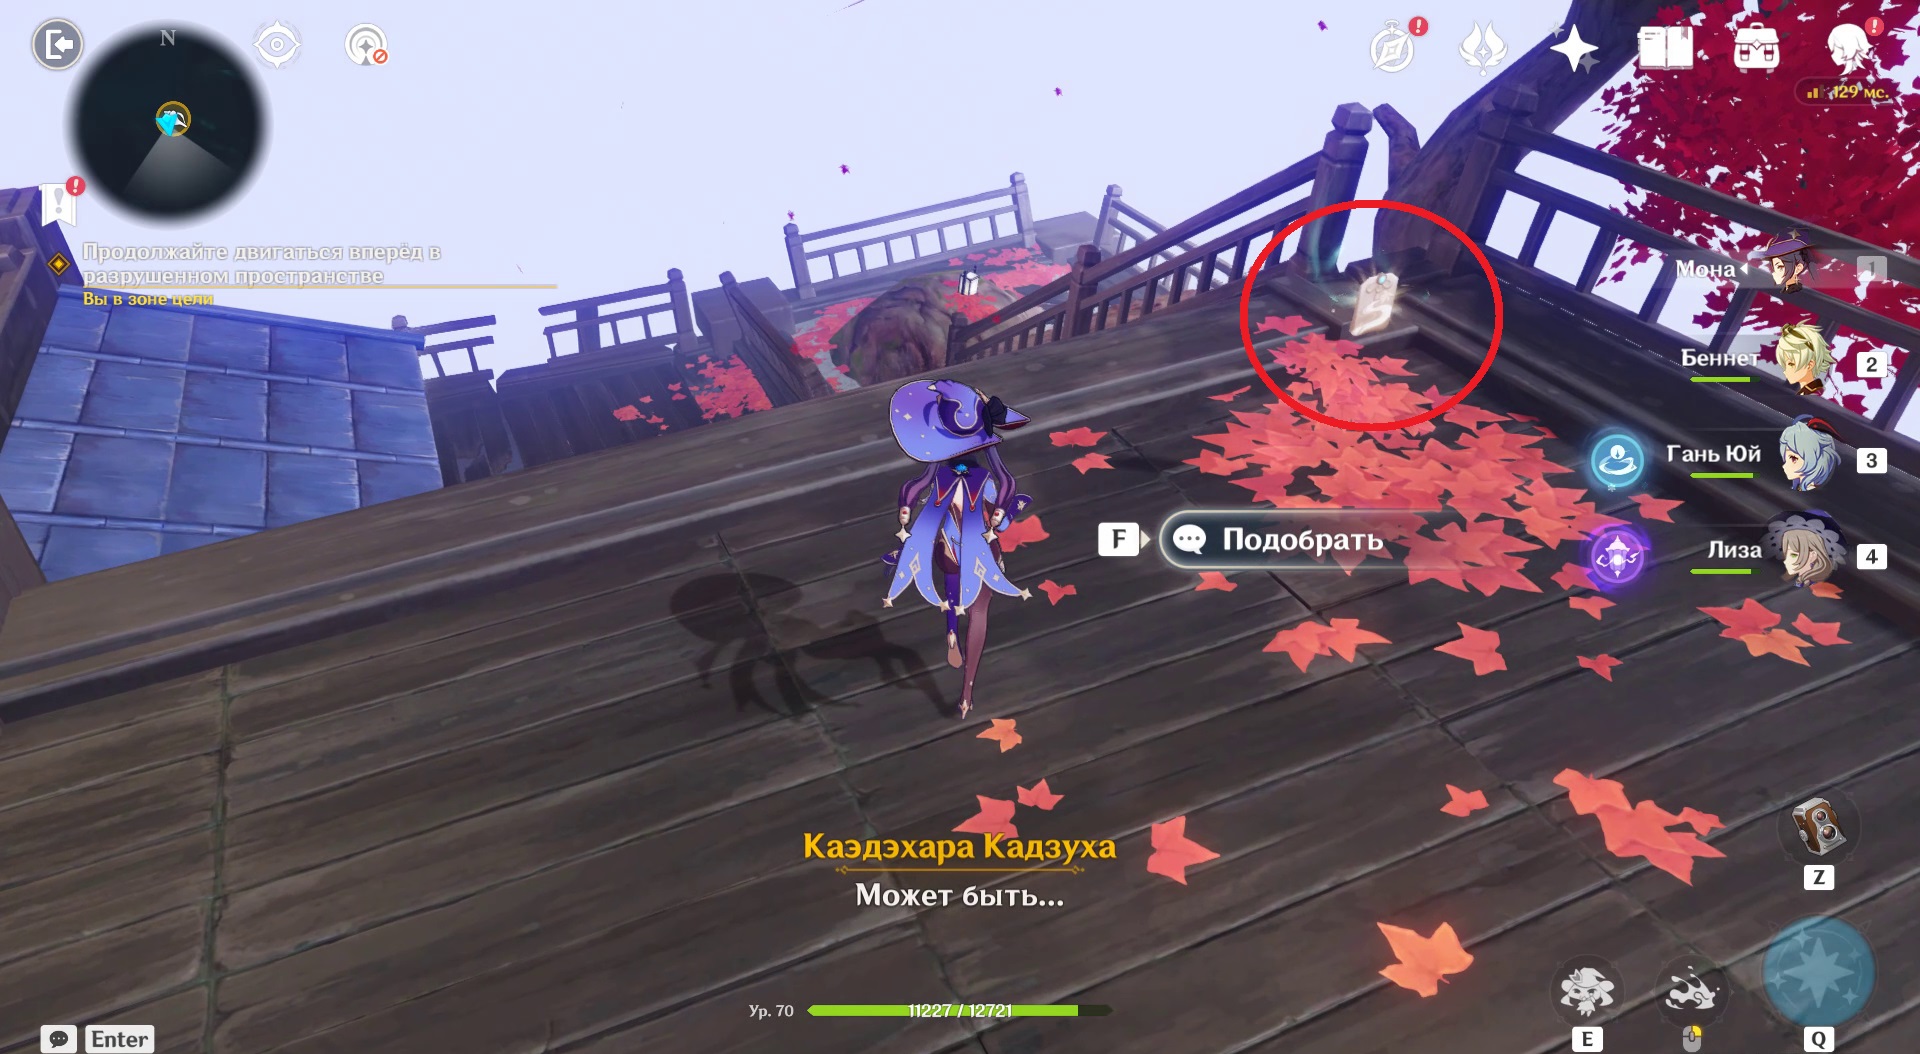
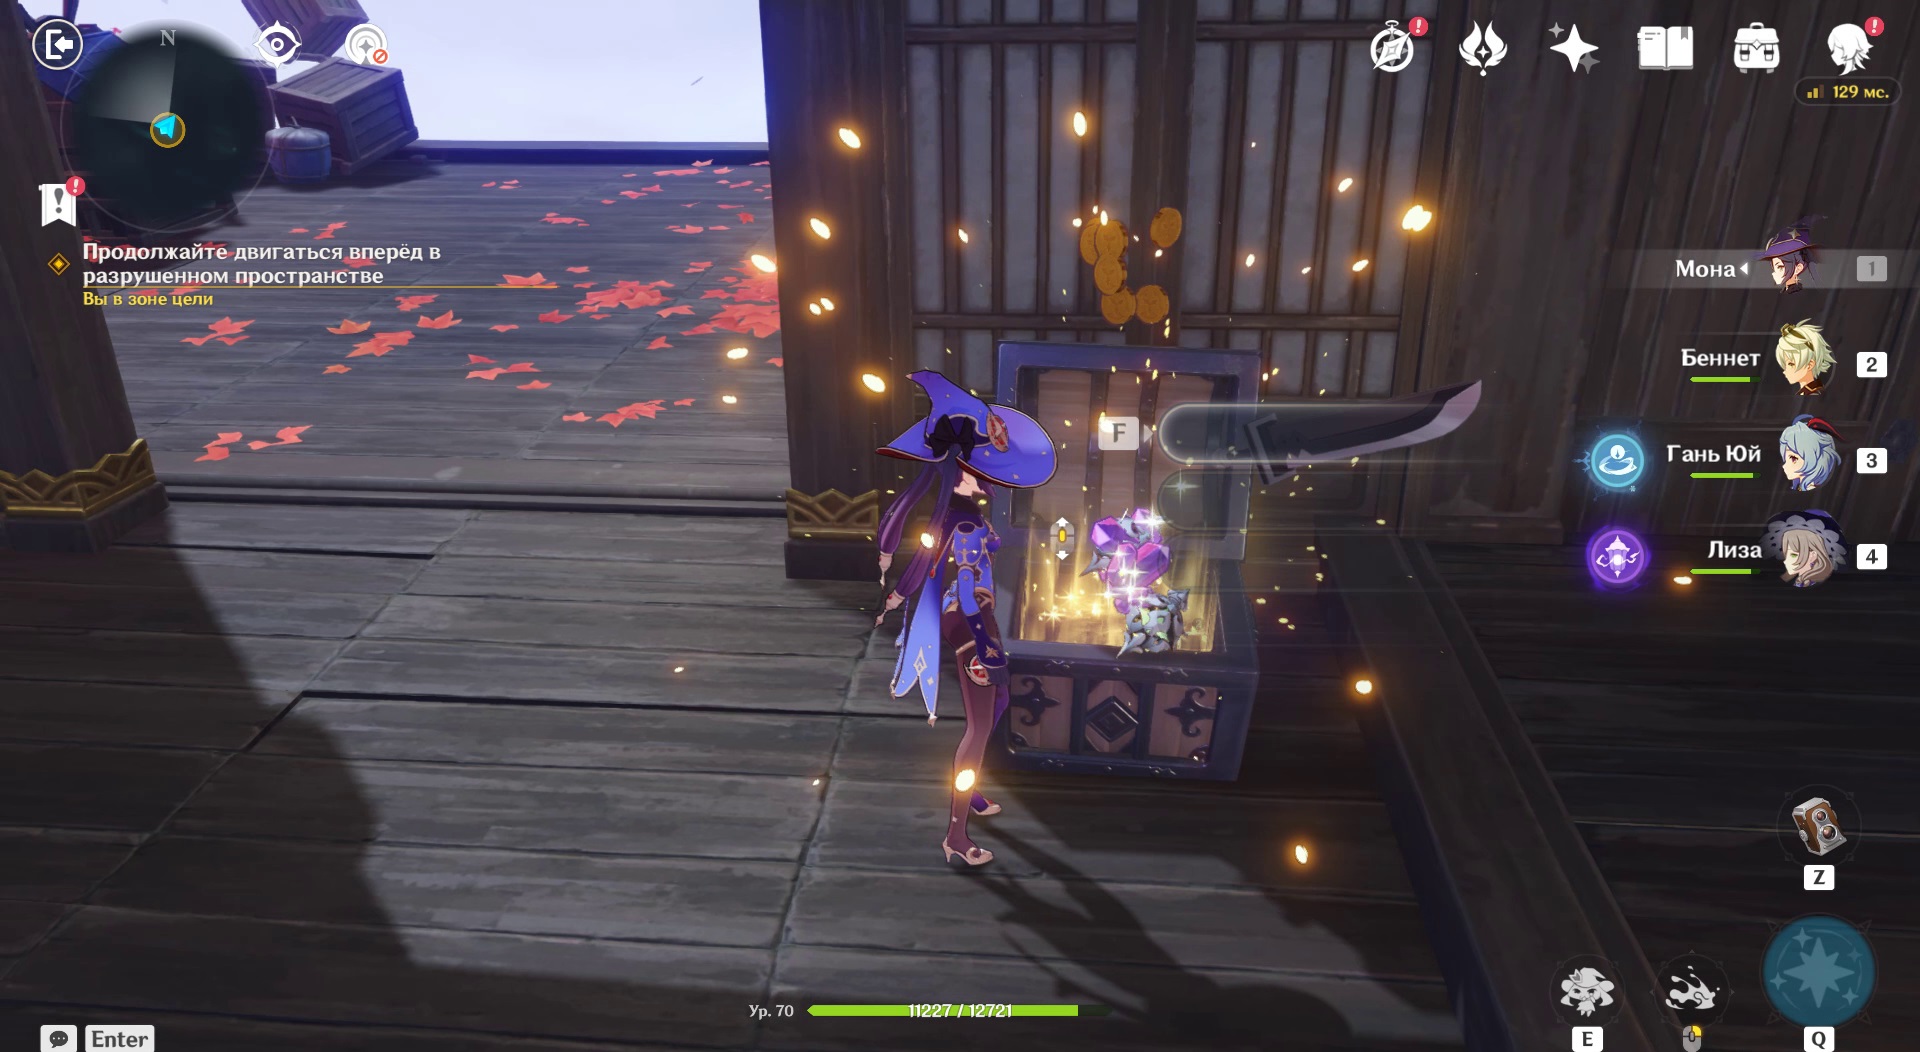
Down on the table lies Echo shell: Check it out. Nearby is a rich chest, and at the exit is an altar.

How to get a maple leaf in the palace
Air currents will lead the traveler (-tsu) to the palace.
Starting from this stage of the quest, the Electro-Fairy will accompany the hero. Just follow her: she has low speed. From the starting point of its location immediately to the left and through the air to the building.
We loot the chest and omamori. We follow the opposite path.

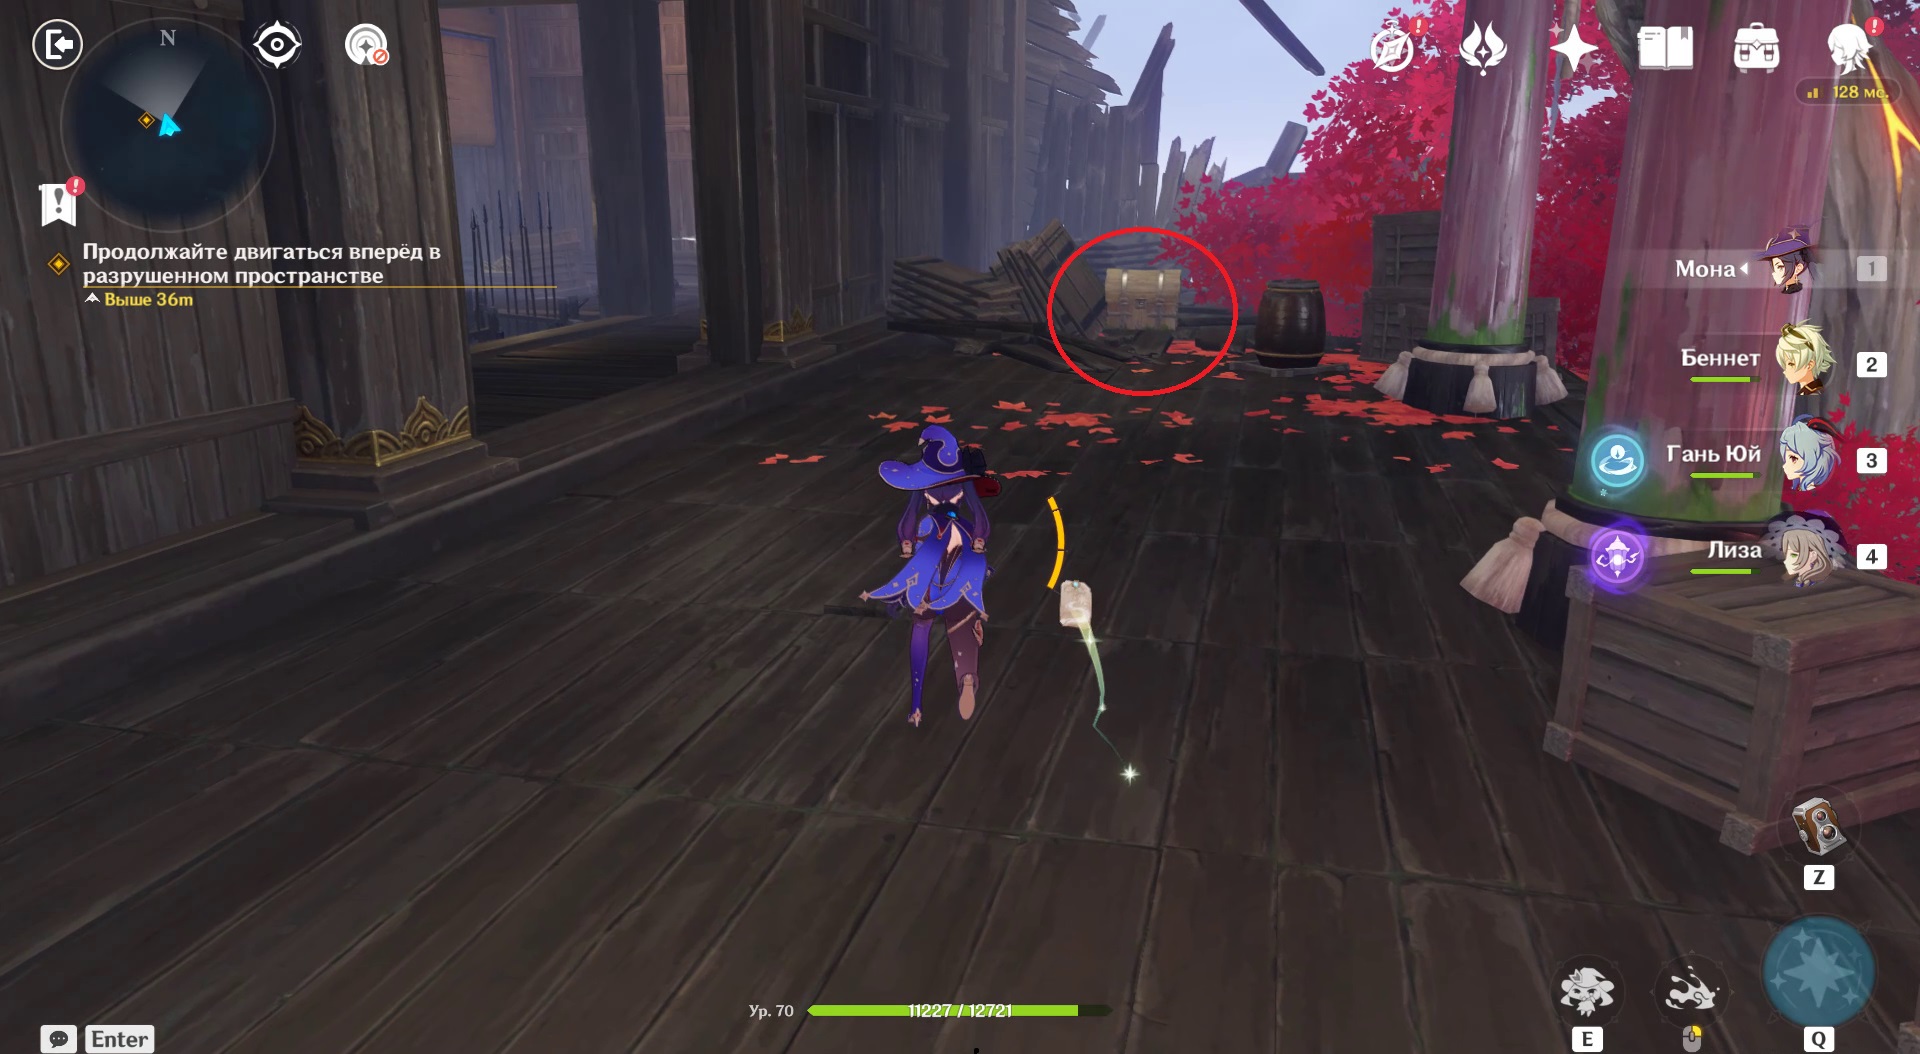
To the right of the entrance to the palace is an ordinary chest.
We go inside. We rotate only 1 guide (see photo), fire a green clot, collect a red crystalline maple leaf.
The turret now shoots red. Rotate the structure, as in the photo, and take a shot. The seal from the second omamori fell off. Bring the talismans to the altars on opposite sides of the closed door.
A new corridor with a tower, and a rich chest on the left. Fortunately, nothing needs to be done: just shoot, follow the fairy and take the printed talisman.
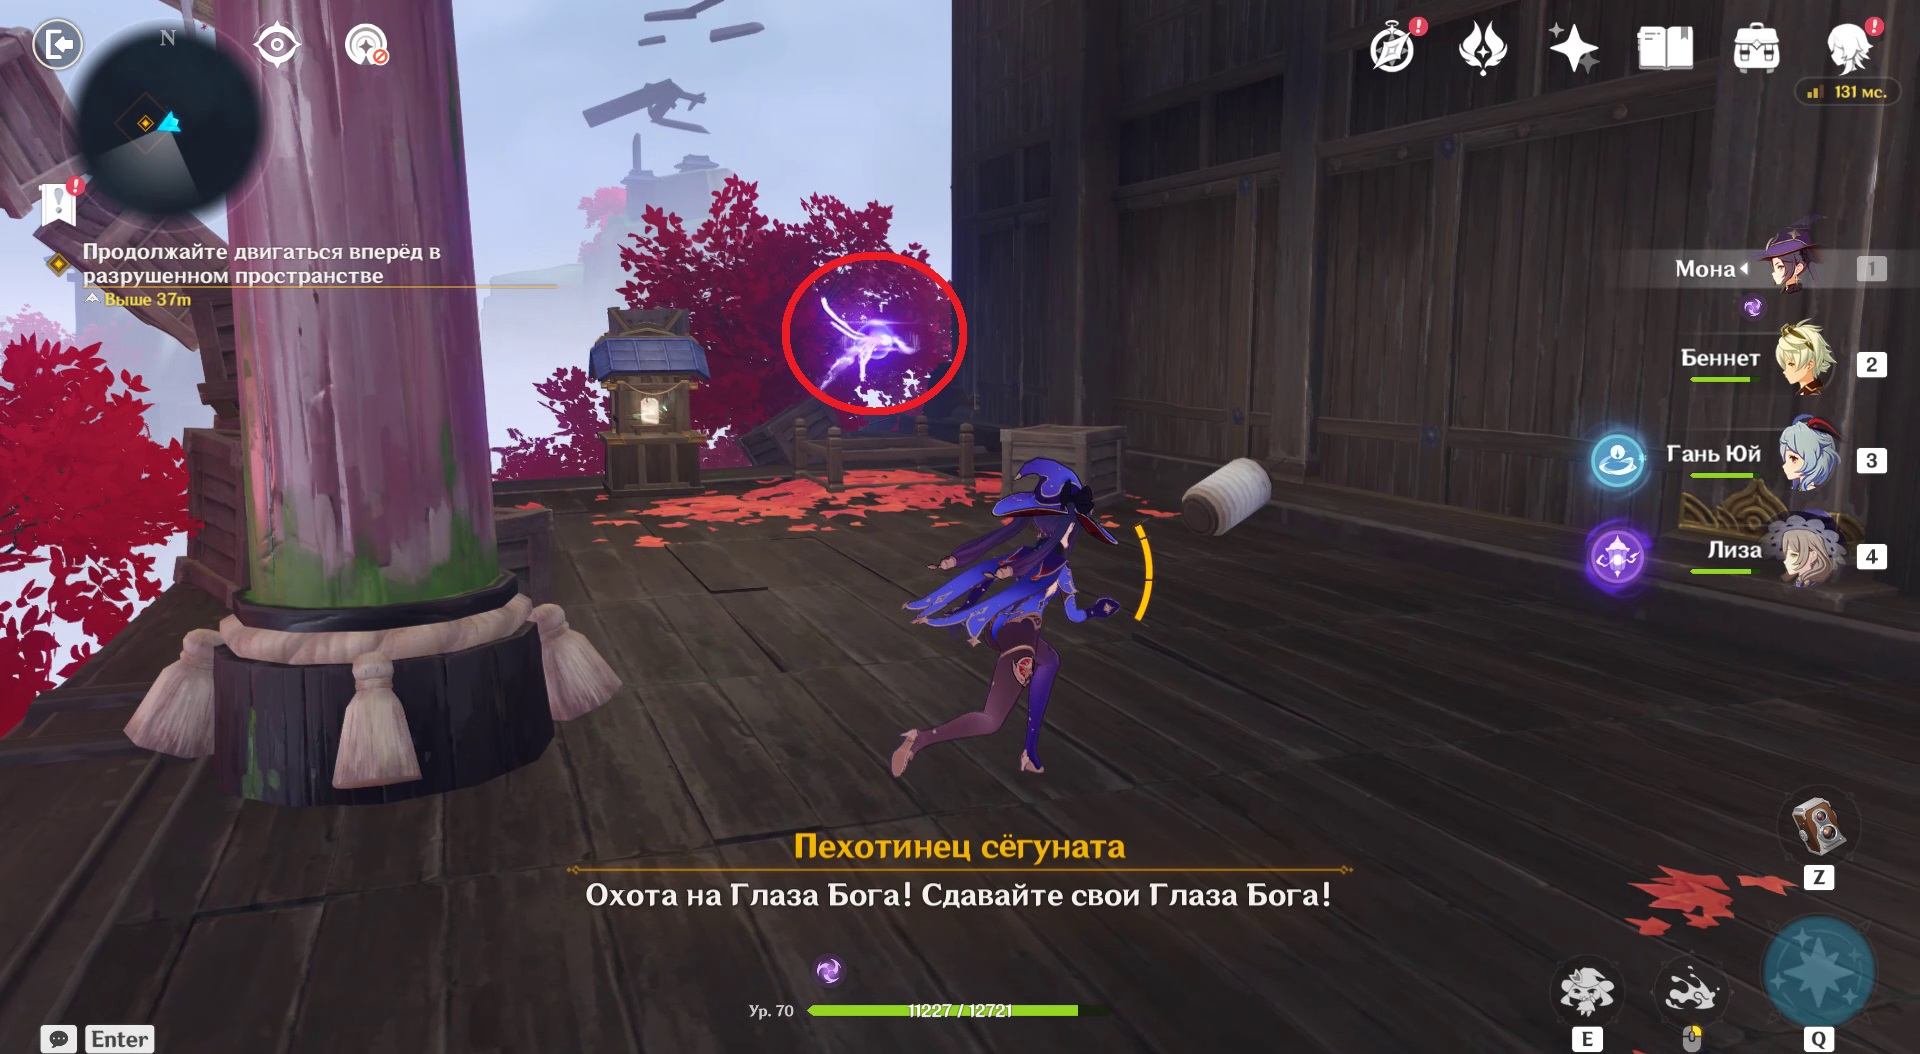
Go up the stairs and bring the omamori to the altar. The passage materializes right before our eyes, and on the other side they are met by hostile foot soldiers of the shogunate and a chest.
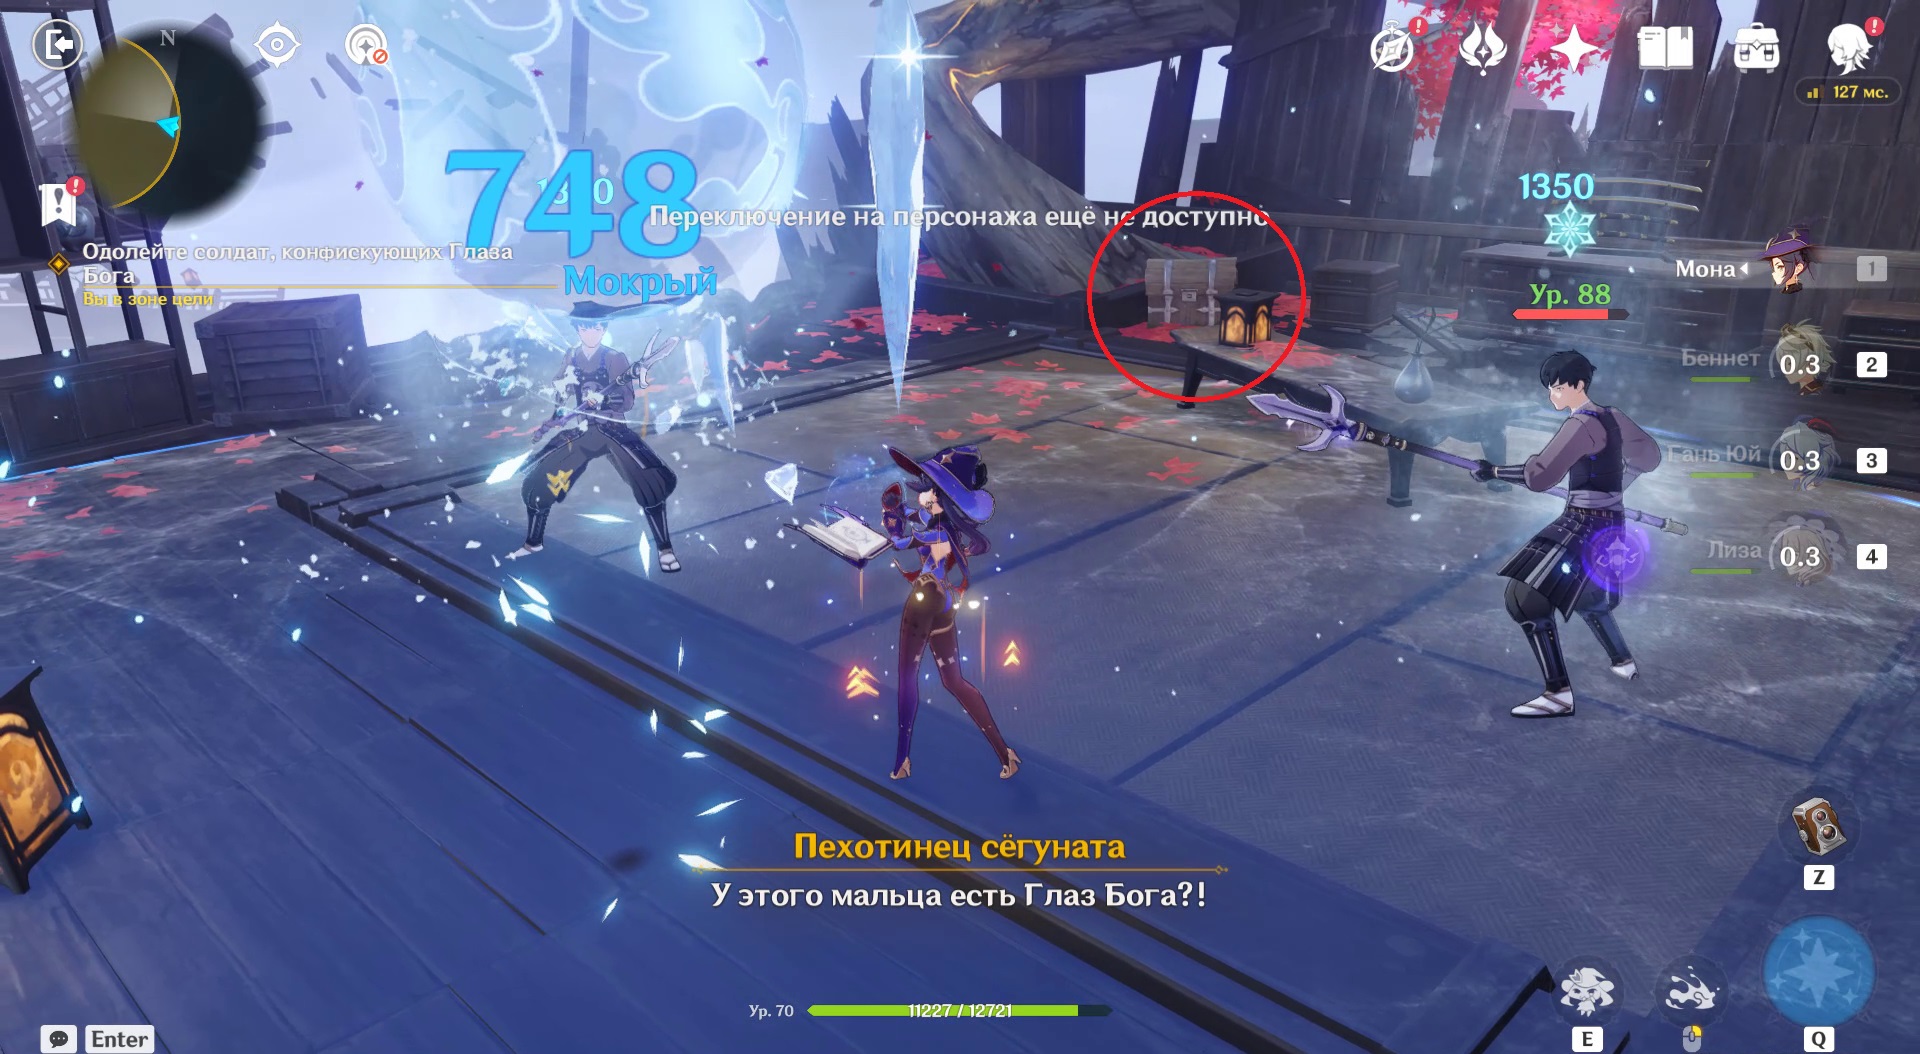
Move to the second skirmish. Behind it is a room with two altars and an omamori. The first floats in the middle of the room, the second - on the right, under the beams. Apply them and move through the air to a vast arena.
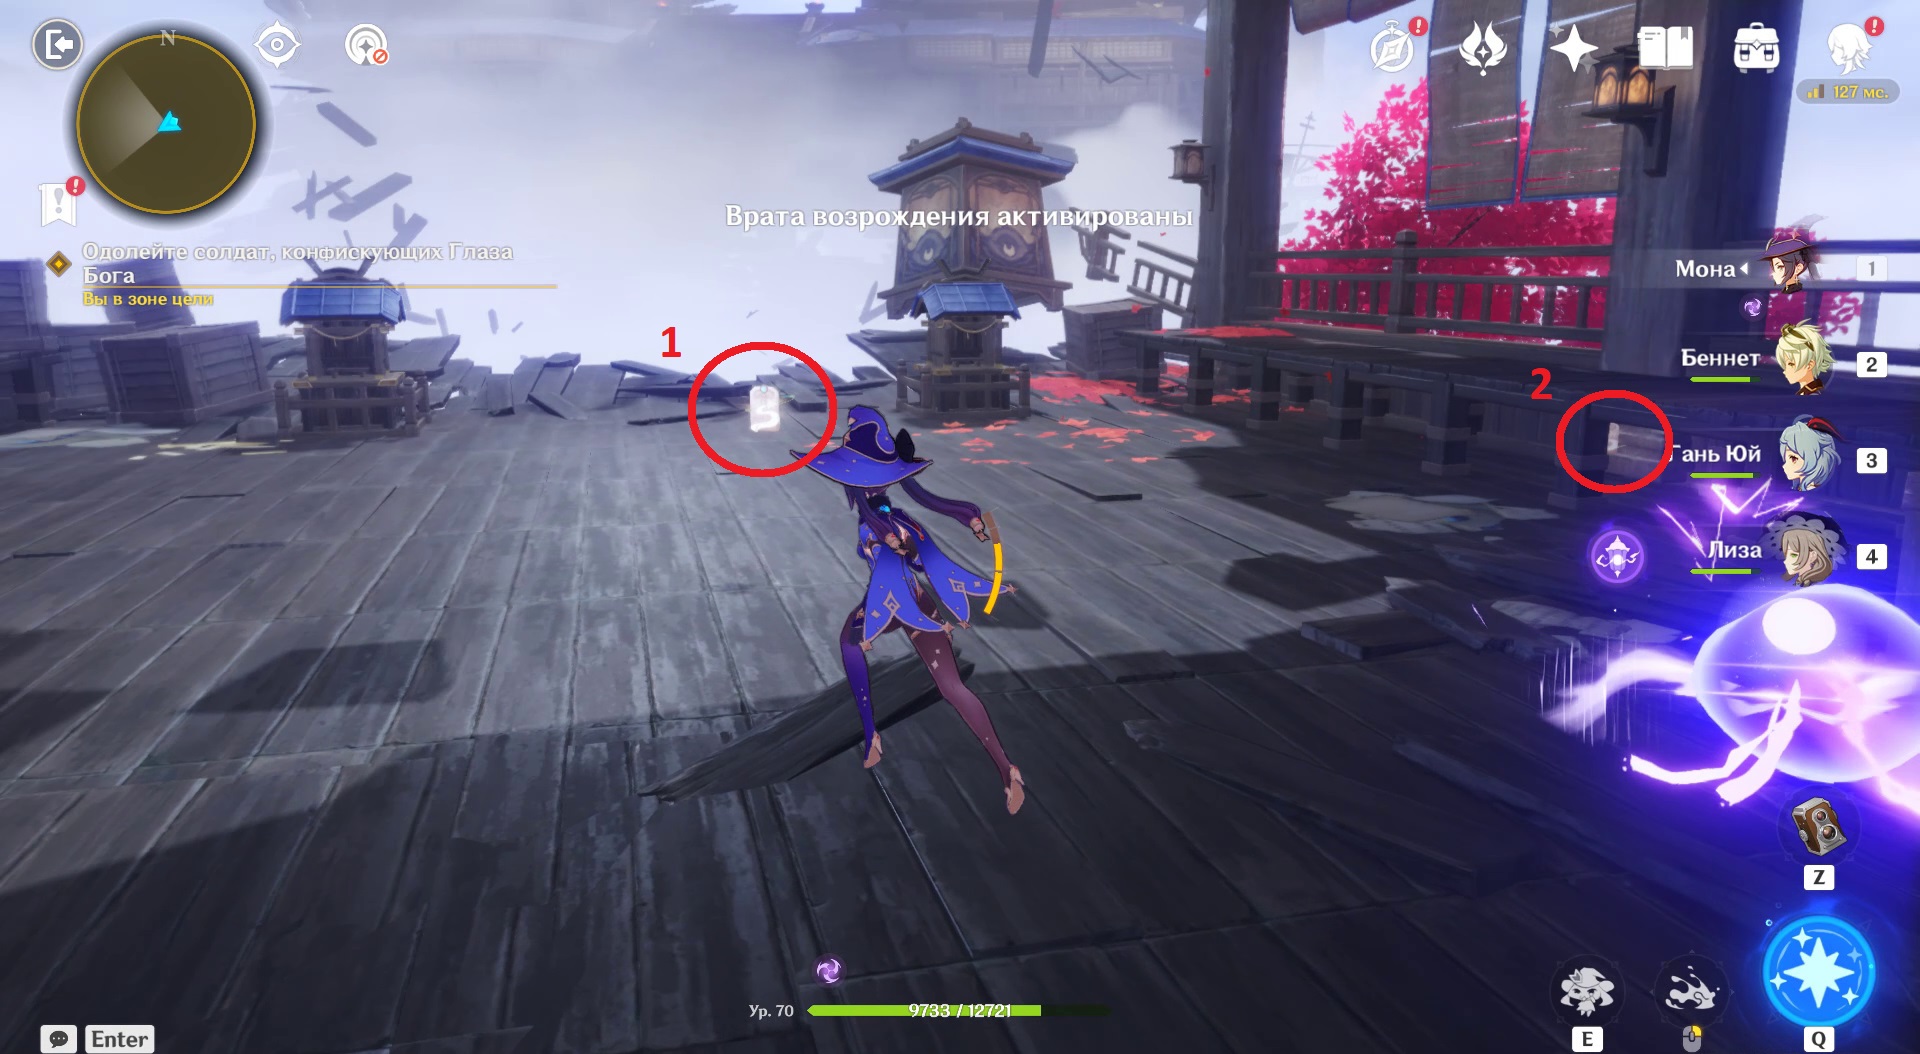
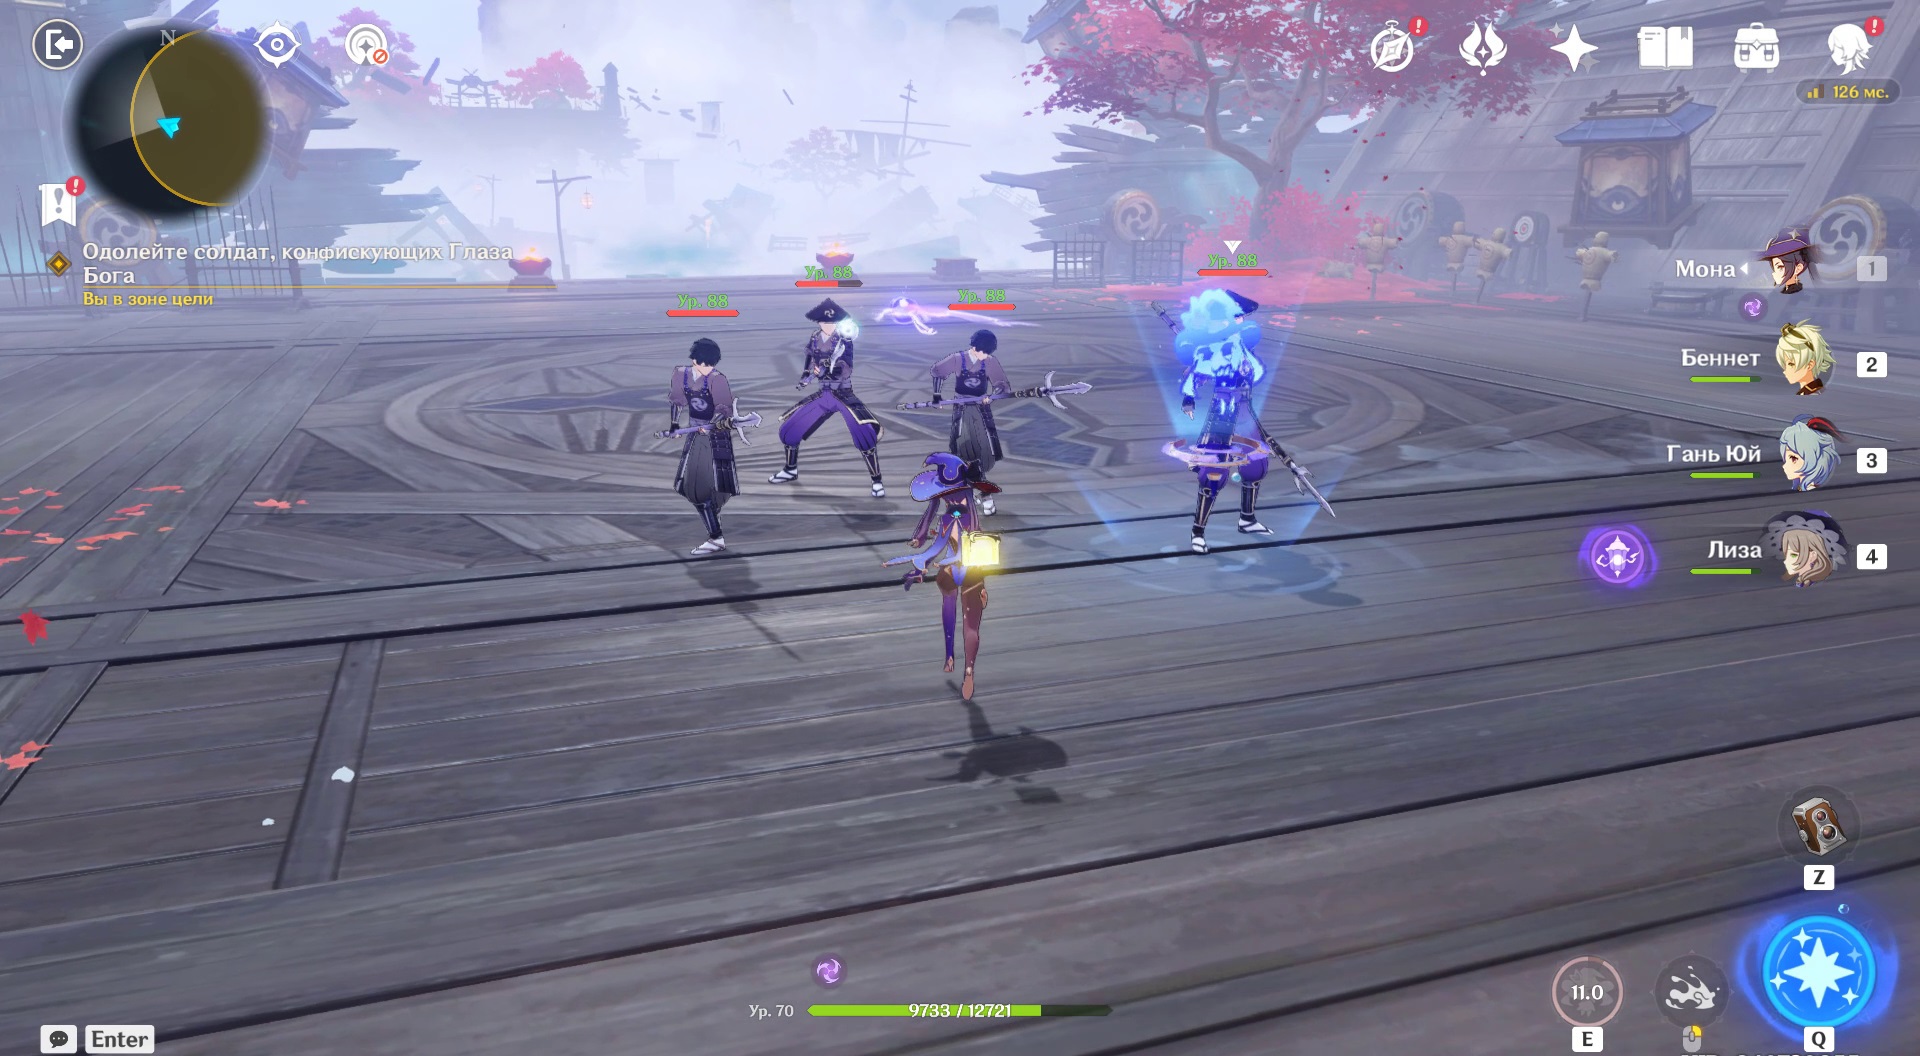
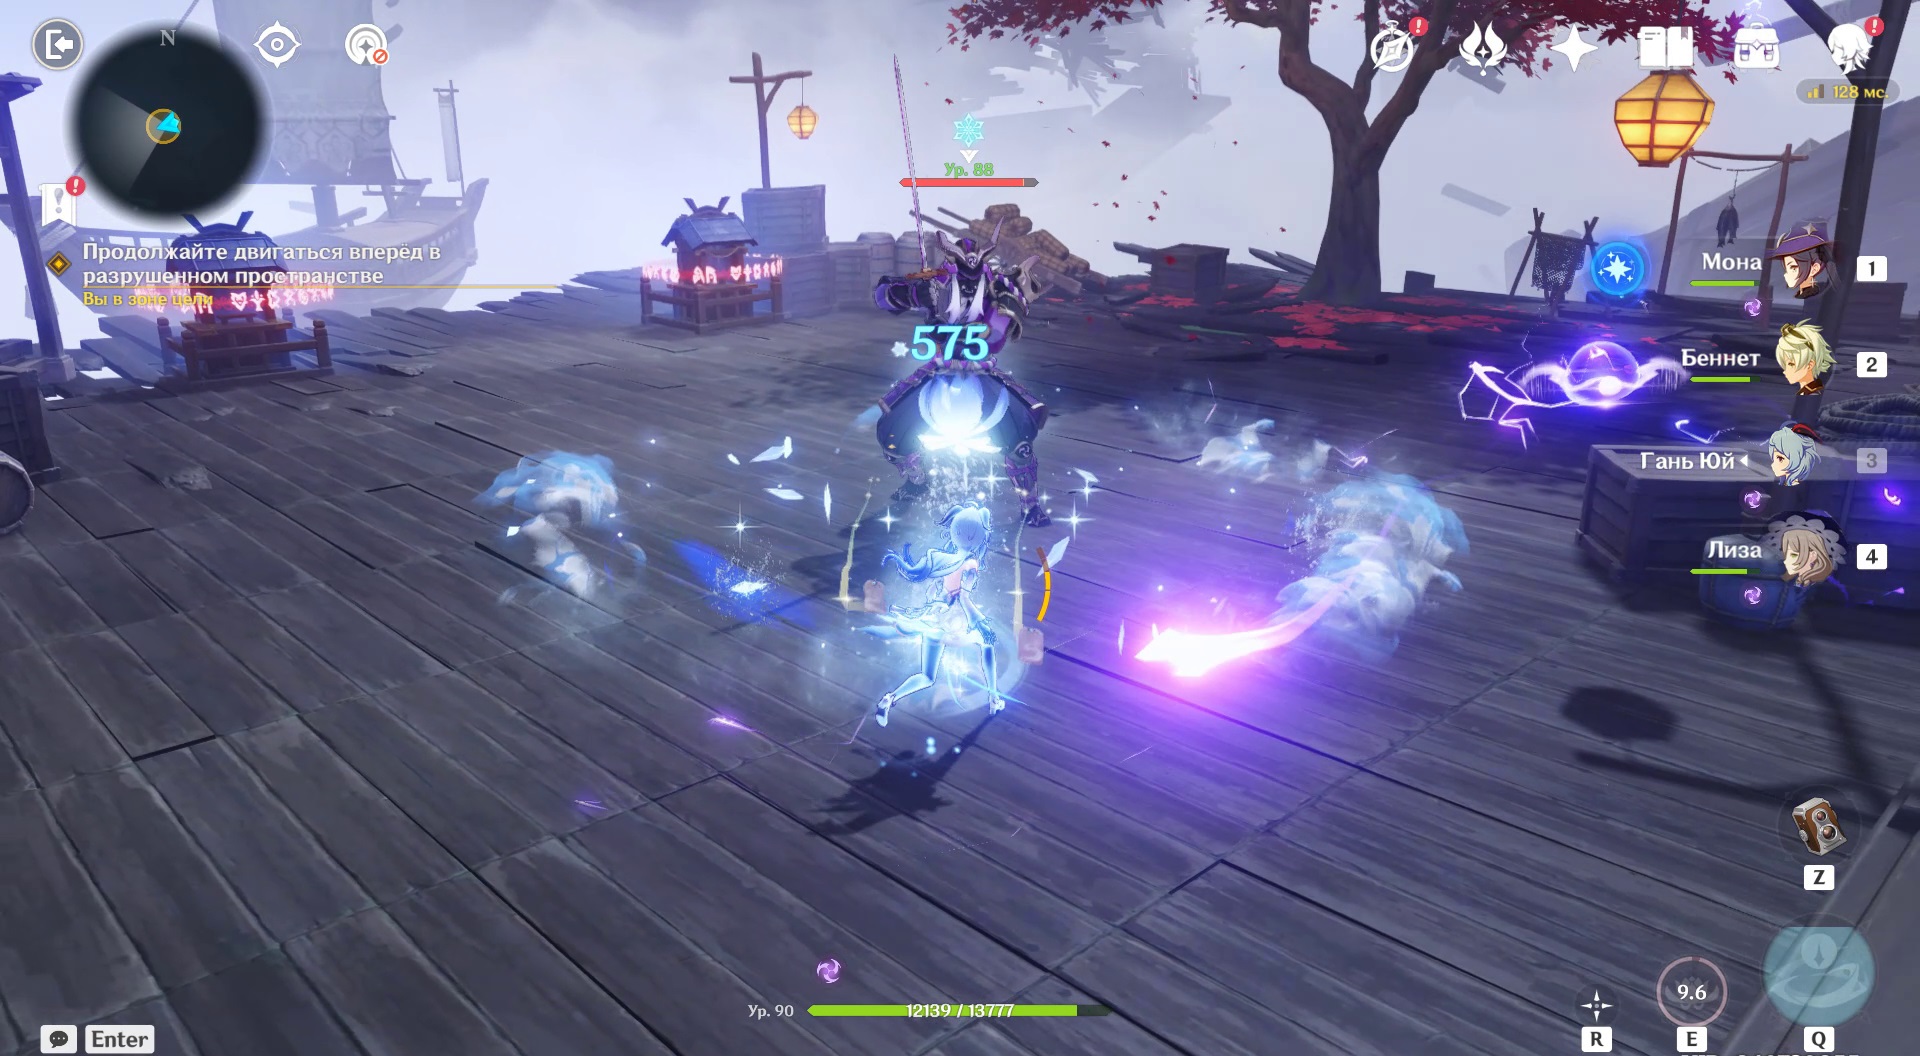
You have to deal with foot soldiers and samurai trying to confiscate Kazuha's Eye of God.
After the battle, we move to the next platform along the path, along the way, taking a rich chest. The tower is guarded by nobushi: deal with them, activate the tower, release the sealed fairy.

At the next location, guide the fairy to the tower: she will pierce all three seals of different colors. As a reward, 2 talismans and a chest.
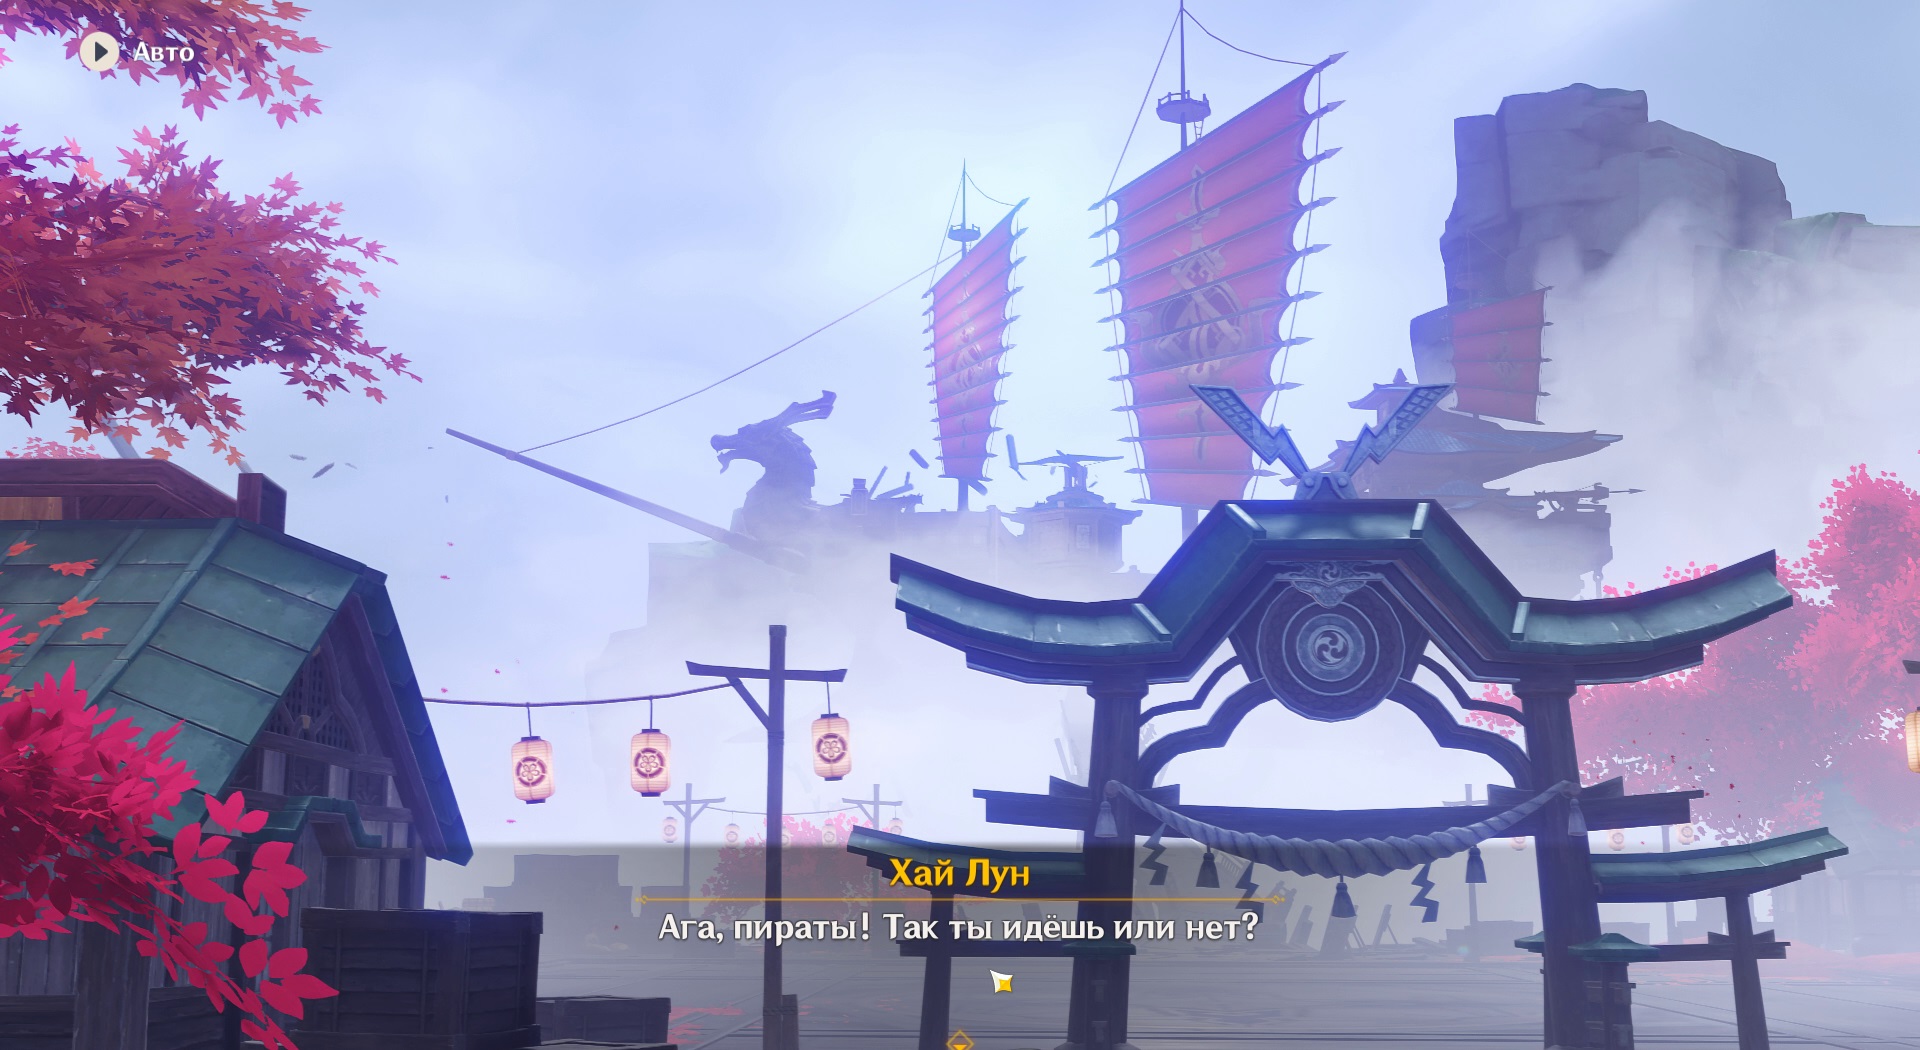
Defeat the kairagi in the boat arena. After the battle, bring the talismans that were obtained in the previous arena to the altars. Approach the point of interest. In the scene, Kazuha is taken out of Inazuma by a boatman to avoid being hunted by God's Eyes. Soar on the stream that appears after the Anemo scene to the next arena with enemies.

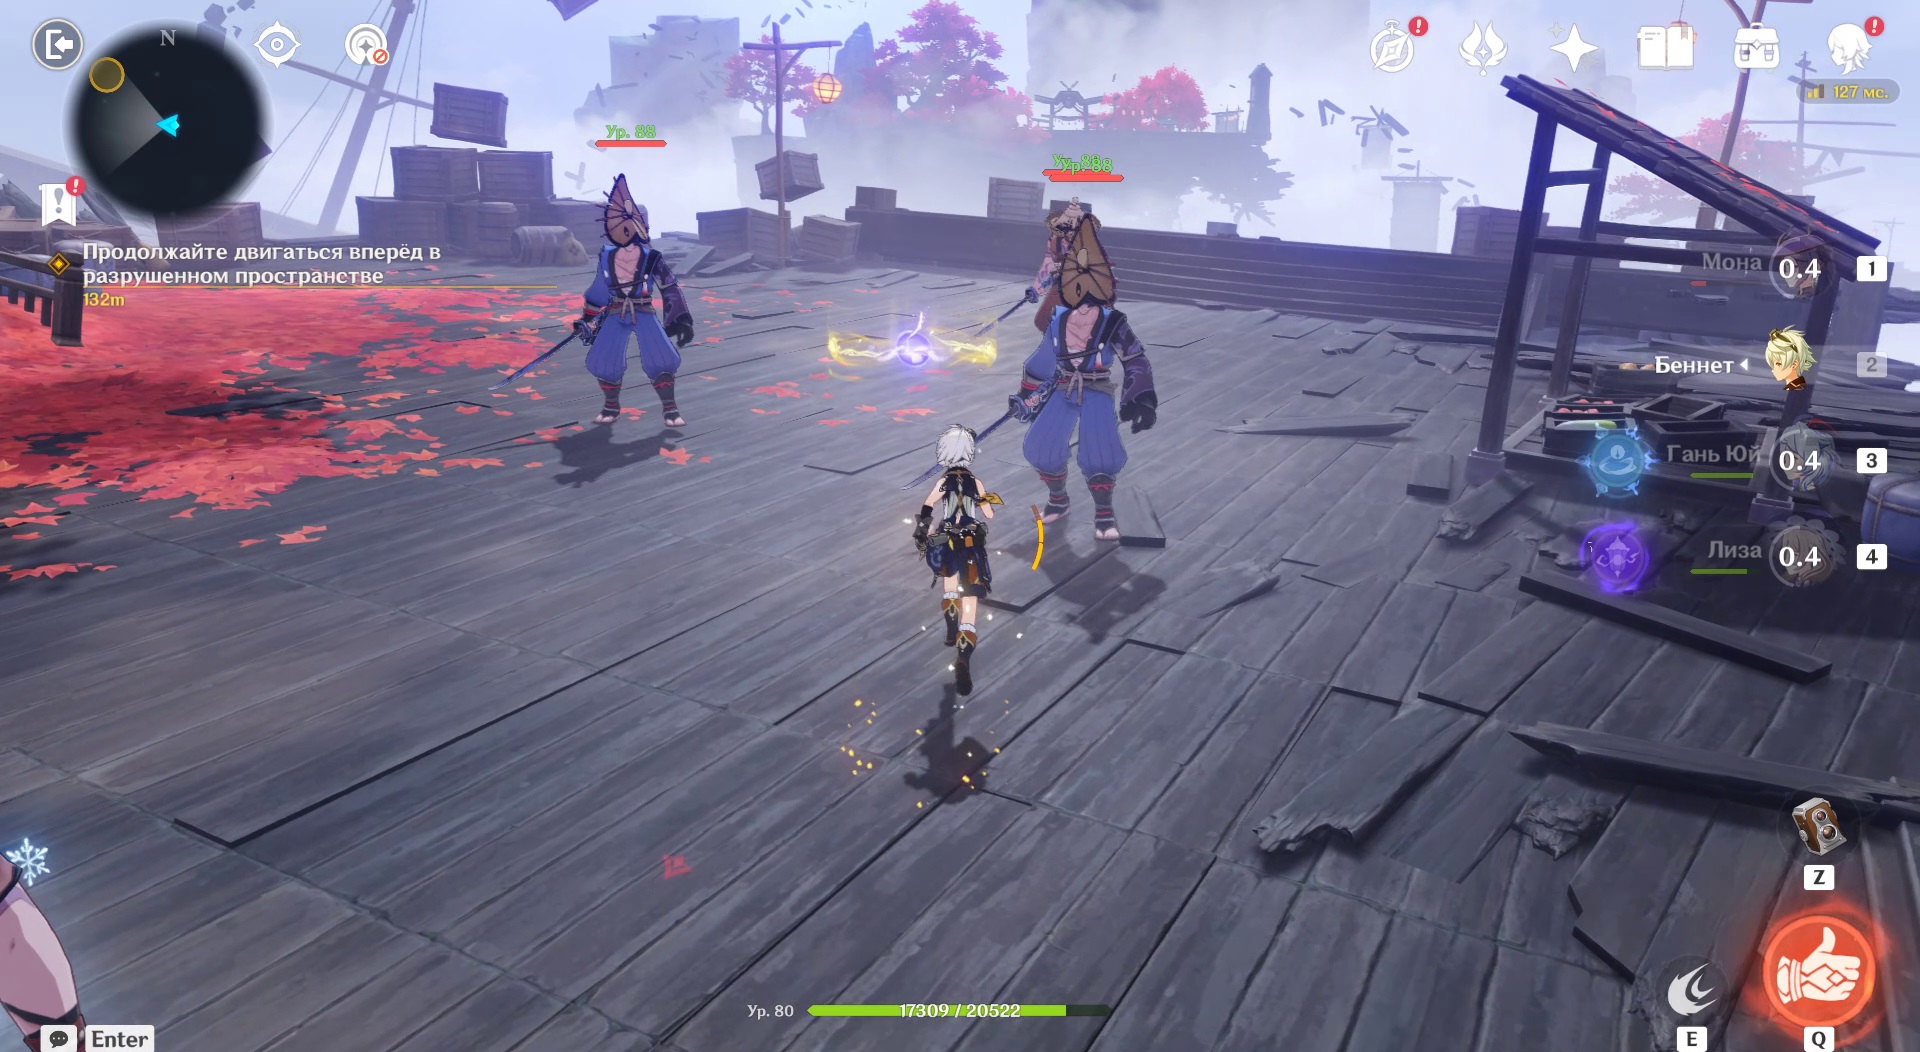
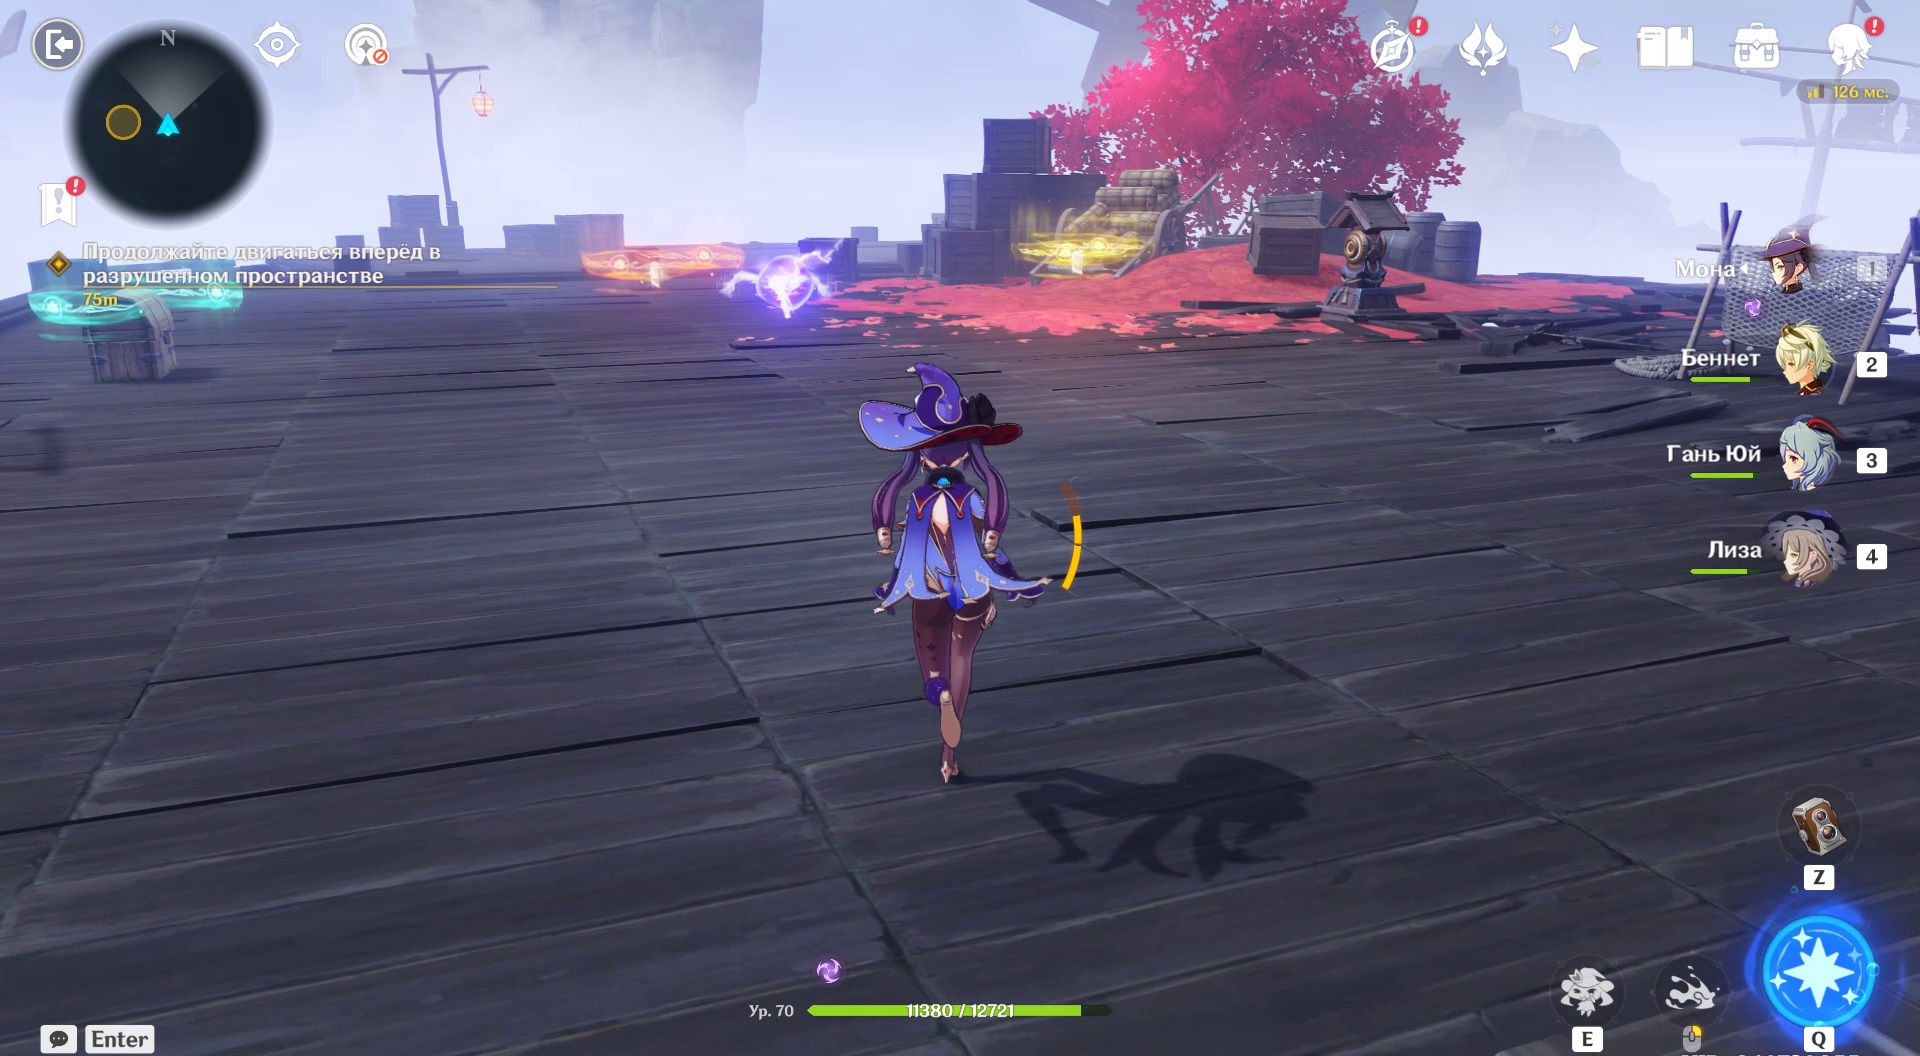
There is a battle with samurai and infantry. Another memory of Kadhuzi will be revealed. The cutscene shows the ship Bay Doe.

Heed the voice on the pier and board the Alcor
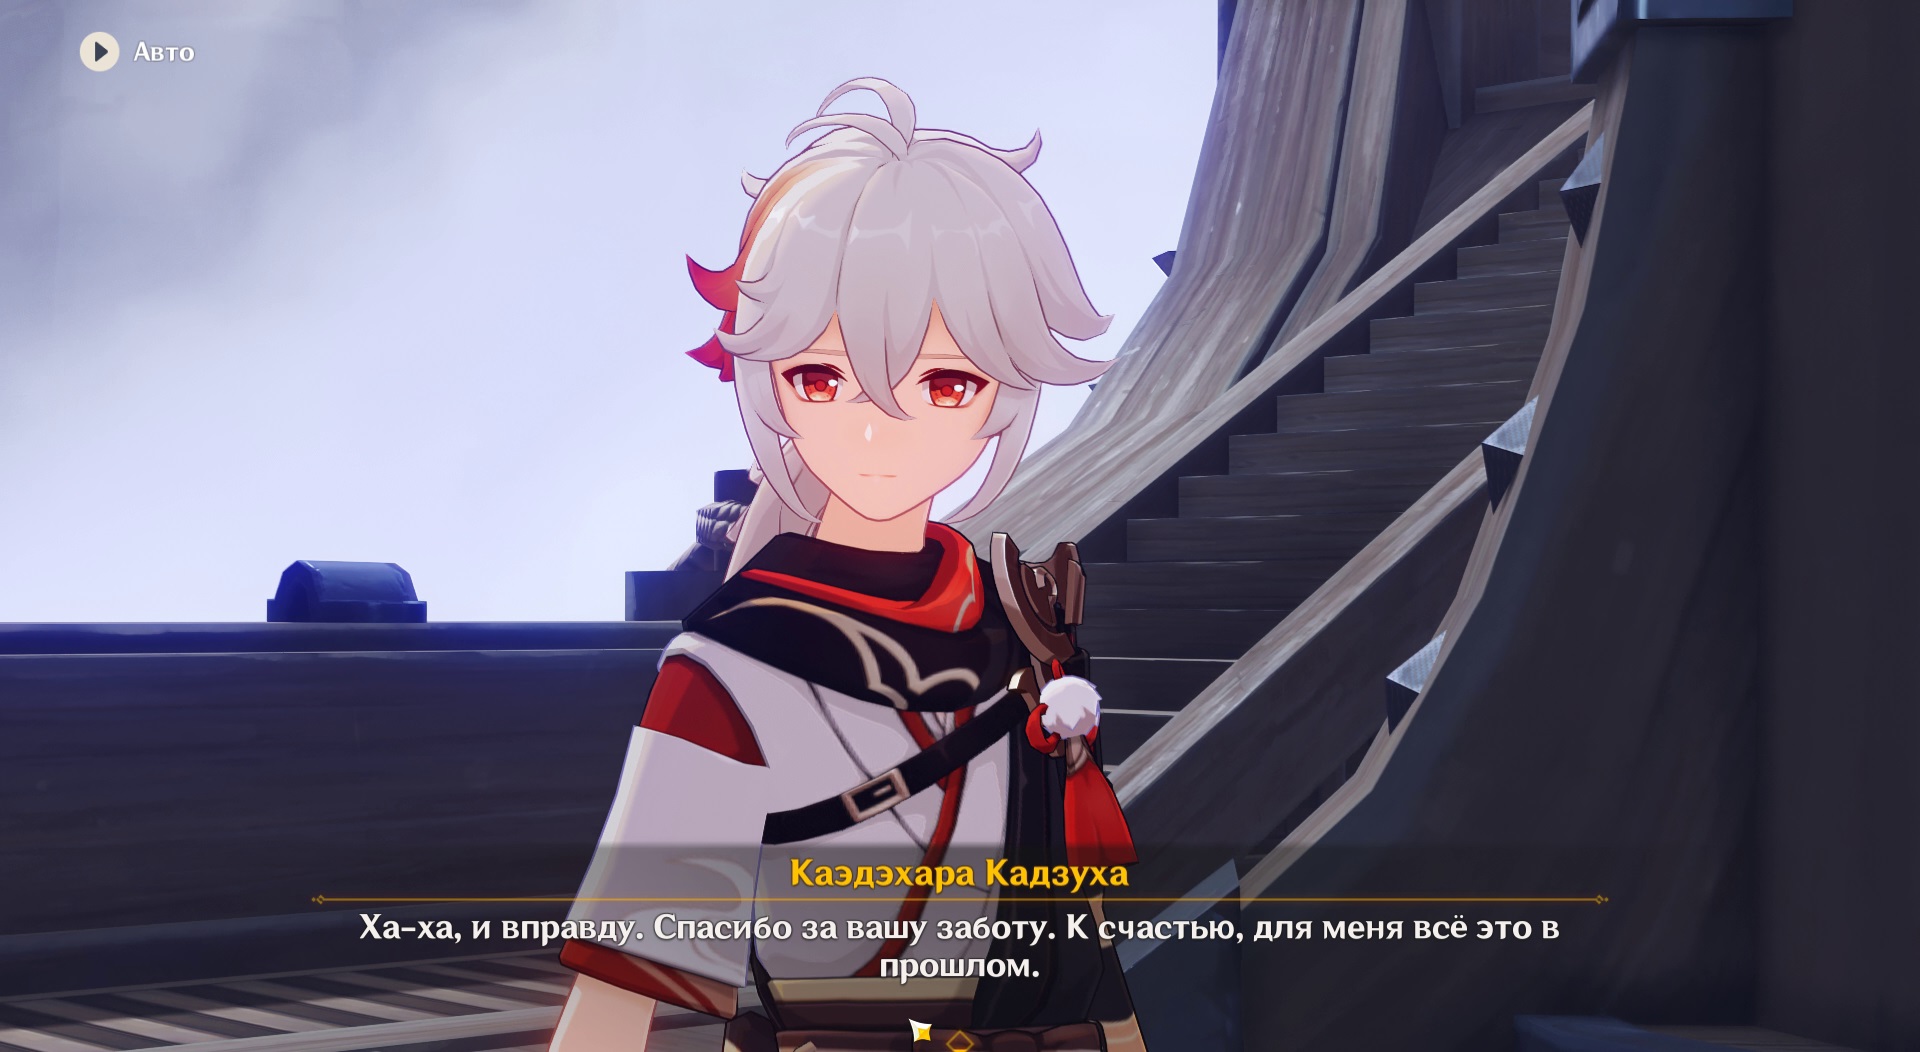
Climb aboard without forgetting the chest. The journey through the realm of dreams is completed, and therefore Kazuha will share with the team his thoughts on the result of a long journey.

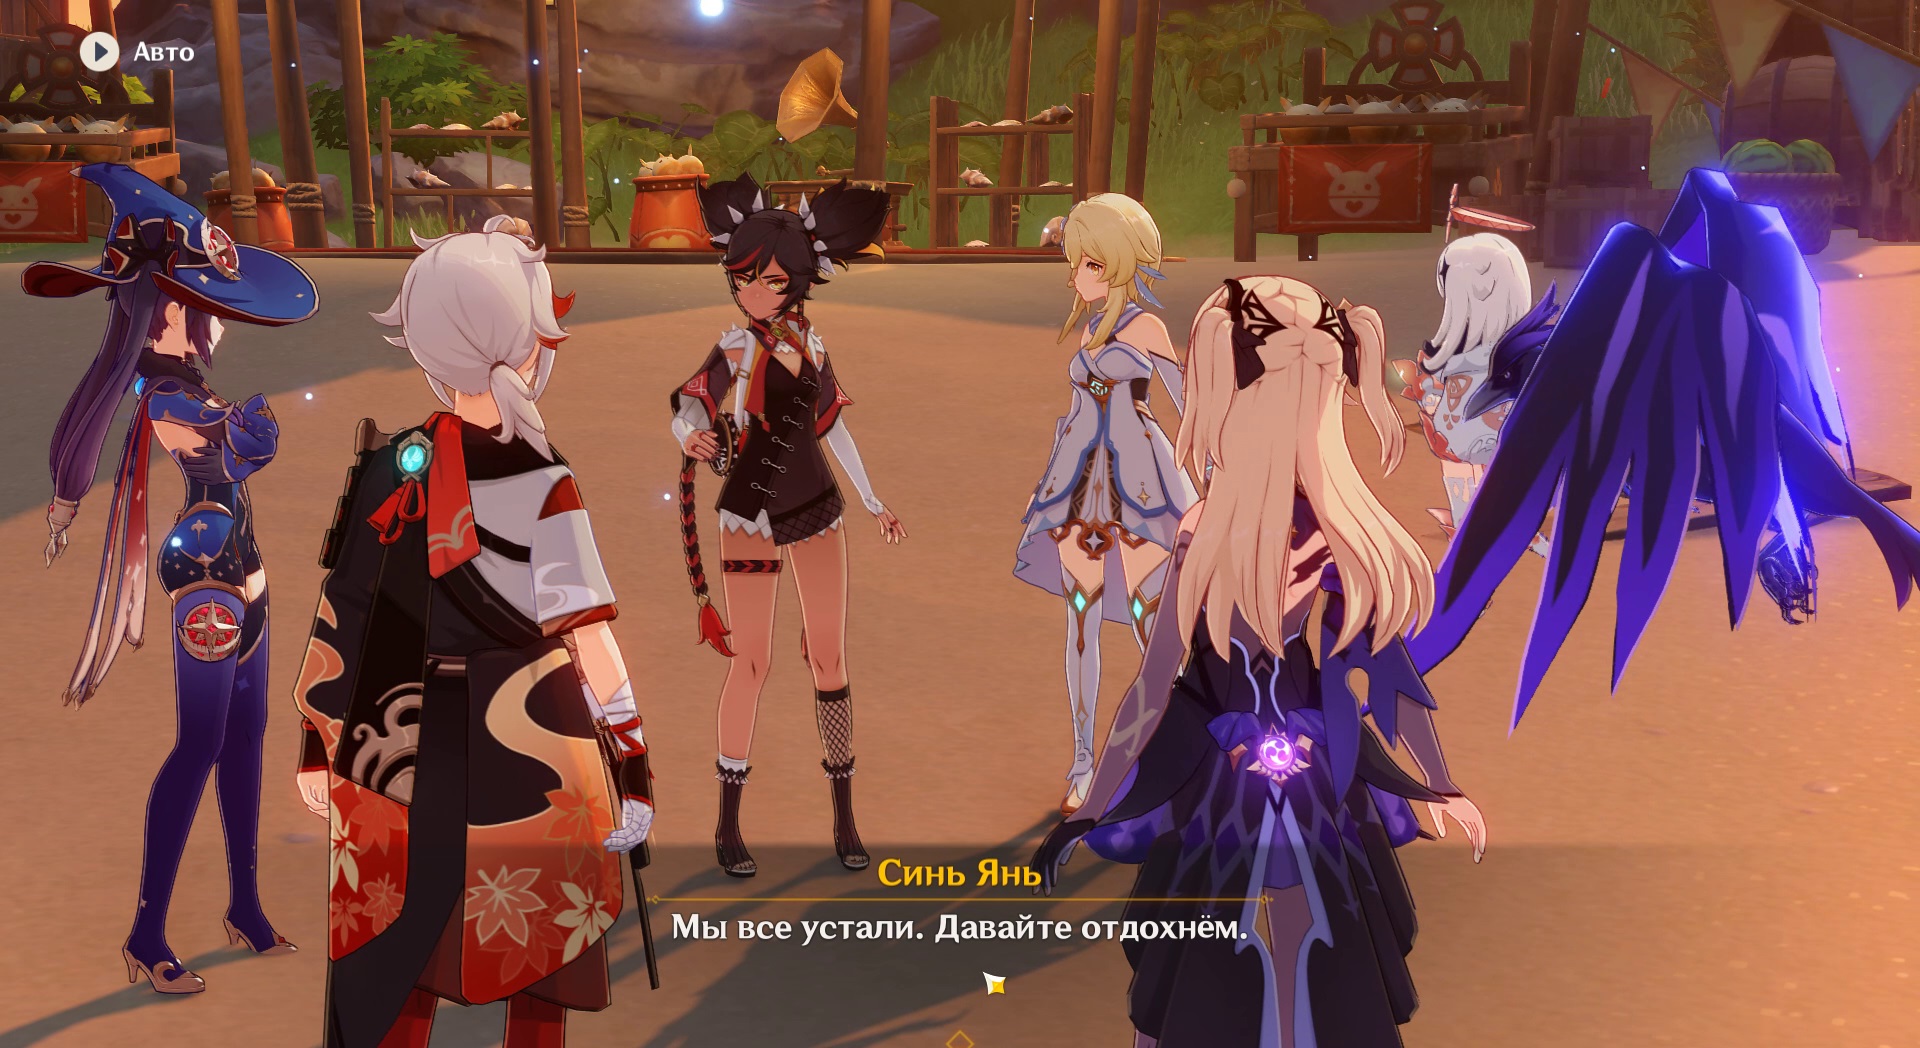
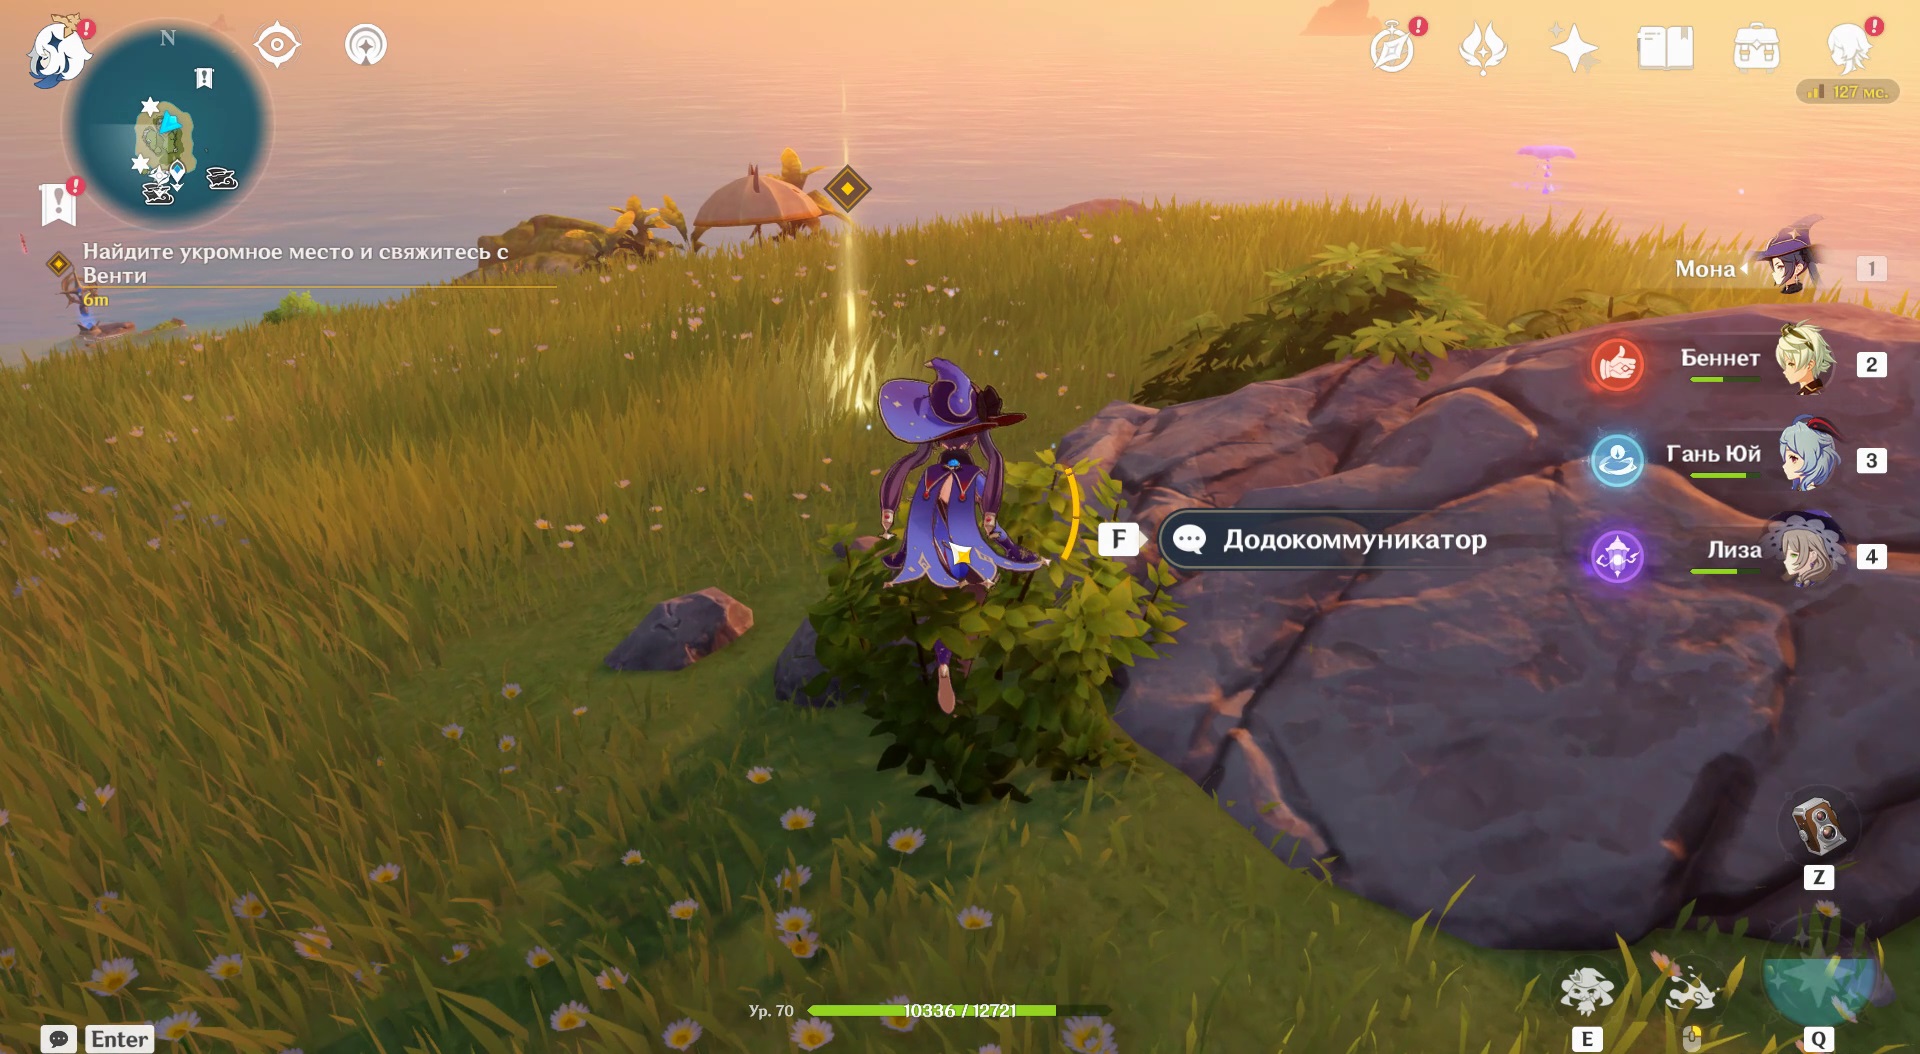
Return to the camp and contact Venti
After a colorful and inspiring cutscene, the party is transferred to their camp in the Golden Apple archipelago. Paimon can't wait to tell Venty about the adventure. Climb up the hill and take advantage Dodocommunicator.
Awards
You can now teleport to modified Pudding Island for his further research. Among the prizes for completing the quest:
- Primogems - 90.
- Mora - 60000.
- Hero experience - 6.


